Creating design templates for your products
This article refers to Smart Customizer Web to Print App Version 2.0Explore the Version 1.0 article here
Before we get started
- Design template is a predefined mockup of texts and visuals that help customers to start the customization quickly.
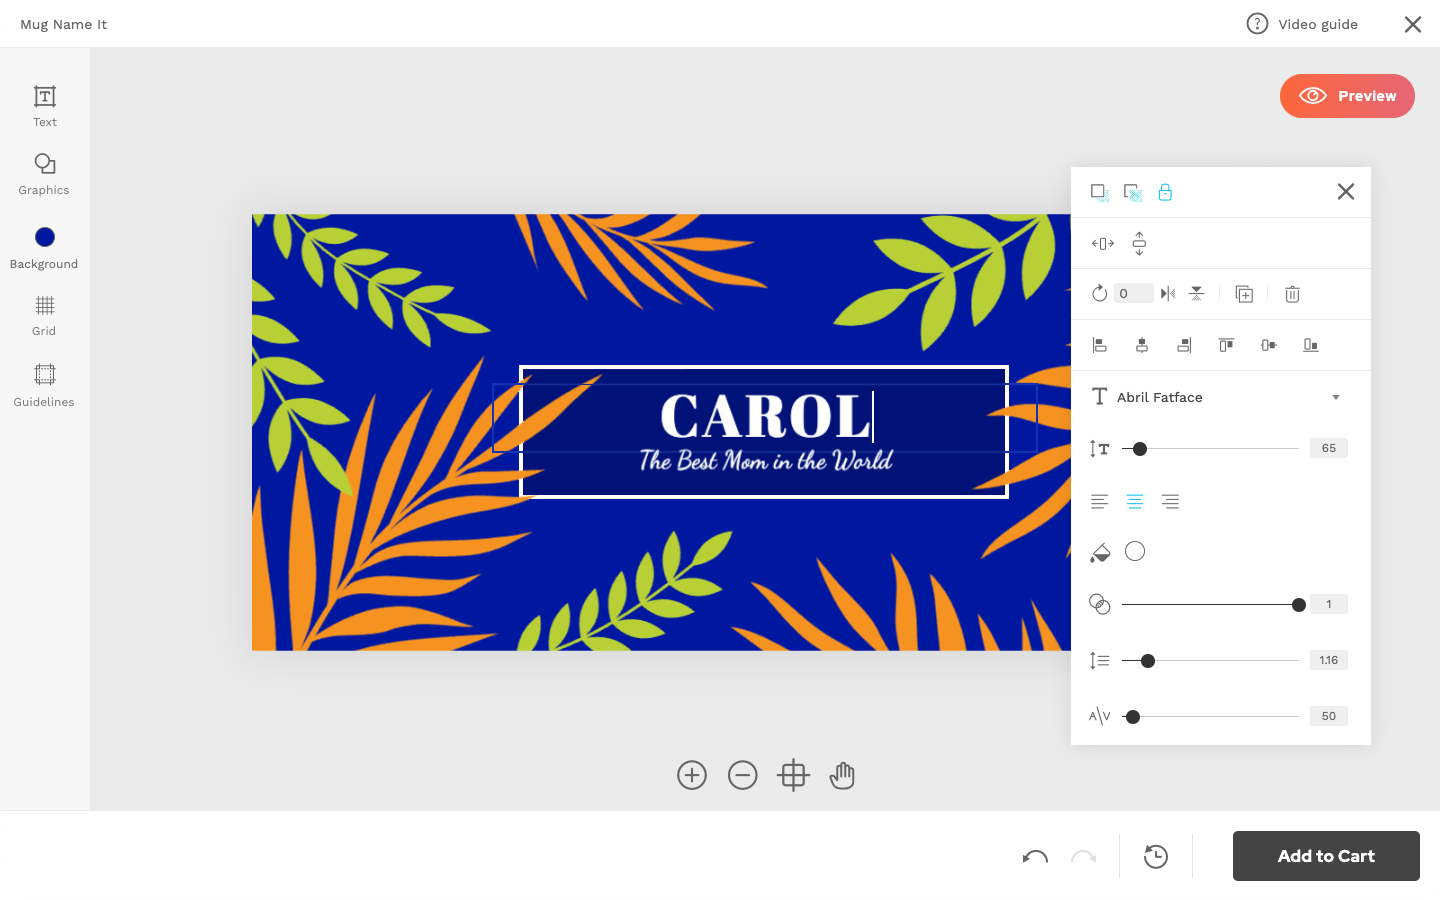
- We recommend creating and assigning at least three different design templates for your product template.
- It is possible to install and use our graphic assets library while creating a design template but you can also upload your own graphics.
- Our app supports .png, .jpg, .pdf, and .svg file formats for graphics upload.
- Please note that PDFs exported from Canva are not supported. Only files in .jpg and .png formats from Canva can be used.
How to create a design template
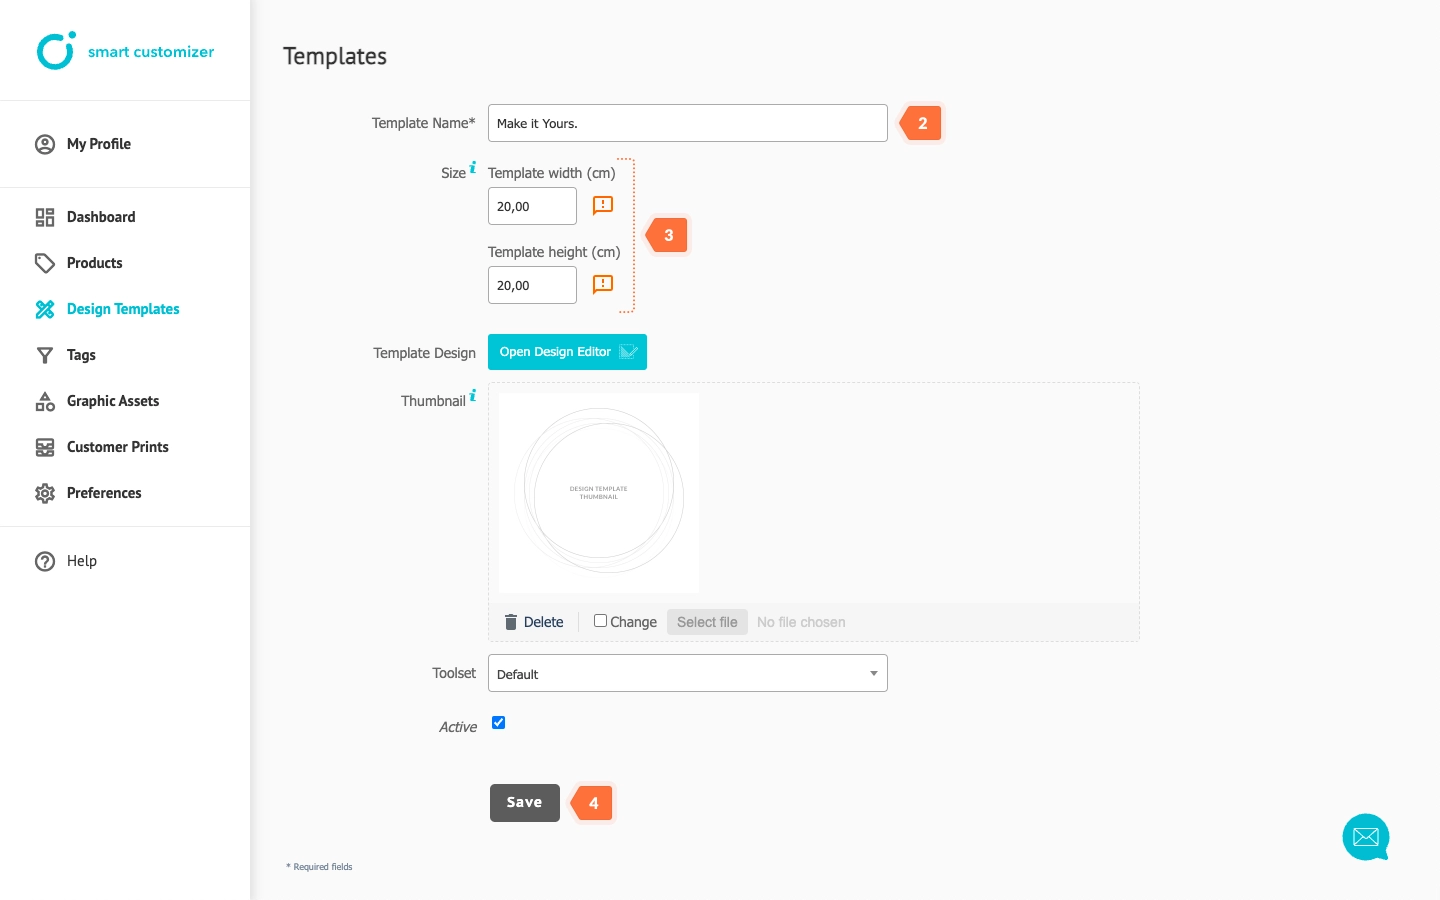
- Go to Design Templates and click Add New.
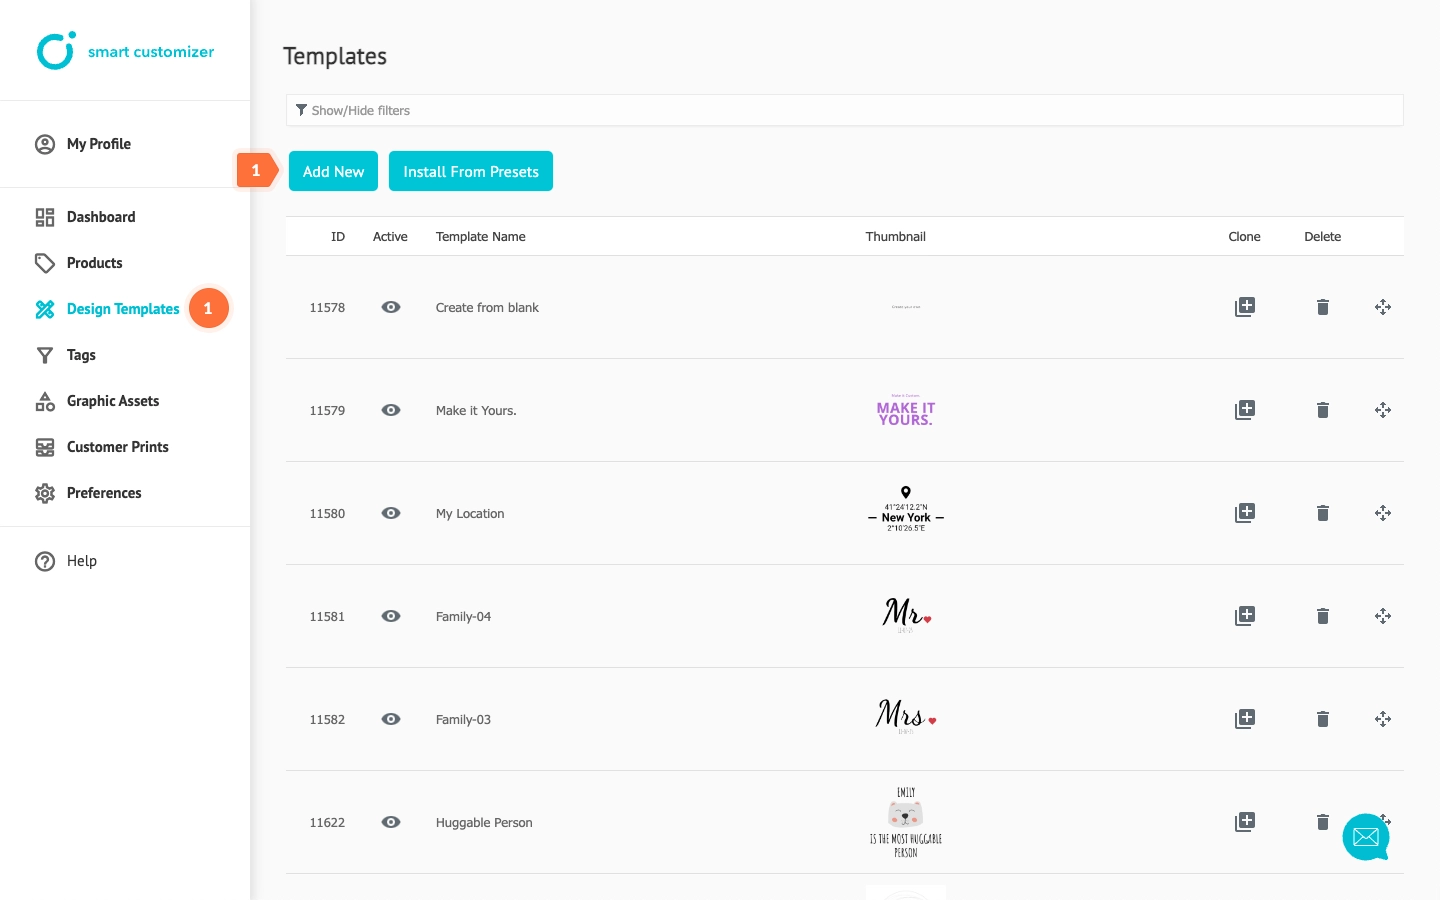
- Enter your Template Name. The name of a design template will be visible for your customers.
- Add template dimensions. We would recommend using the same dimensions as it is set for your product's print area.
- Click Save.
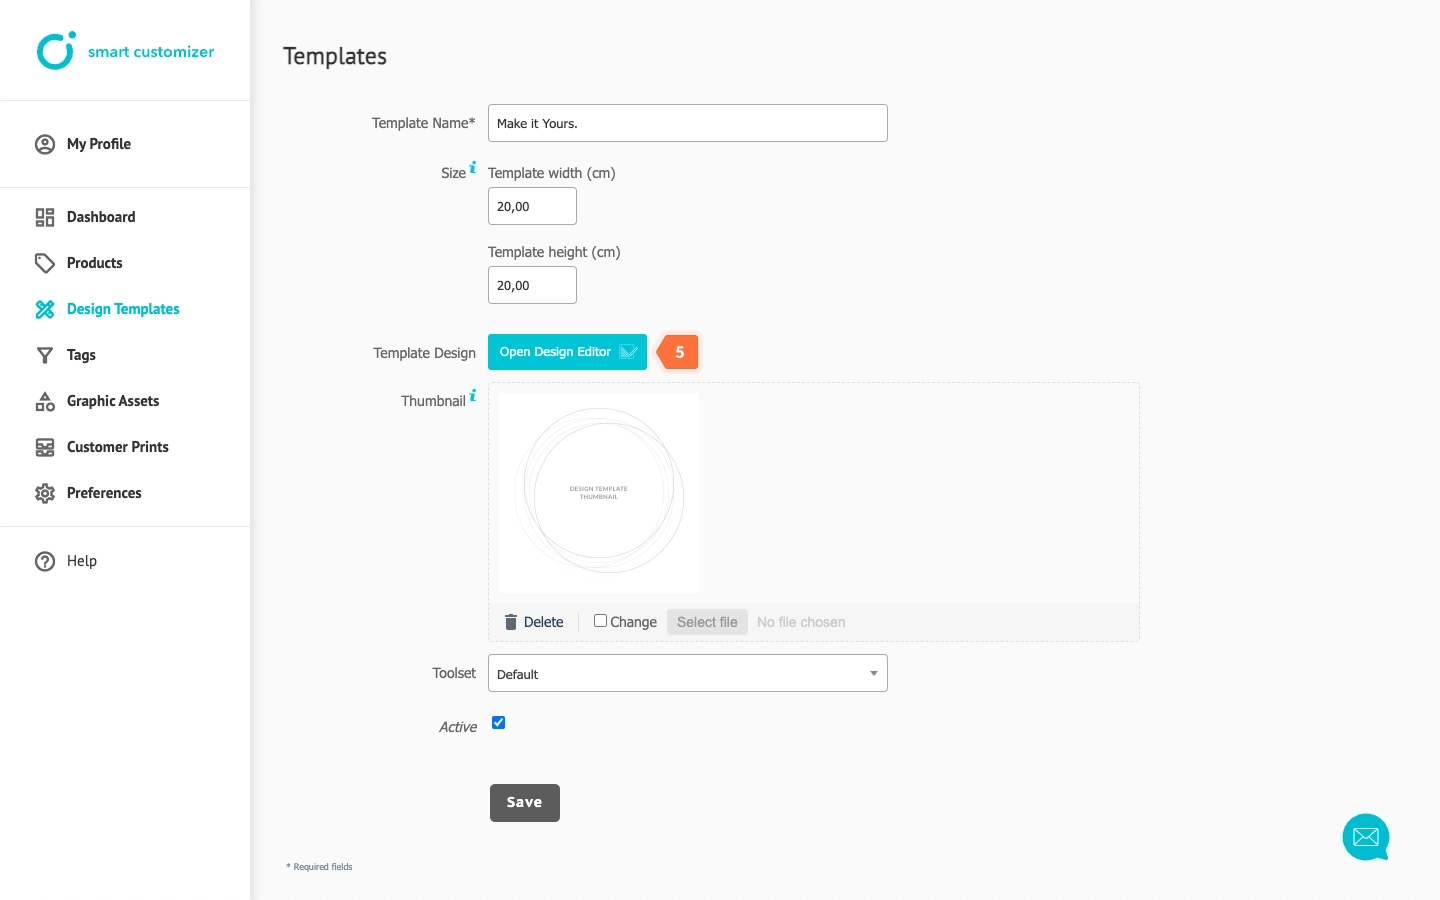
- Open Design Editor.
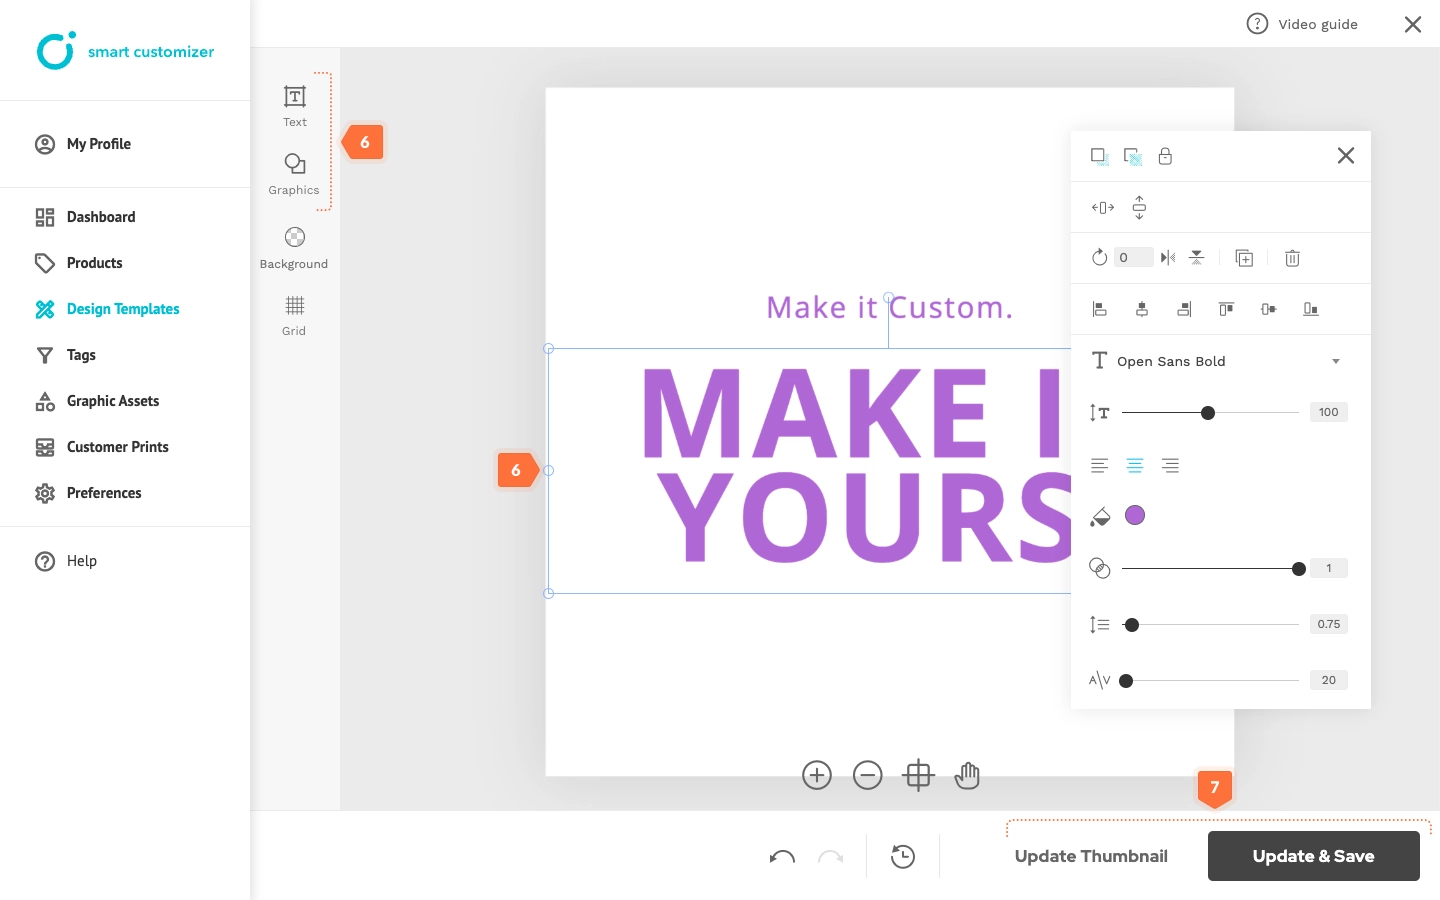
- Create your design template by inserting custom texts or graphics from your computer. Learn more how to upload your custom graphic assets.
- Once done, click Update Thumbnail, then click Update & Save.
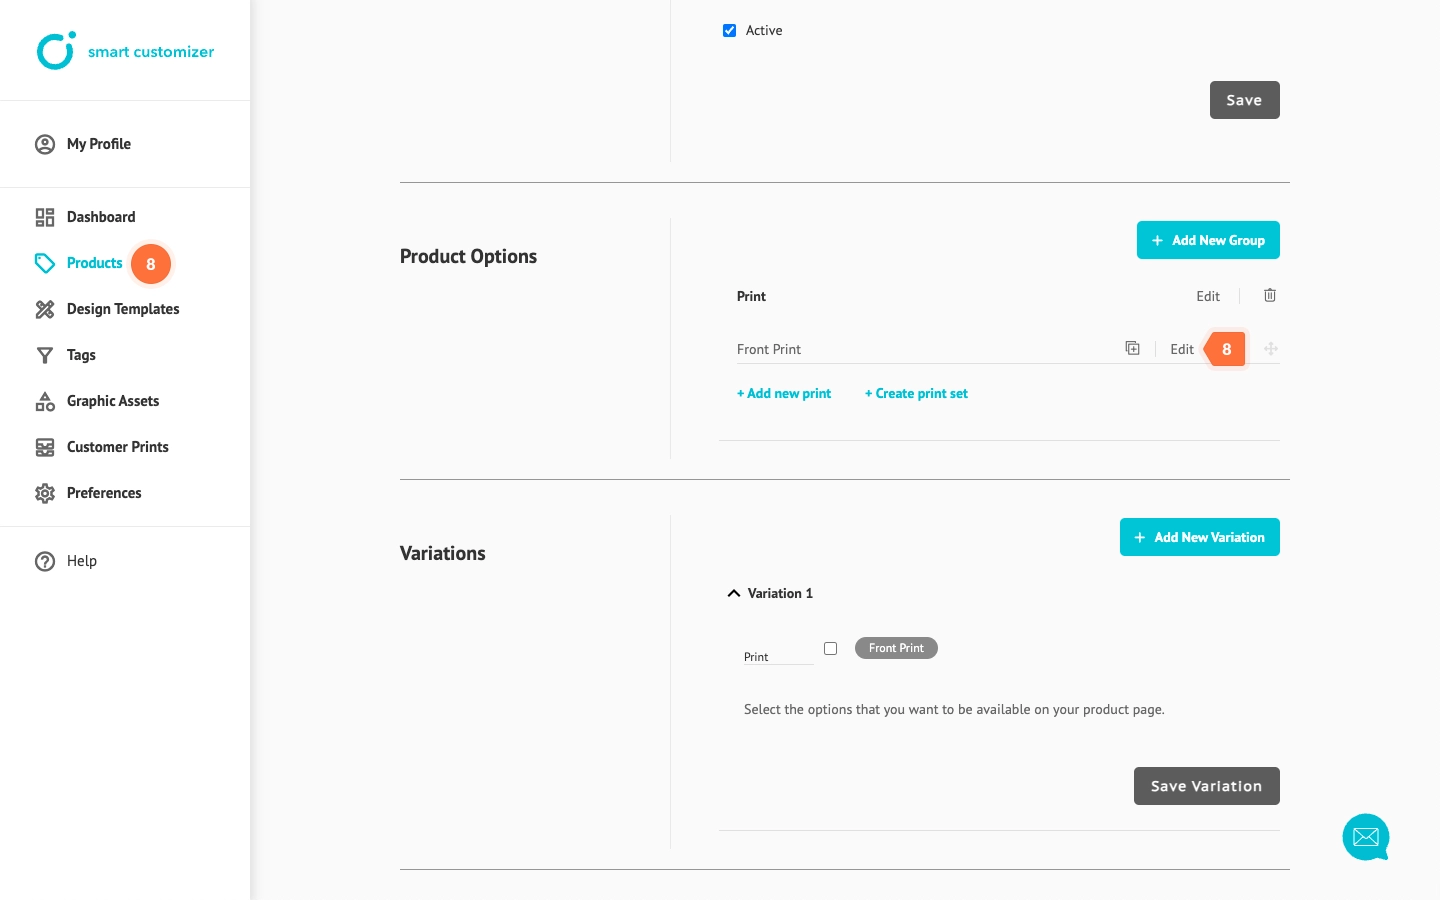
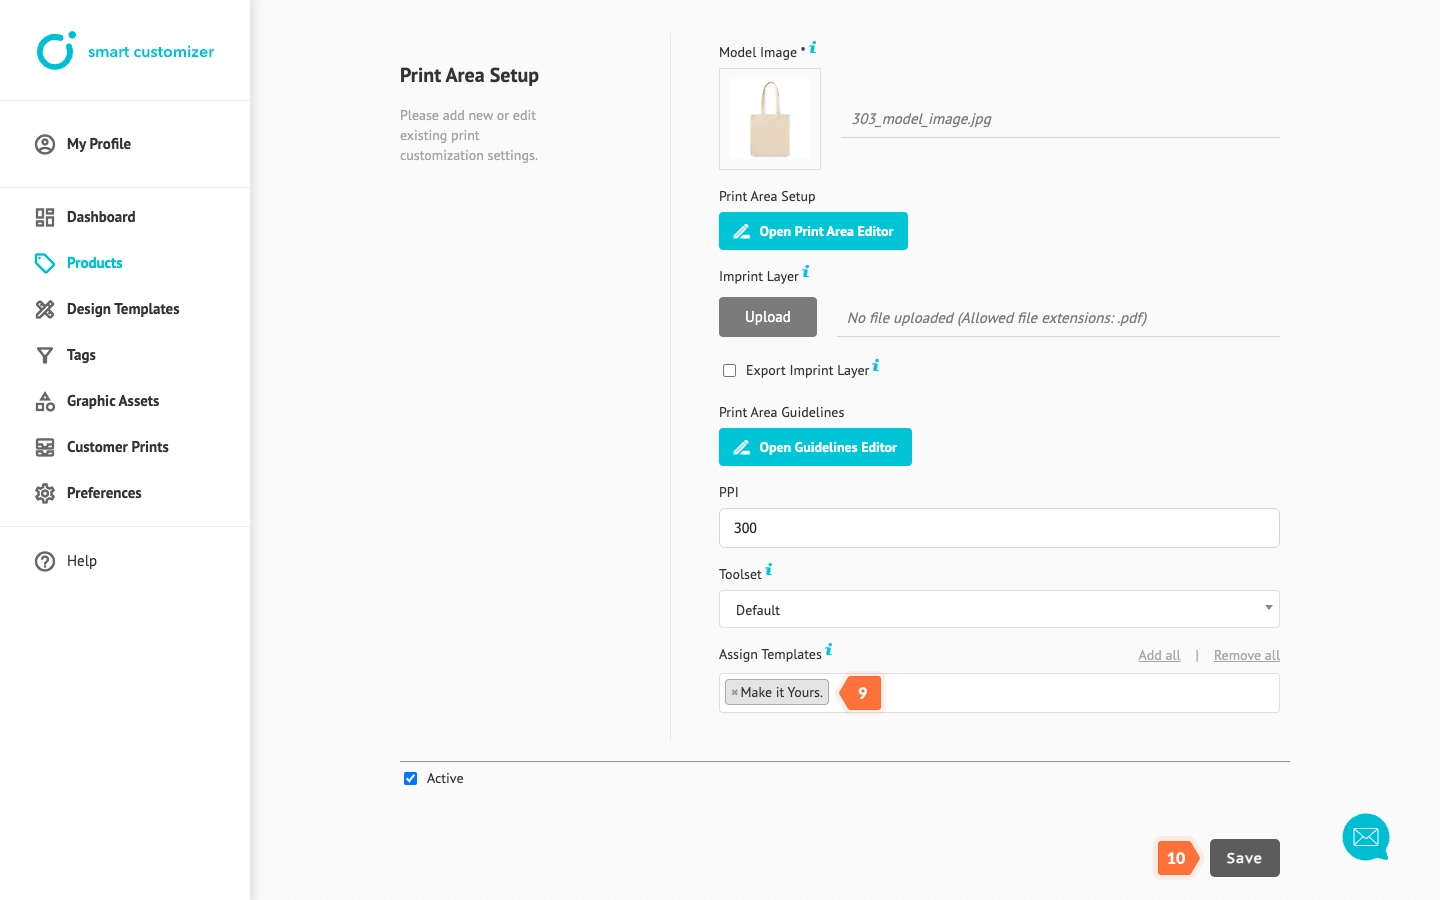
- To assign your newly created design template, go to your Product and locate Product Options > Print settings. Then, click Edit on the print area you want to apply your design to.
- In Print Area Setup, locate the Assign Templates field and select your design template from the list. You can also start typing its name, then click on it to add.
- To finalize, click Save.
Advanced tips: Locking graphic elements
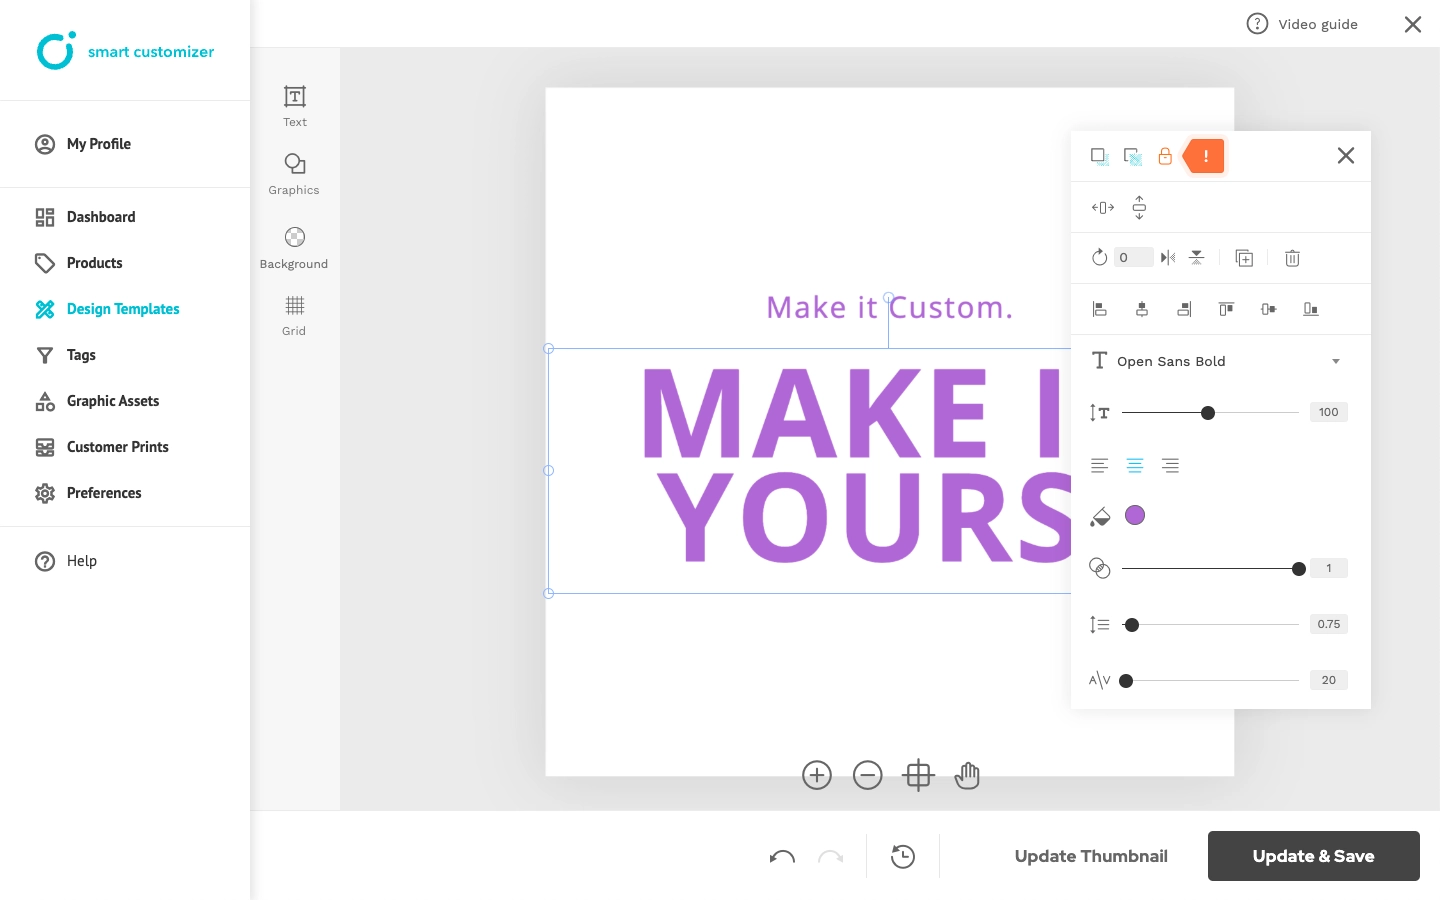
When creating a design template, you may want certain elements to stay fixed—untouched, unmoved, or uneditable by customers. Our app provides three types of graphic element locks:
- Unlocked (Default): By default, uploaded graphic elements are unlocked. They can be both moved and edited in the design editor, as indicated by the gray Lock icon.
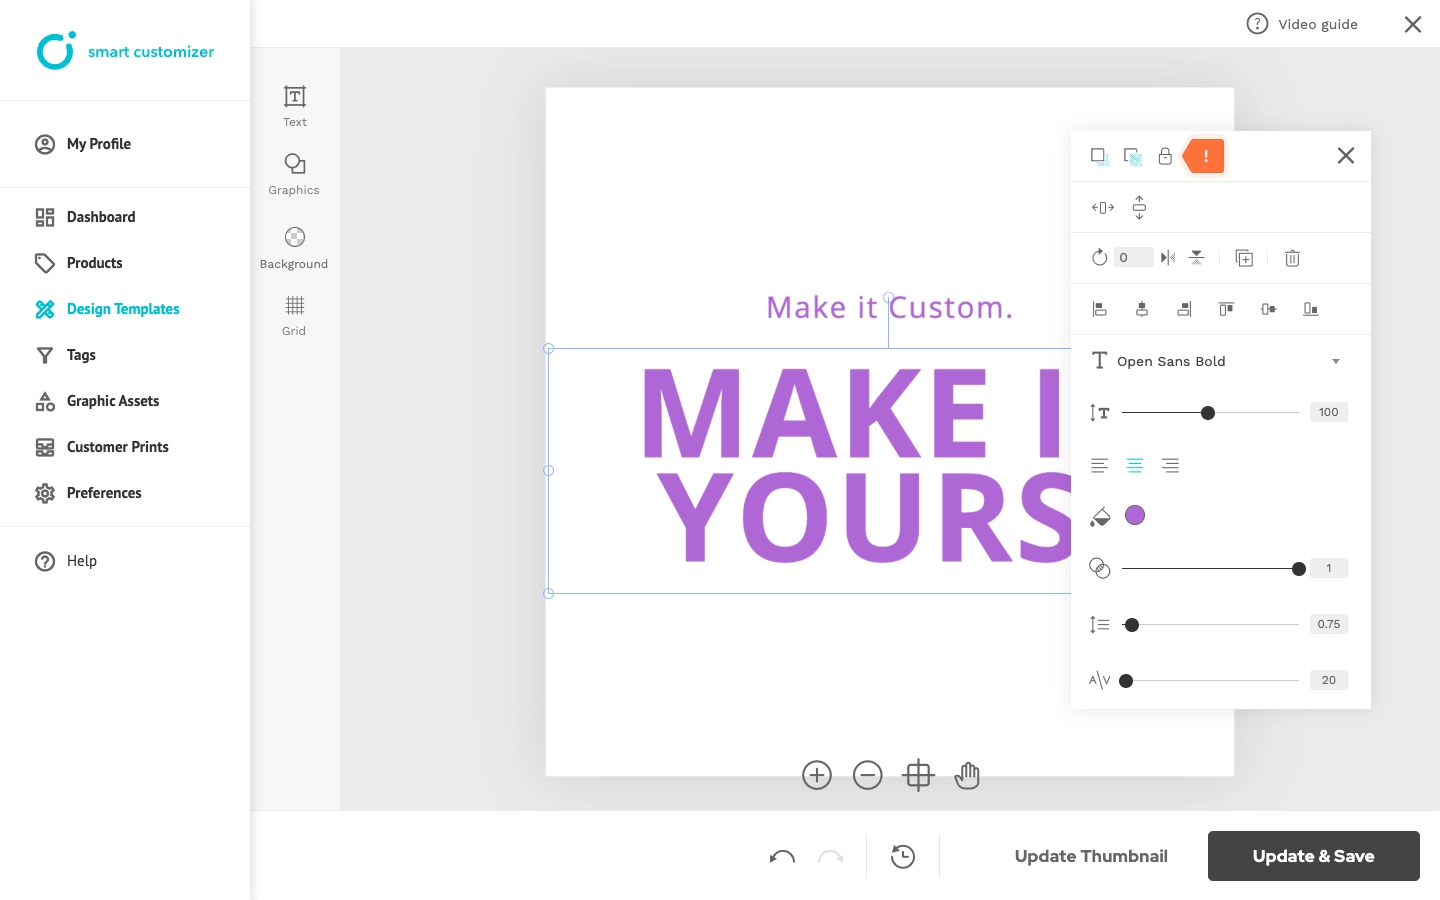
- Move-Locked: To prevent customers from moving an element but still allow editing, click the Lock icon once (it will turn blue). This locks the position but keeps editing and manual unlocking possible.
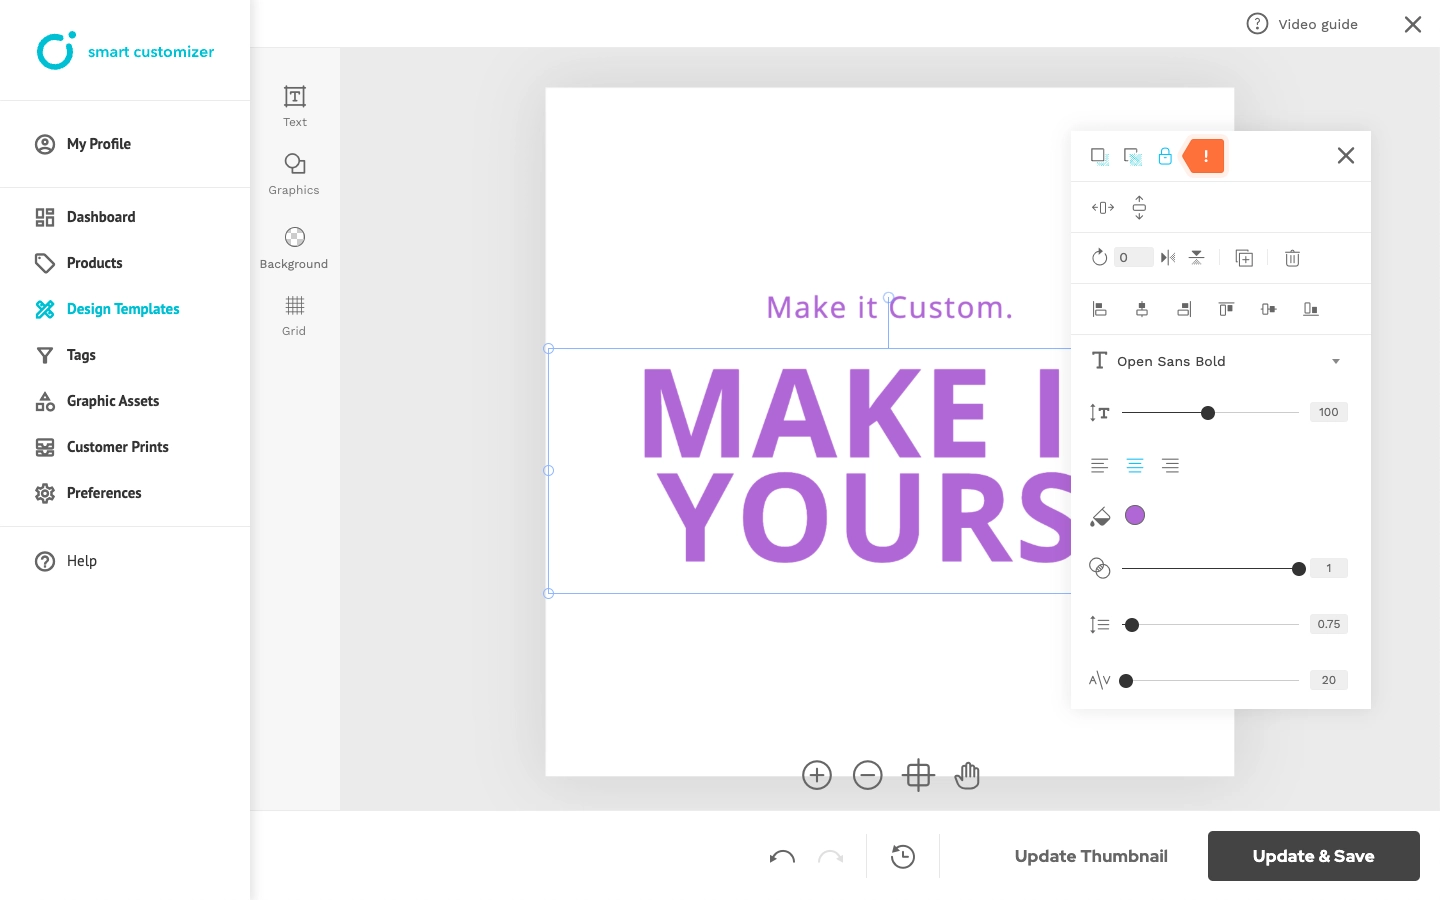
- Fully Locked: To lock an element permanently so it can't be moved, edited, or unlocked by customers, double-click the Lock icon (it will turn orange). This fully secures the element.
Advanced tips: Limited colors
If you need to restrict the colors in a design—such as for engraved items or to maintain a consistent color palette—you can create a custom Toolset to set these limitations:
- Go to Preferences.
- Click Add New Toolset.
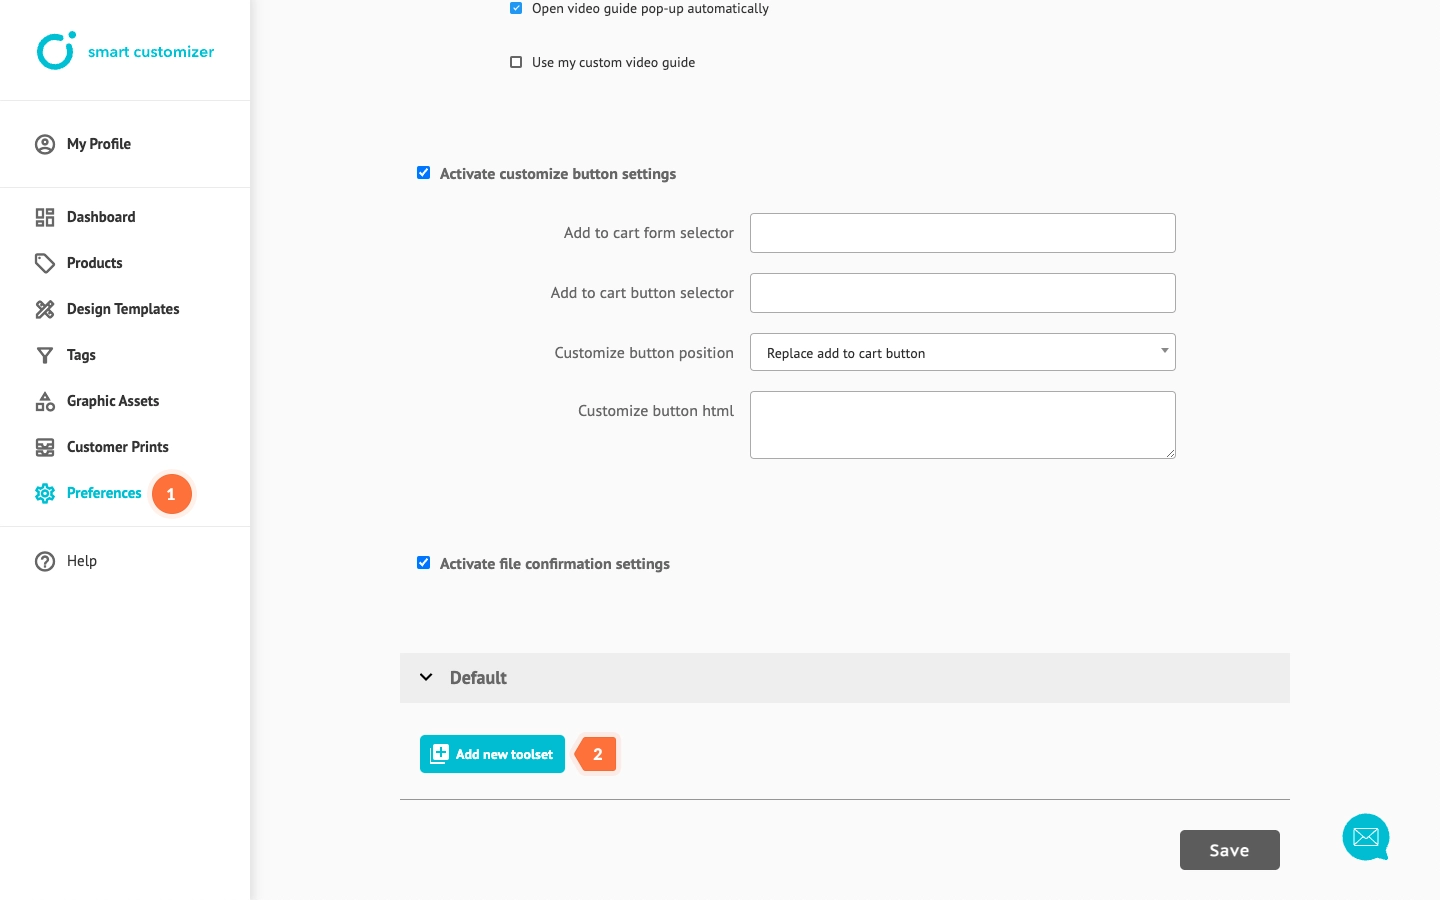
- Add a Title for the toolset.
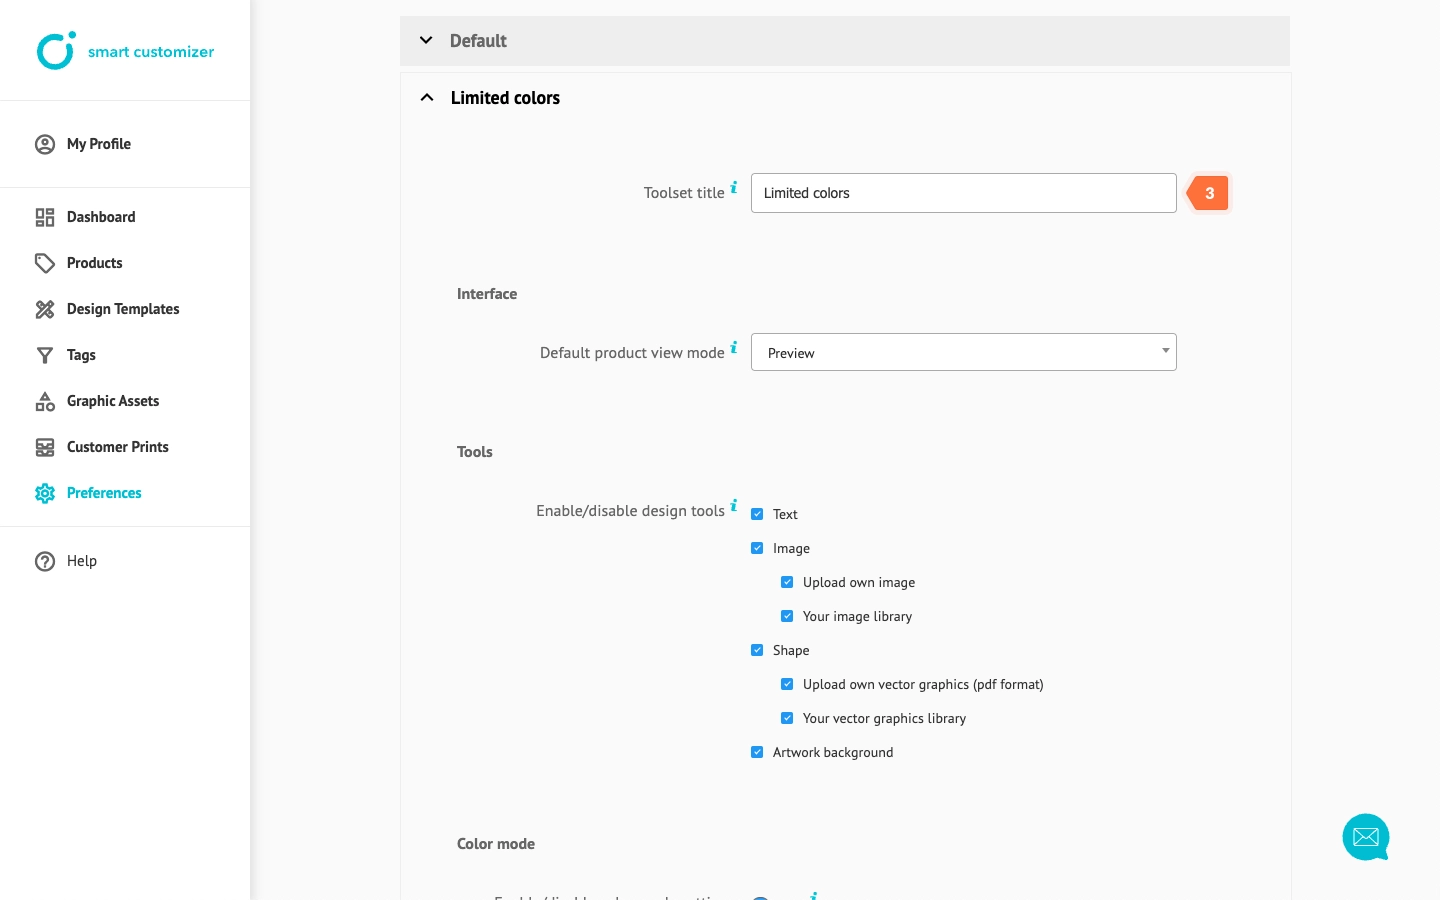
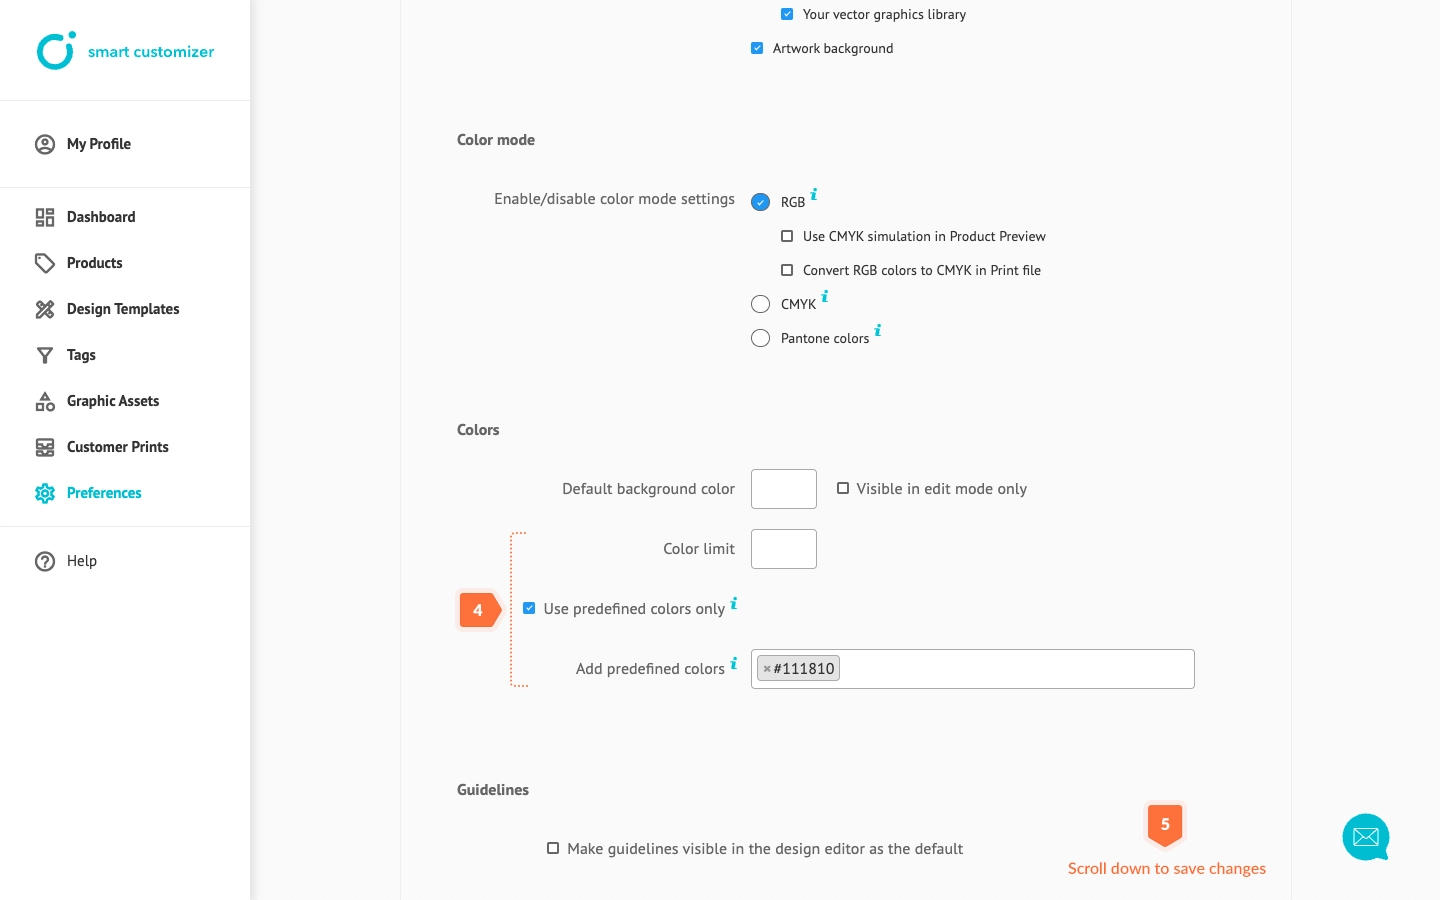
- Here are two color limitation options:
- In the Color Limit field, enter a number to define the maximum number of colors allowed. Customers can use any colors, but only up to the specified limit.
- To restrict the design to specific colors, check Use Predefined Colors Only and enter the HEX codes for the allowed colors.
- Save your changes.
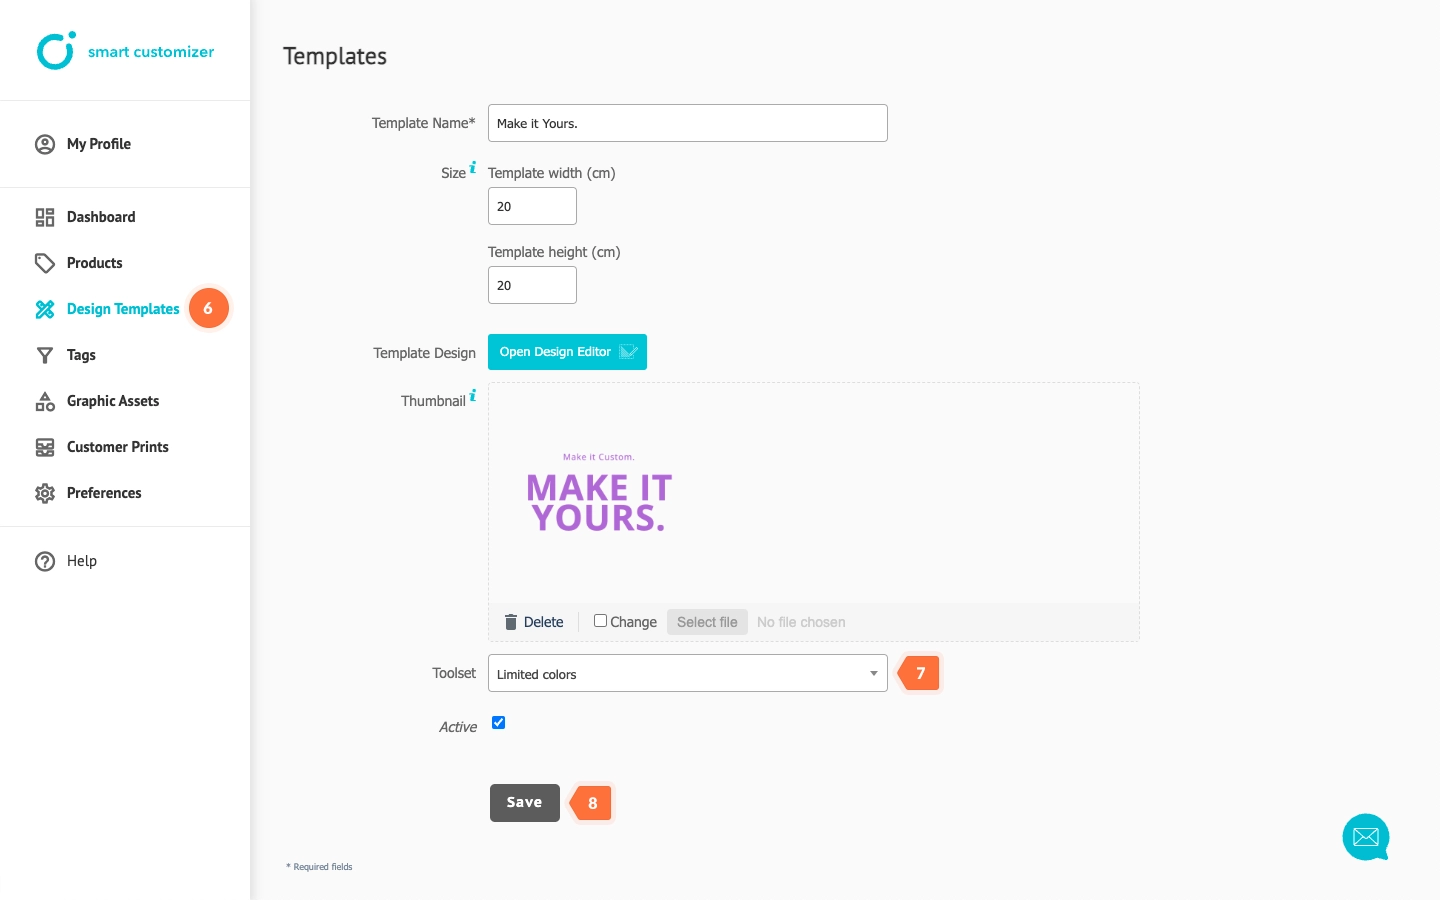
- Open your Design Template and assign the newly created Toolset.
- Click Save.
Advanced tips: Picture placeholders
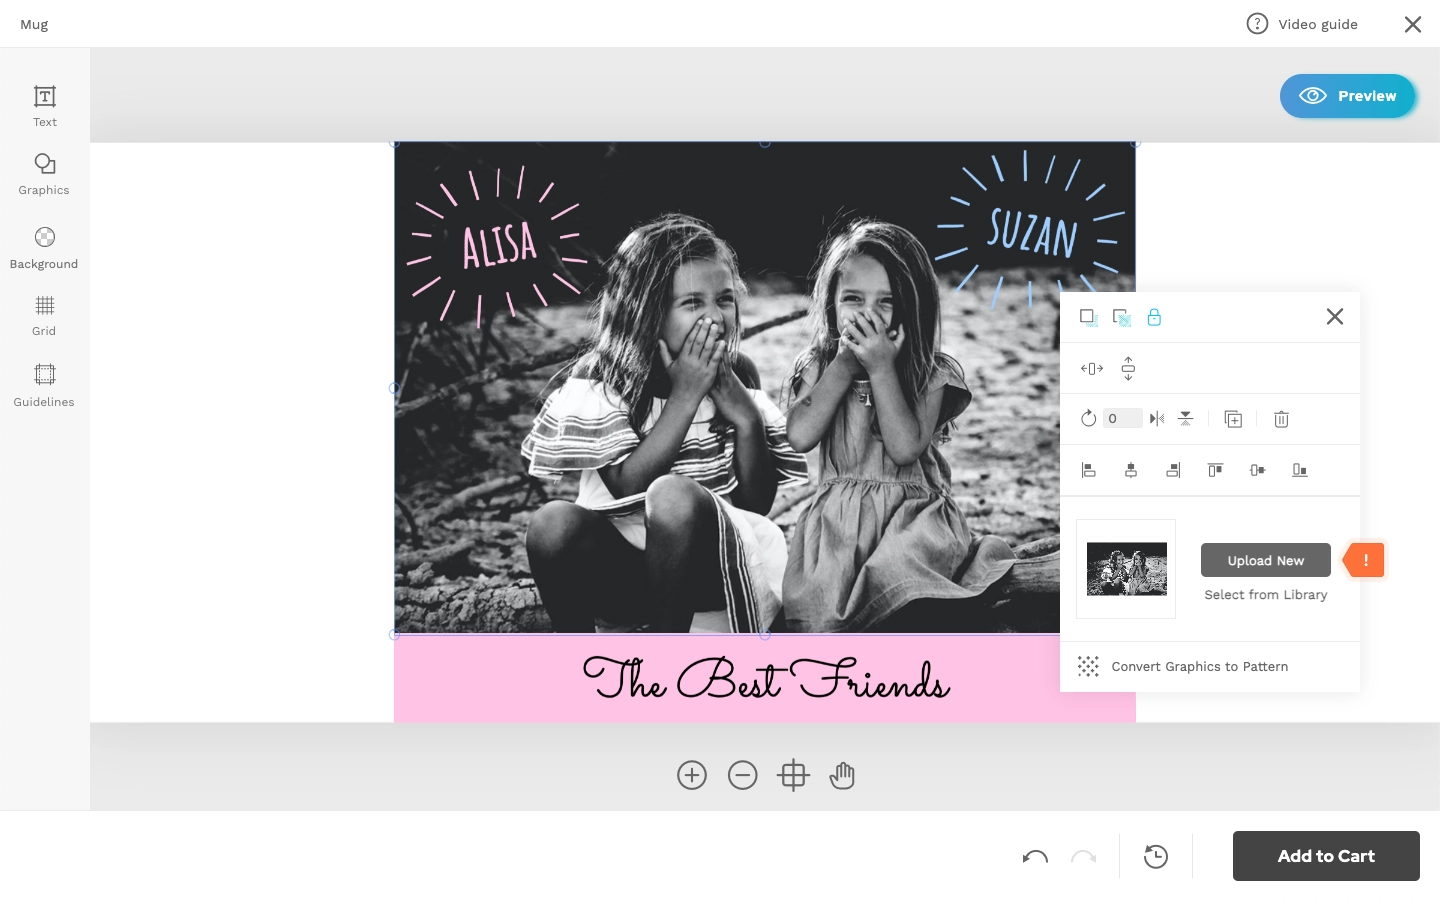
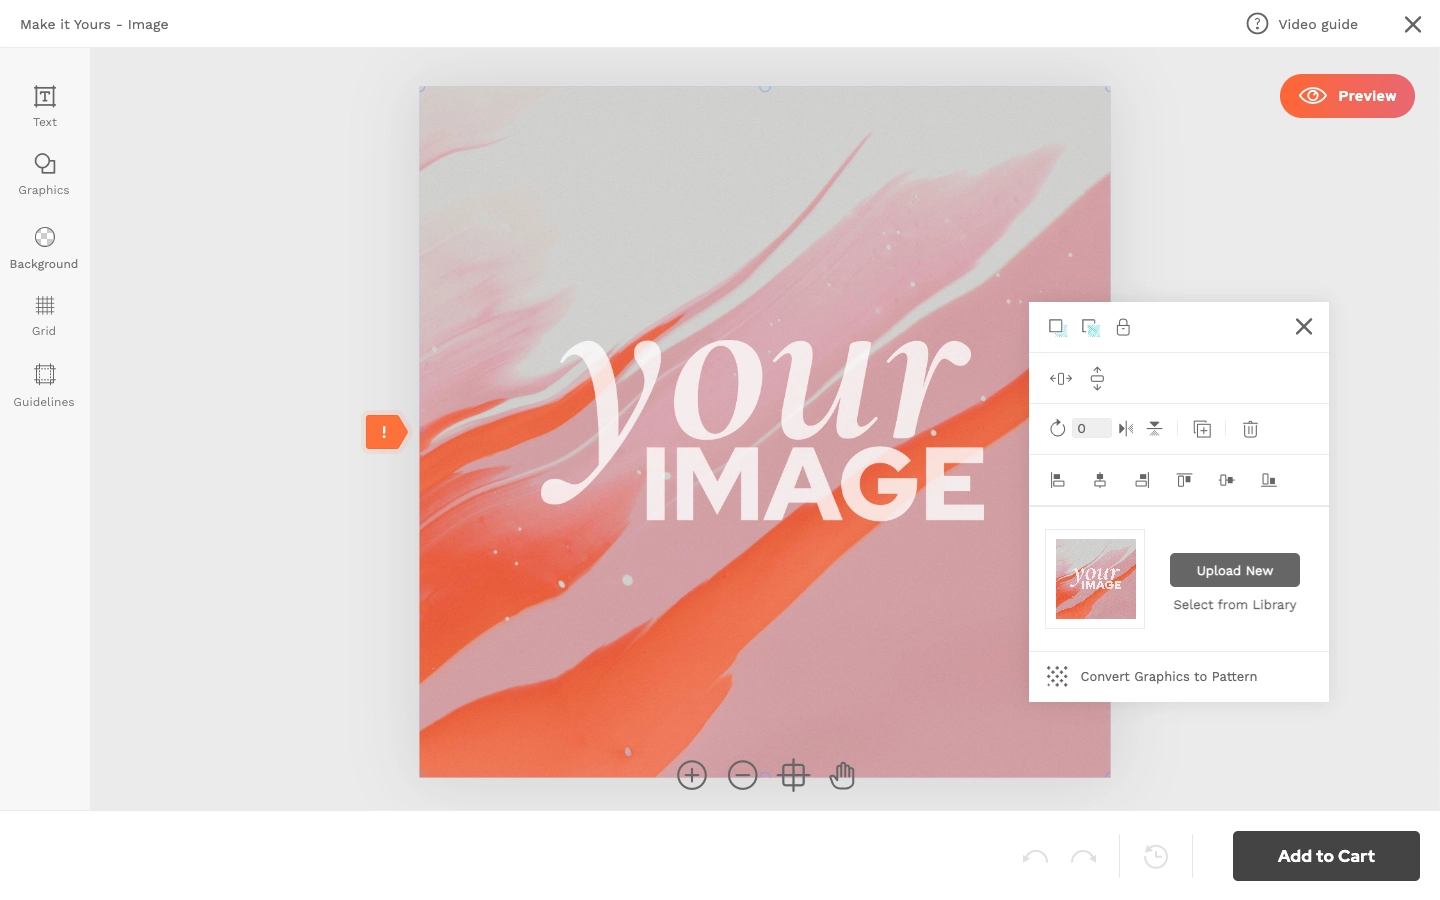
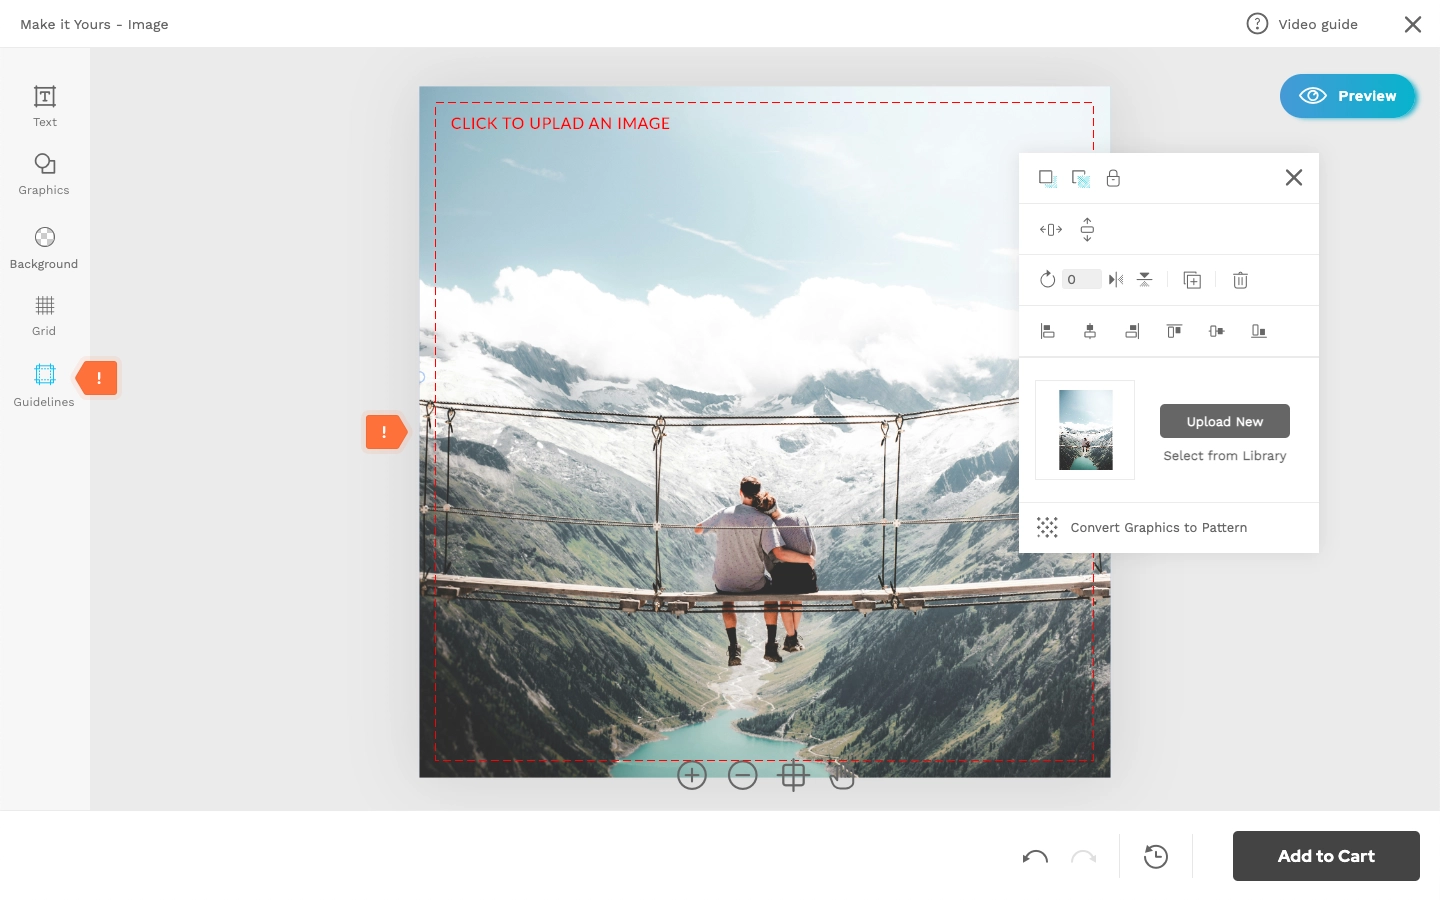
For products that are customized with pictures, you can make the process easier by adding picture placeholders in your design template.
- When an image is part of the template, customers can simply click on it, and a box will appear with an option to upload a new picture:
- To make it even easier, you can upload a sample image with a guidance text:
- Or use a guidelines layer with the same note. The guidelines layer won’t be included in the print-ready file and can be turned on or off by the customer. For more info, refer to: How to import guidelines layer.
Important: templates saved with Visible checkmark enabled will appear for your customers instantly.
