Creating design templates for your products
This article refers to Smart Customizer Web to Print App Version 1 Explore the Version 2 (Stand Alone) article here
Before we get started
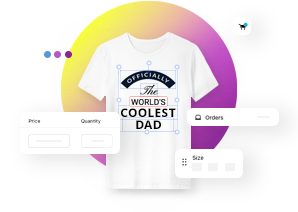
- Design template is a predefined mockup of texts and visuals that help customers to start the customization quickly.
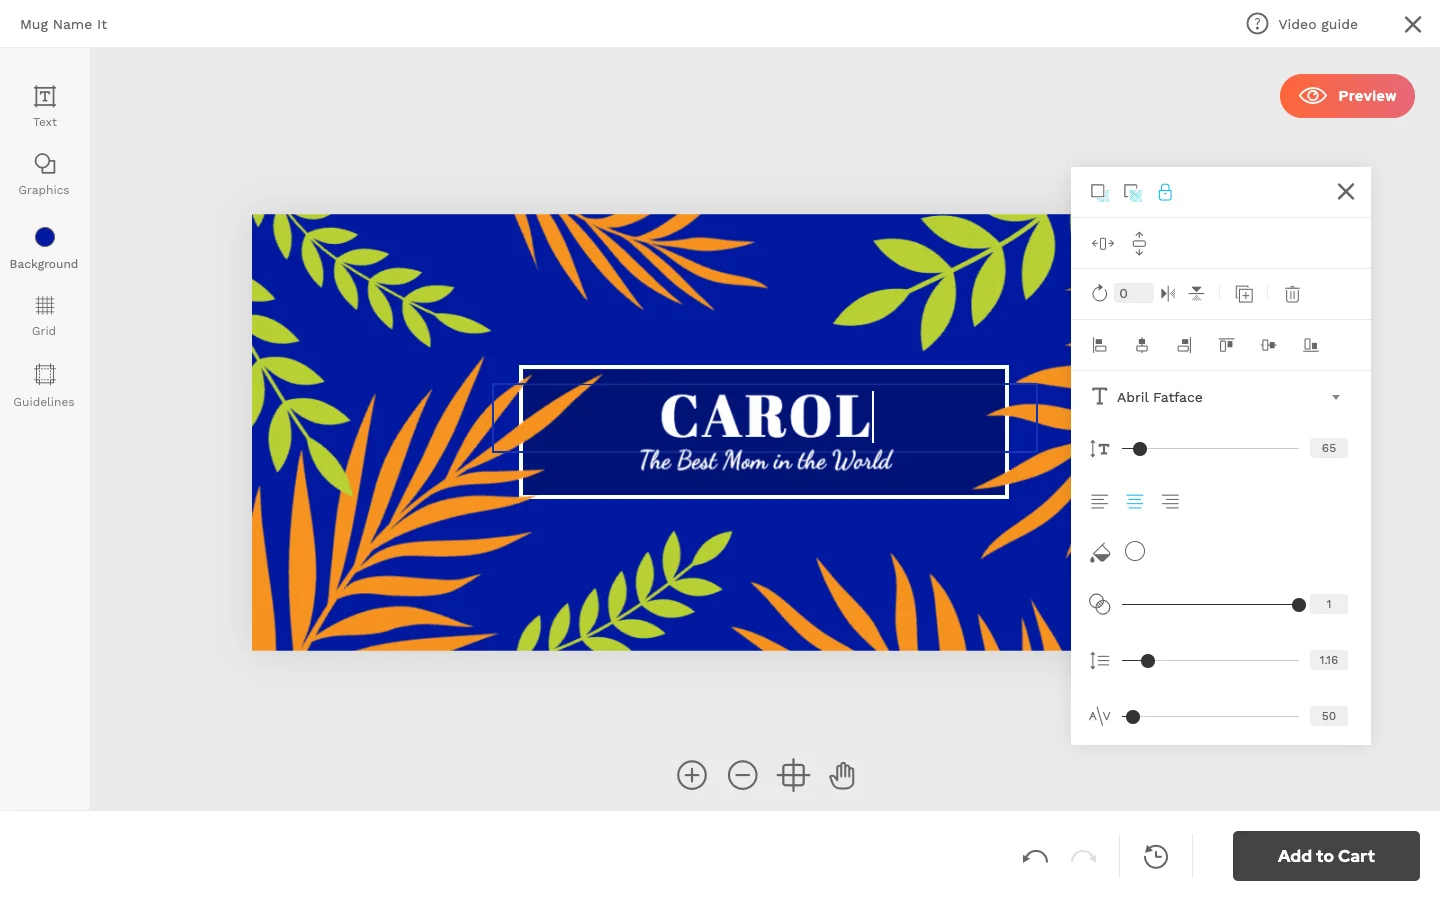
- We recommend creating and assigning at least three different design templates for your product template.
- It is possible to install and use our graphic assets library while creating a design template but you can also upload your own graphics.
- Our app supports .png, .jpg, .pdf, and .svg file formats for graphics upload.
- Please note that PDFs exported from Canva are not supported. Only files in .jpg and .png formats from Canva can be used.
How to create a design template
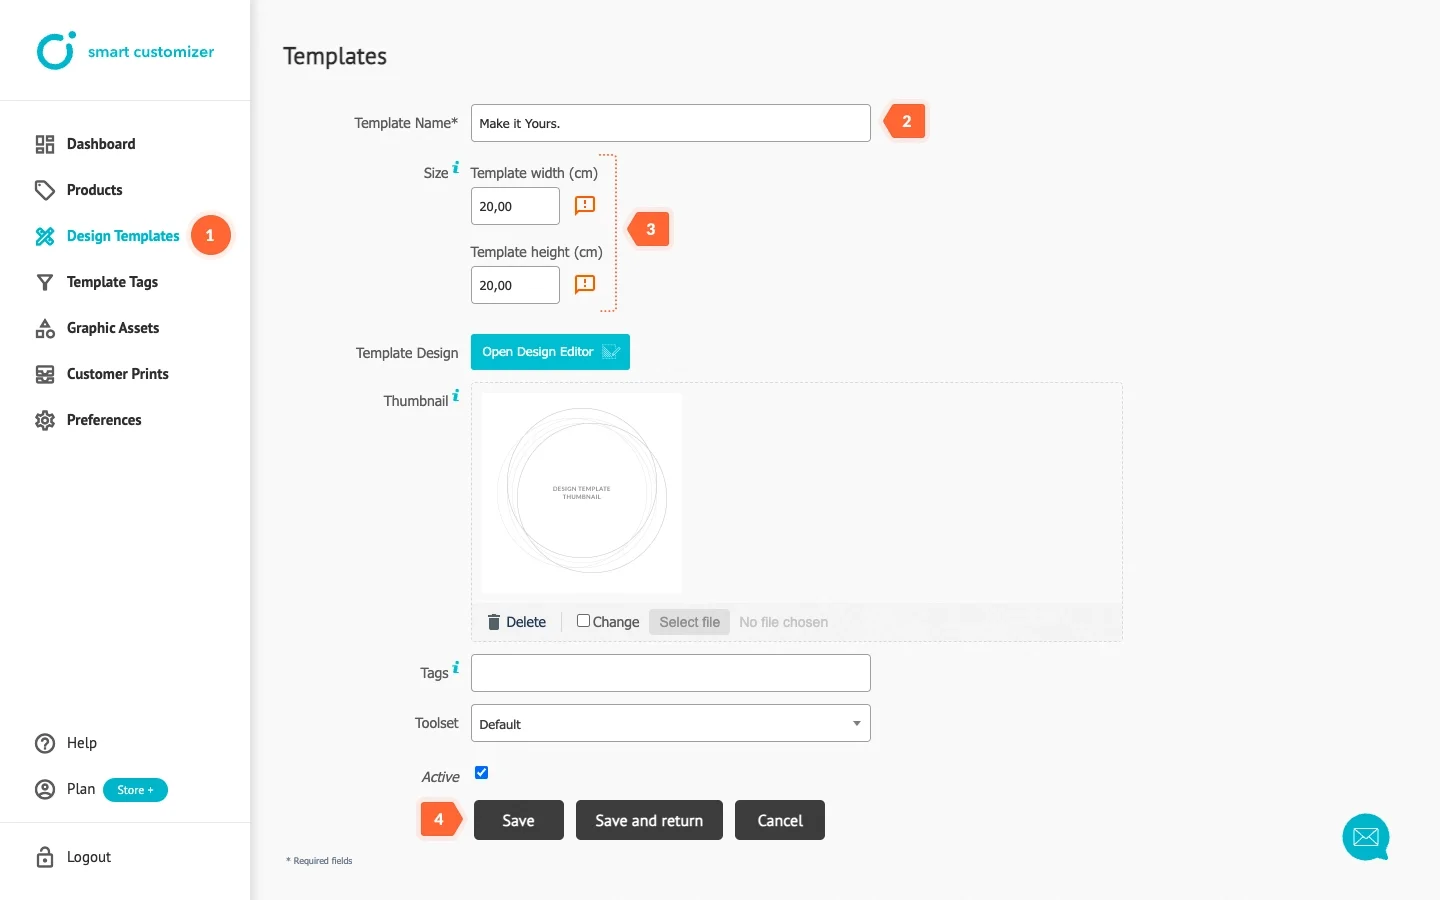
- Go to Design Templates and click Add New.
- Enter your Template Name. The name of a design template will be visible for your customers.
- Add template dimensions. We would recommend using the same dimensions as it is set for your product's print area.
- Click Save.
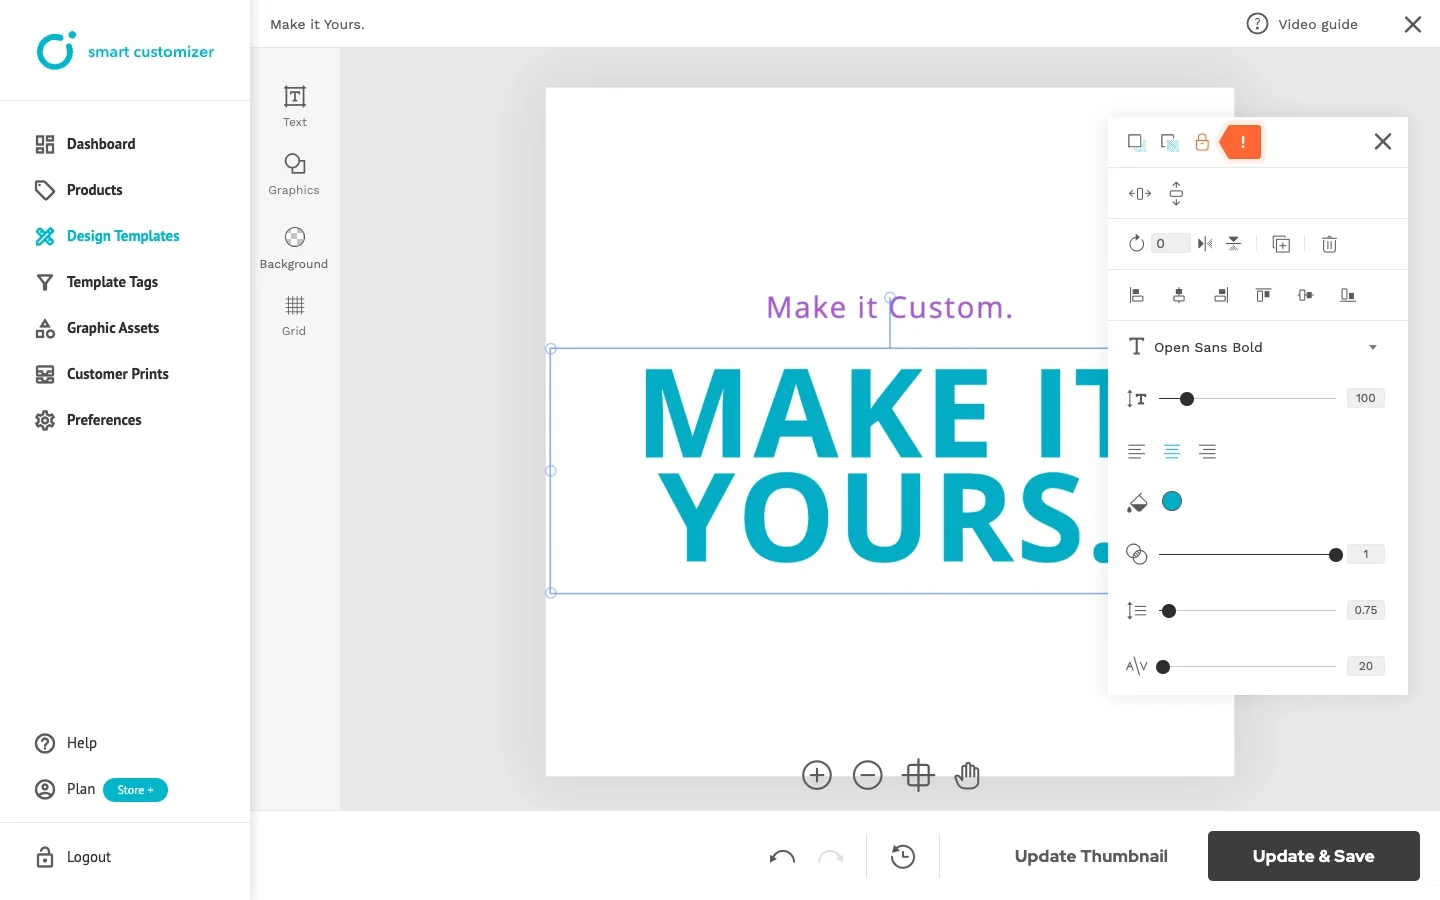
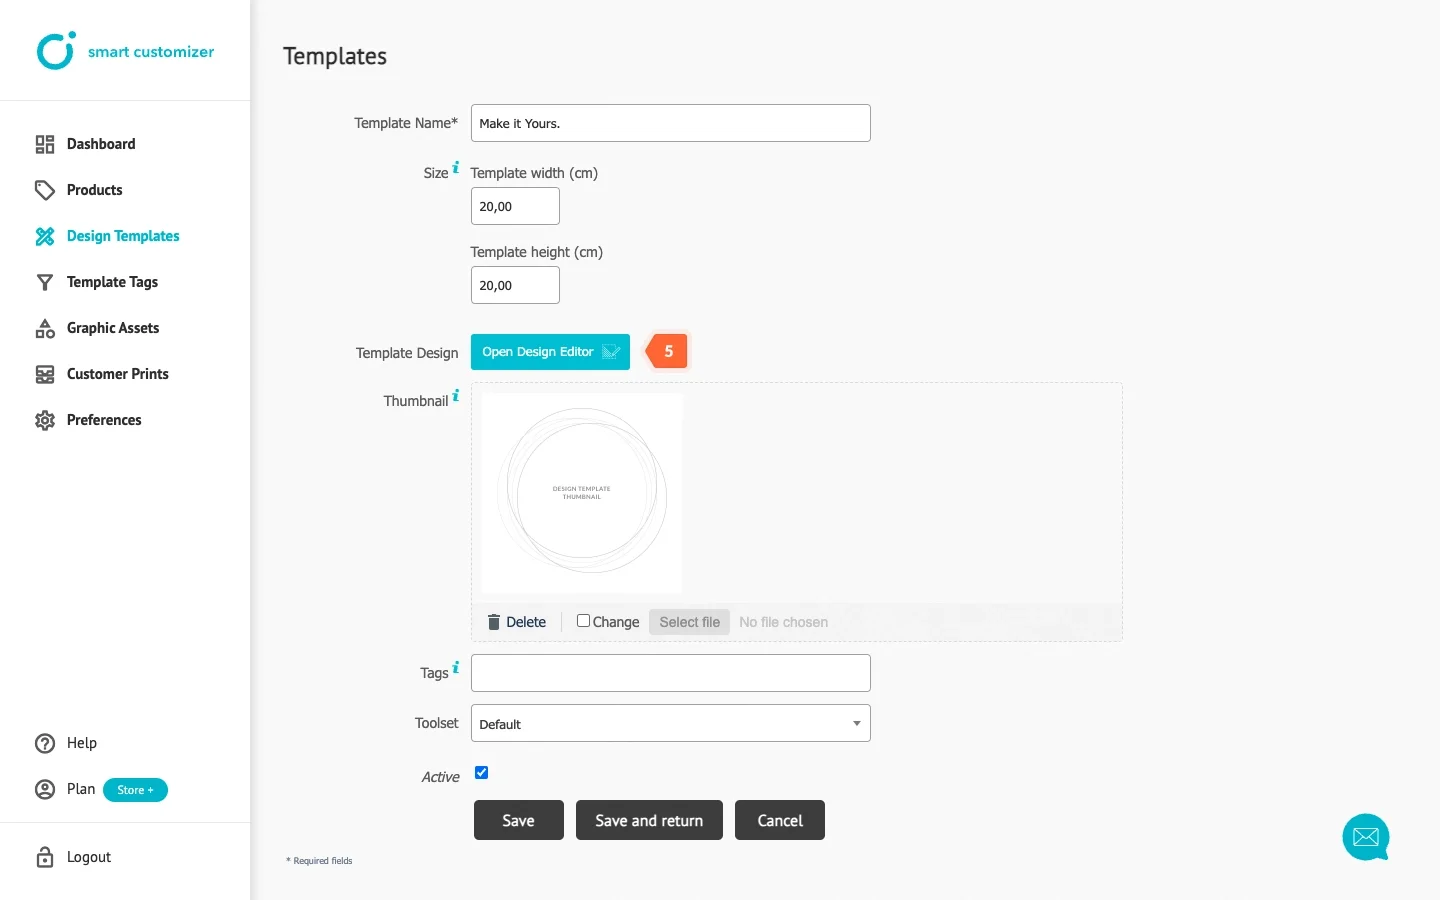
- Open Design Editor.
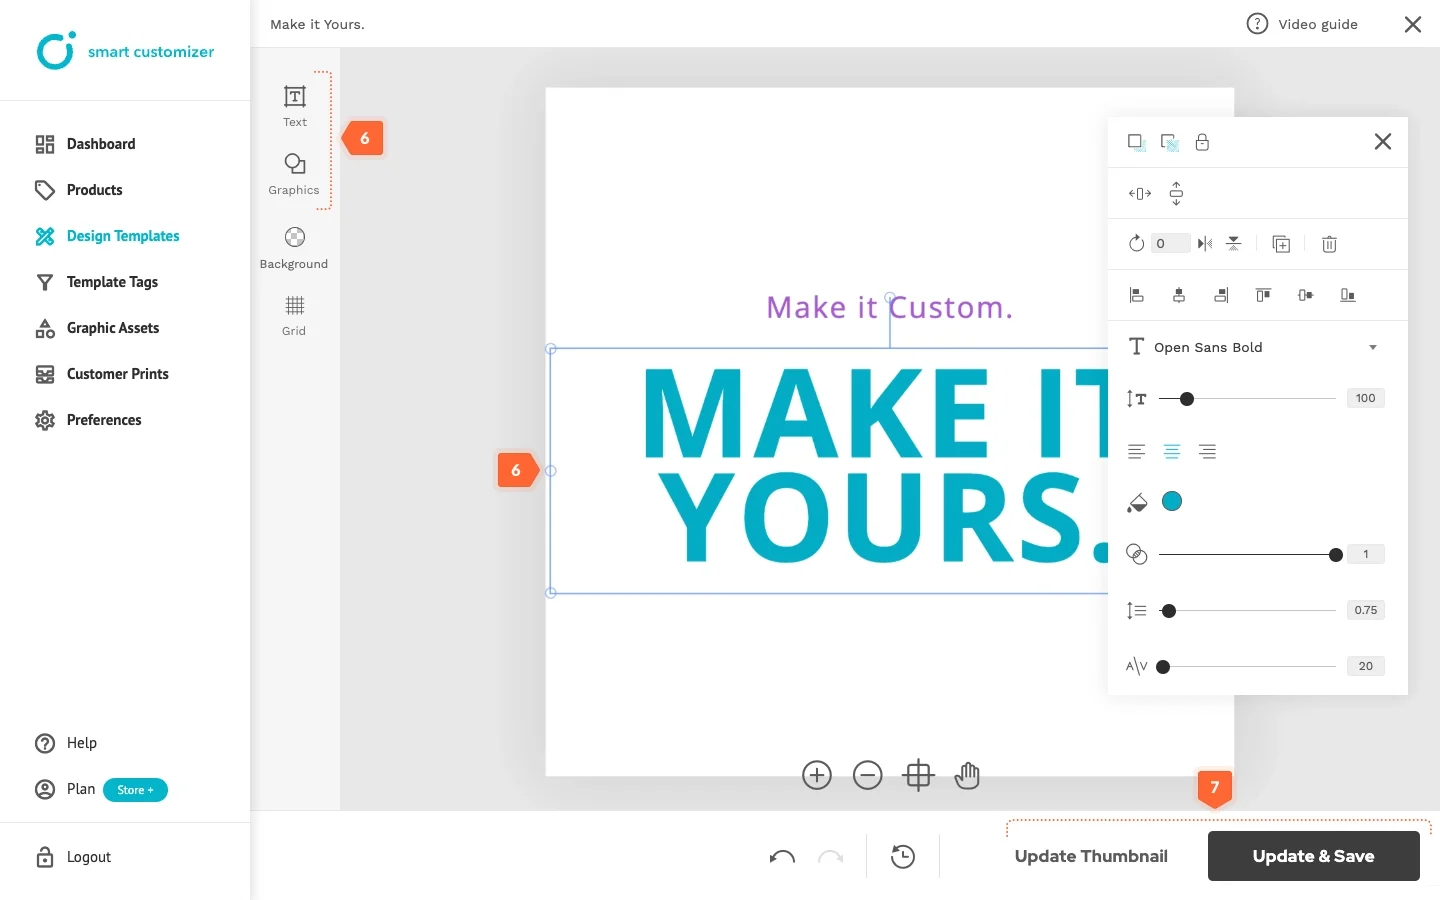
- Create your design template by inserting custom texts or graphics from your computer. Learn more how to upload your custom graphic assets to the library.
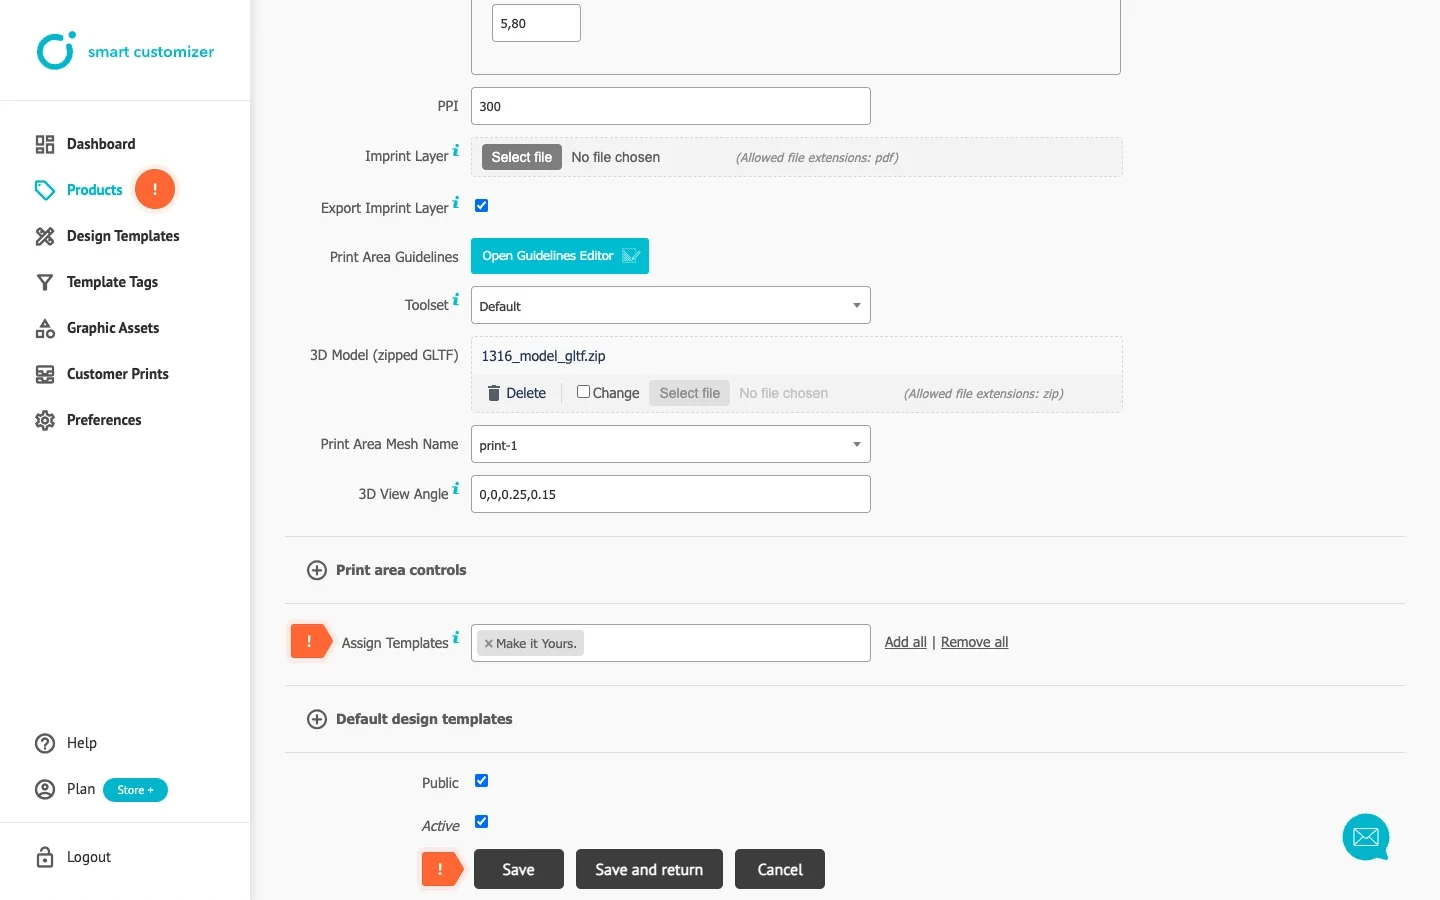
- Once done, click Update Thumbnail, then click Update & Save. Assign your newly created design template in your Product settings.
Advanced tips:
- If you already have a design template created in your vector-based program - you can simply upload it as a clipart in .svg file format.
- You can also create a custom toolset, as an example with limited colors that can be used in the design, and assign it to your design template once created. Do not forget to save design template after assigning a new toolset. To create a toolset go to Preferences > Add new toolset > Choose your custom settings > Save. More info: Creating toolsets.
- You can also ensure that important design elements will not be moved or edited by the customers. Our app has 3 types of object locks available:
Graphic asset is not locked as a default once uploaded and can be both moved and edited in the design editor. This is because the Lock icon is not activated:
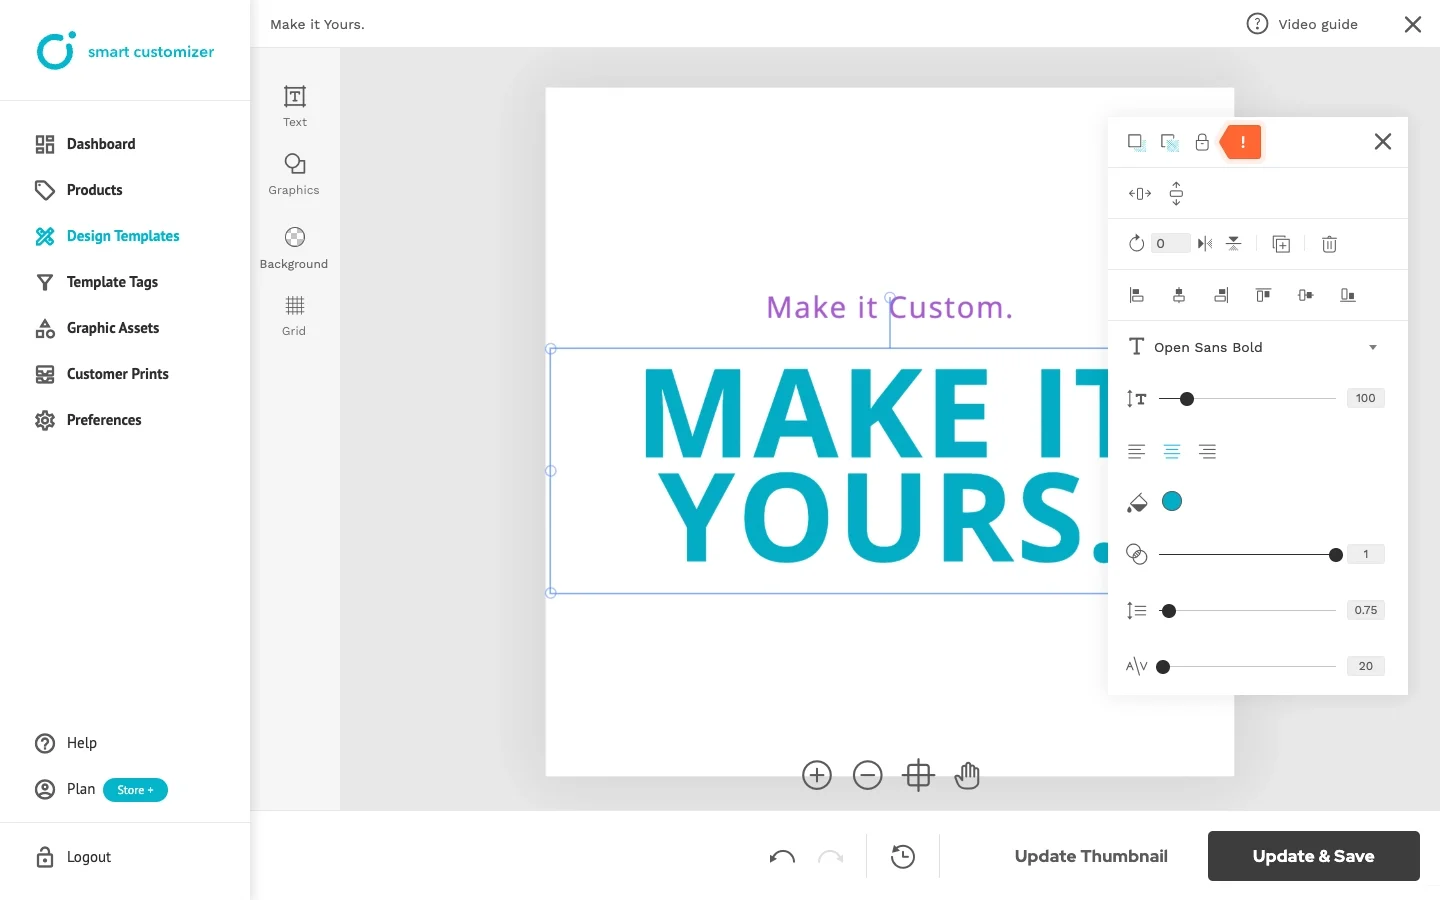 If you want to lock an object/asset click once on the Lock icon. Single click means that a customer will not be able to move the asset but it will be possible to edit it and unlock manually if needed.
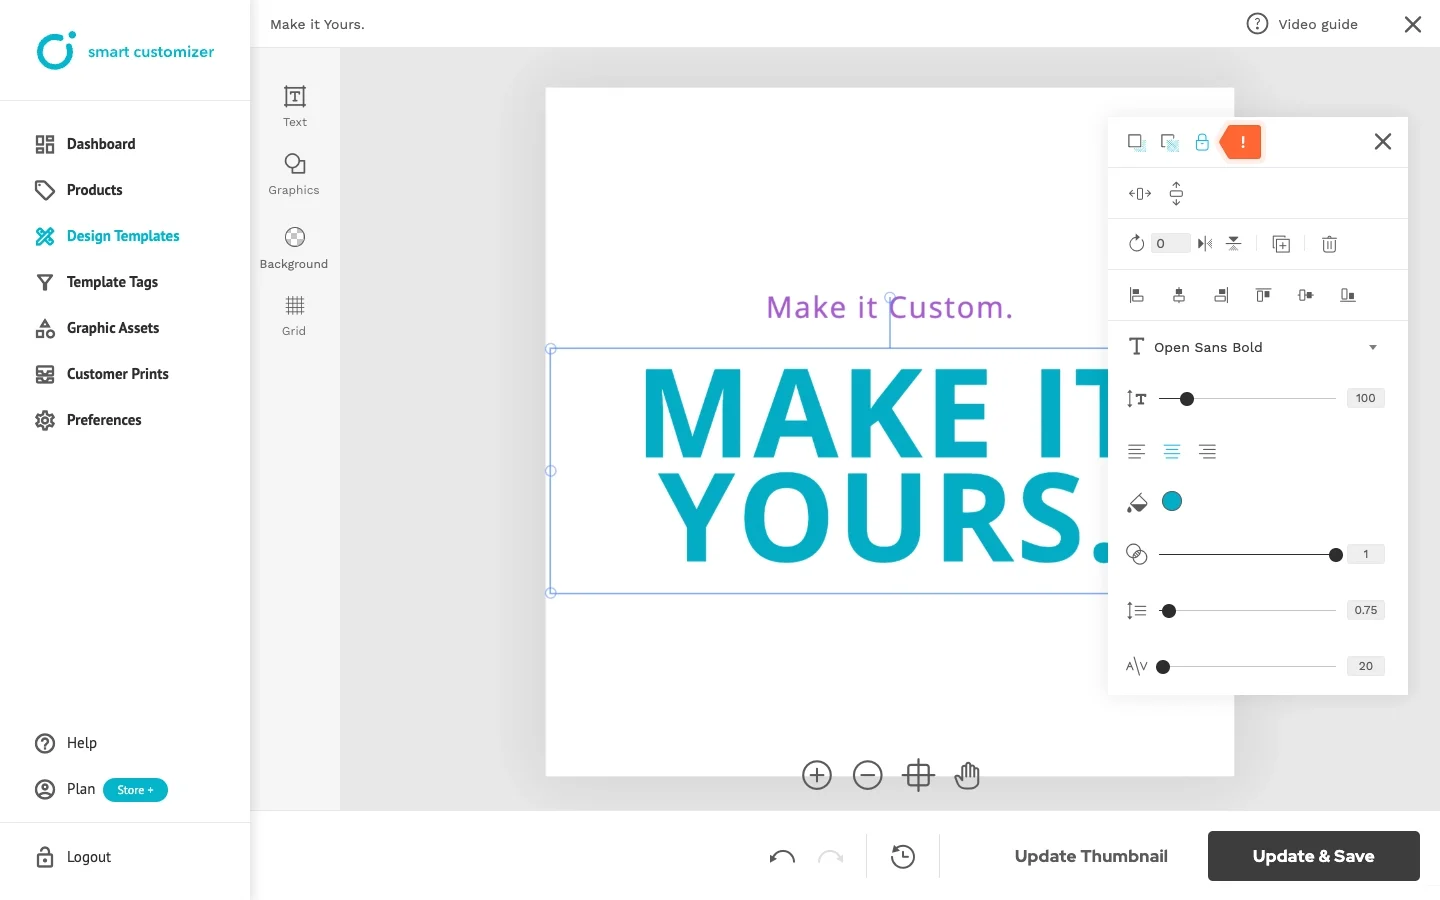 If you want to lock an object/asset permanently click twice on the Lock icon. Double click means that a customer will not be able to move the asset as well as edit it or unlock it manually.
Picture placeholders
For products that are customized with pictures, you can make the process easier by adding picture placeholders in your design template.
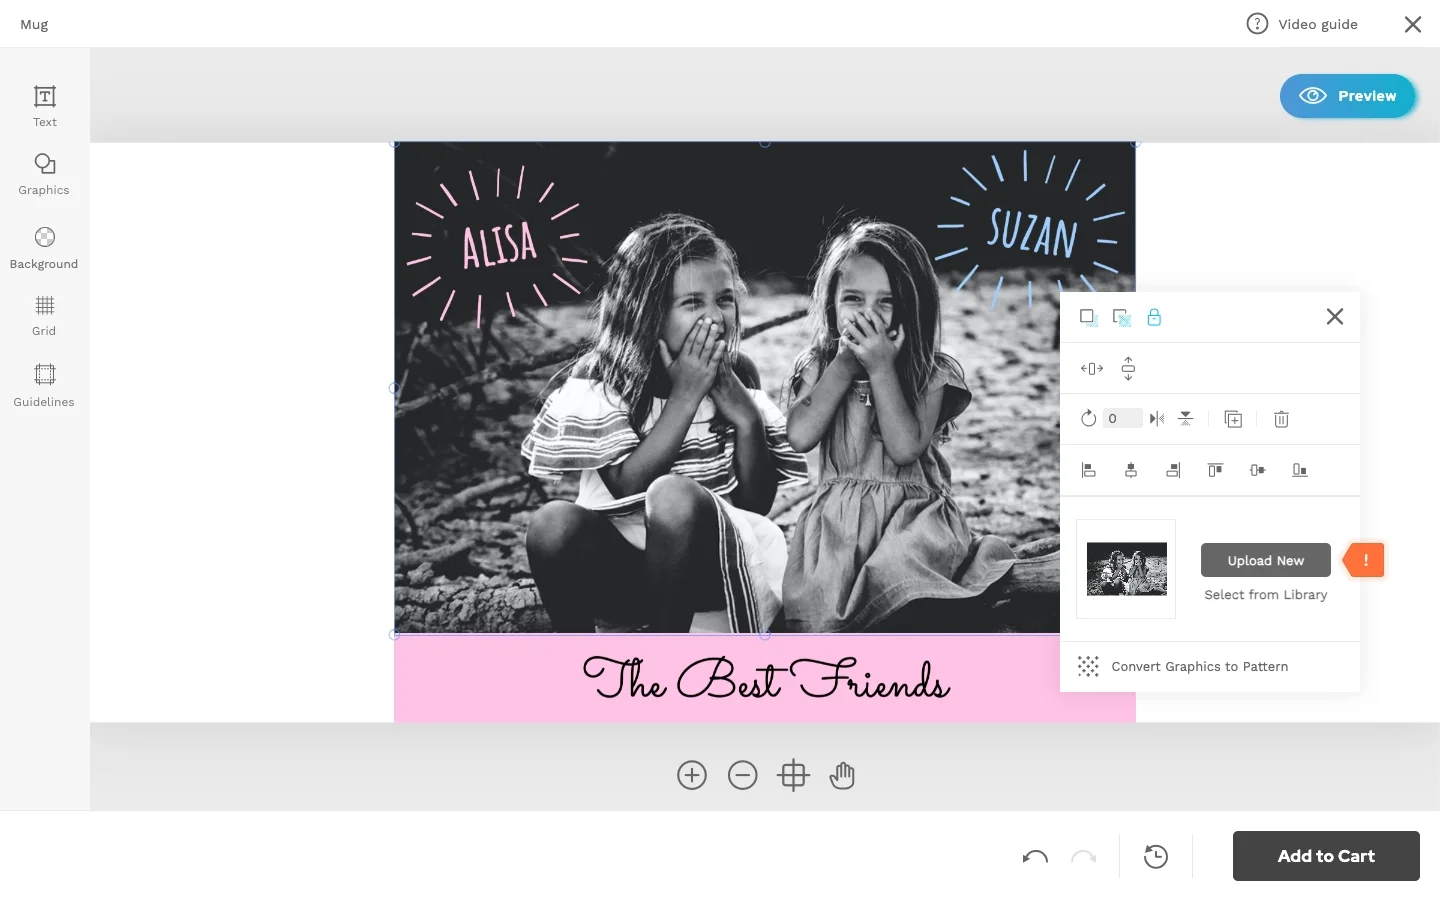
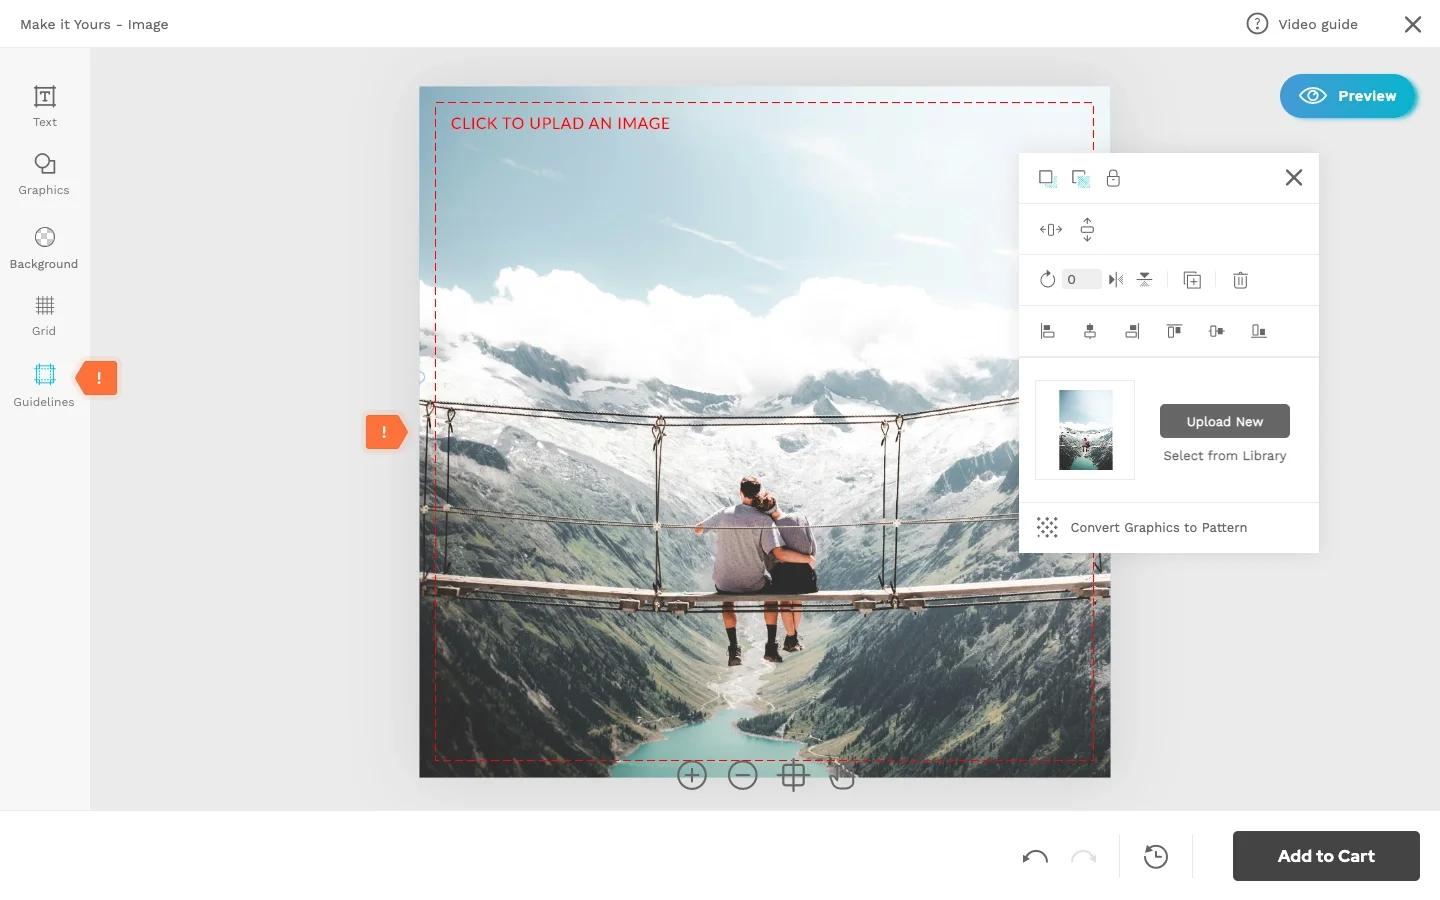
- When an image is part of the template, customers can simply click on it, and a box will appear with an option to upload a new picture:
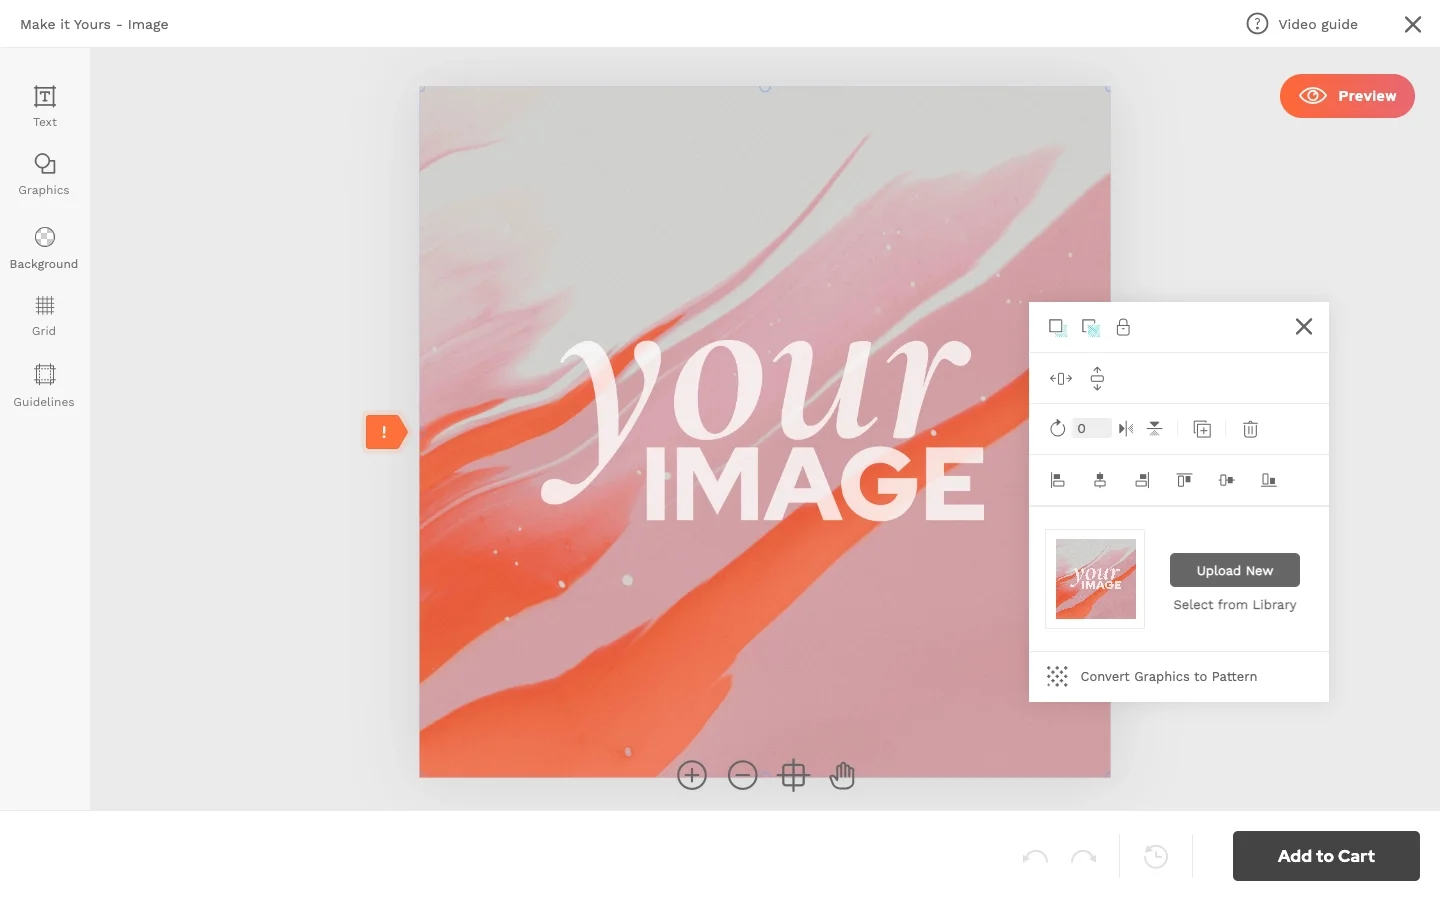
- To make it even easier, you can upload a sample image with a guidance text:
- Or use a guidelines layer with the same note. The guidelines layer won’t be included in the print-ready file and can be turned on or off by the customer. For more info, refer to: How to import guidelines layer.
Important: templates saved with Visible checkmark enabled will appear for your customers instantly.
