Setting up safe print area guidelines
This article refers to Smart Customizer Web to Print App Version 2.0Explore the Version 1.0 article here
About safe print area guidelines
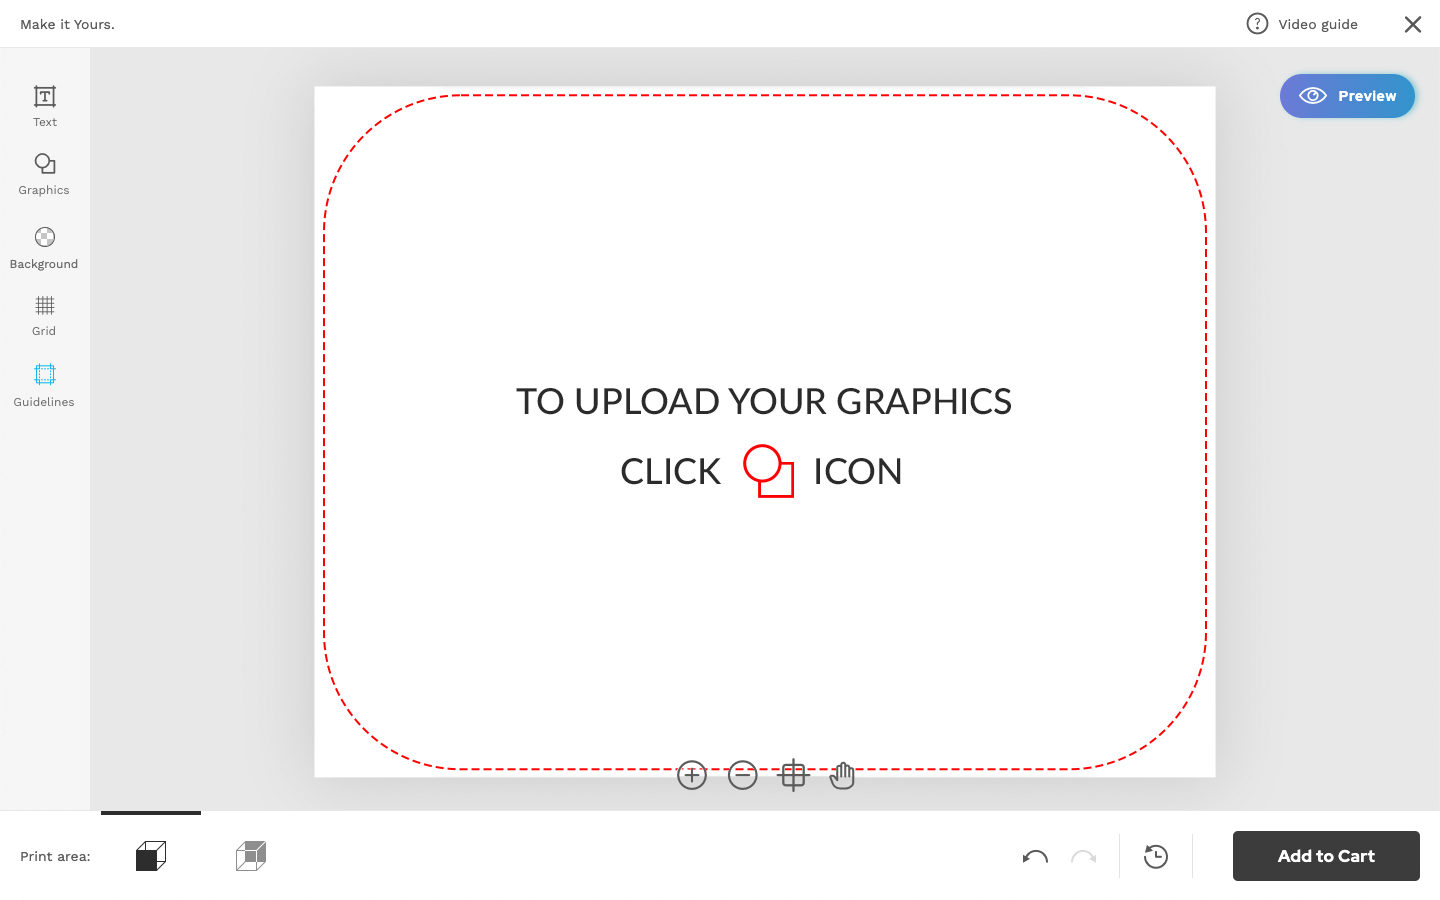
- Safe print area guidelines are essential for achieving a professional-looking print product, ensuring that important graphics and text remain within the designated safe zones and preventing unintended cuts or margins.

- Additionally, the guidelines layer can indicate bleed areas and provide important notes.
Technical information
- Guidelines layer files should be imported in .svg or .pdf format. Please note that PDFs exported from Canva are not supported.
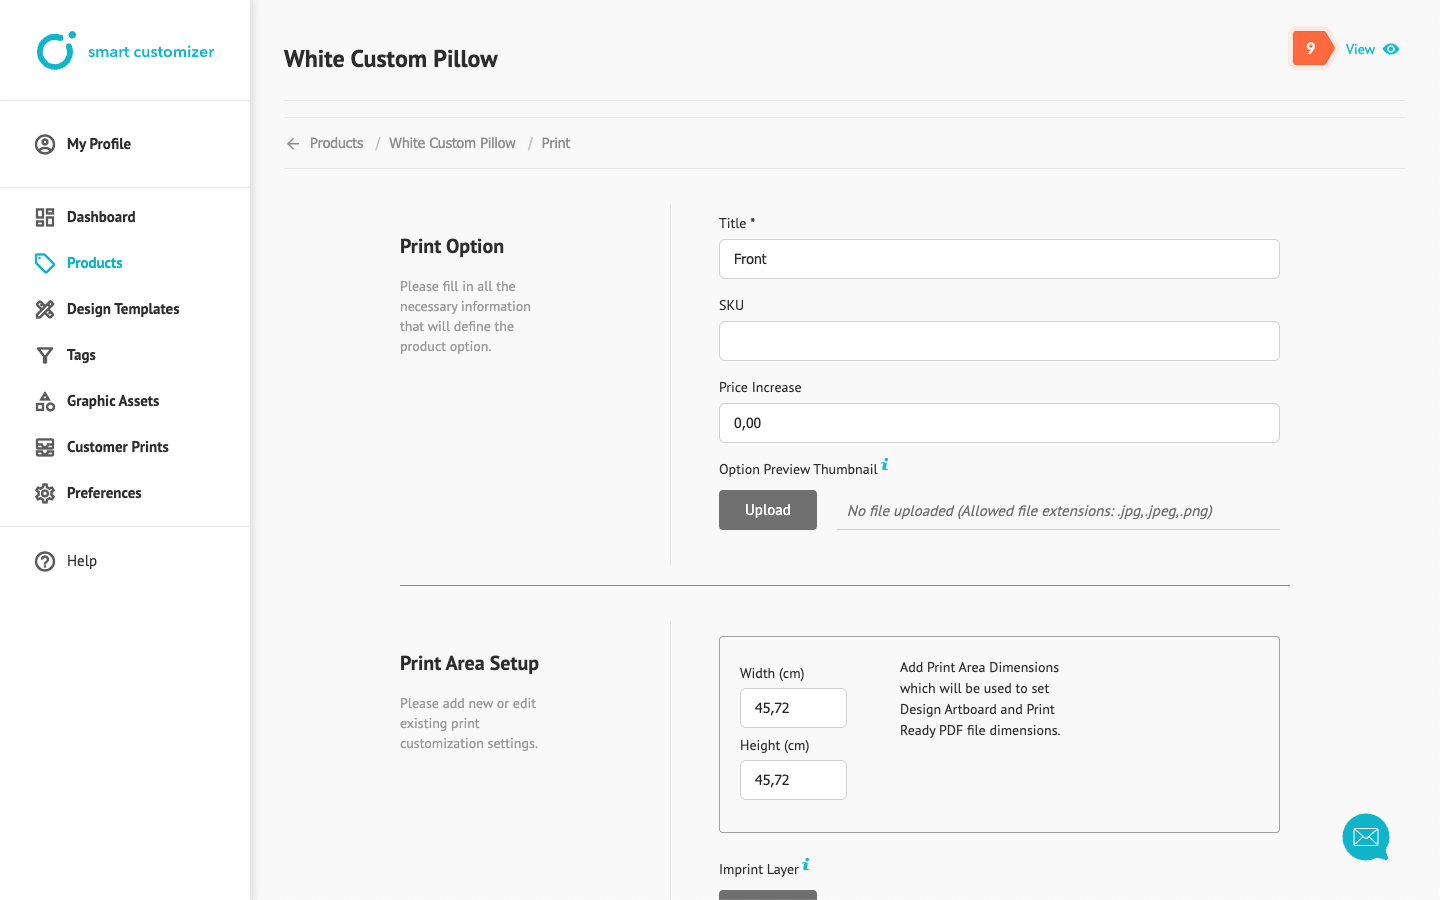
- The measurements of the guidelines artwork in vector-based software must match the print area dimensions set in our app.
- You can set guidelines to be visible by default by going to Preferences > Default > Guidelines.
- If the guidelines graphic isn’t set to constant visibility, it might cover parts of the customer’s design. However, users can easily toggle the guidelines on or off by clicking the Guidelines icon in the Design Editor.
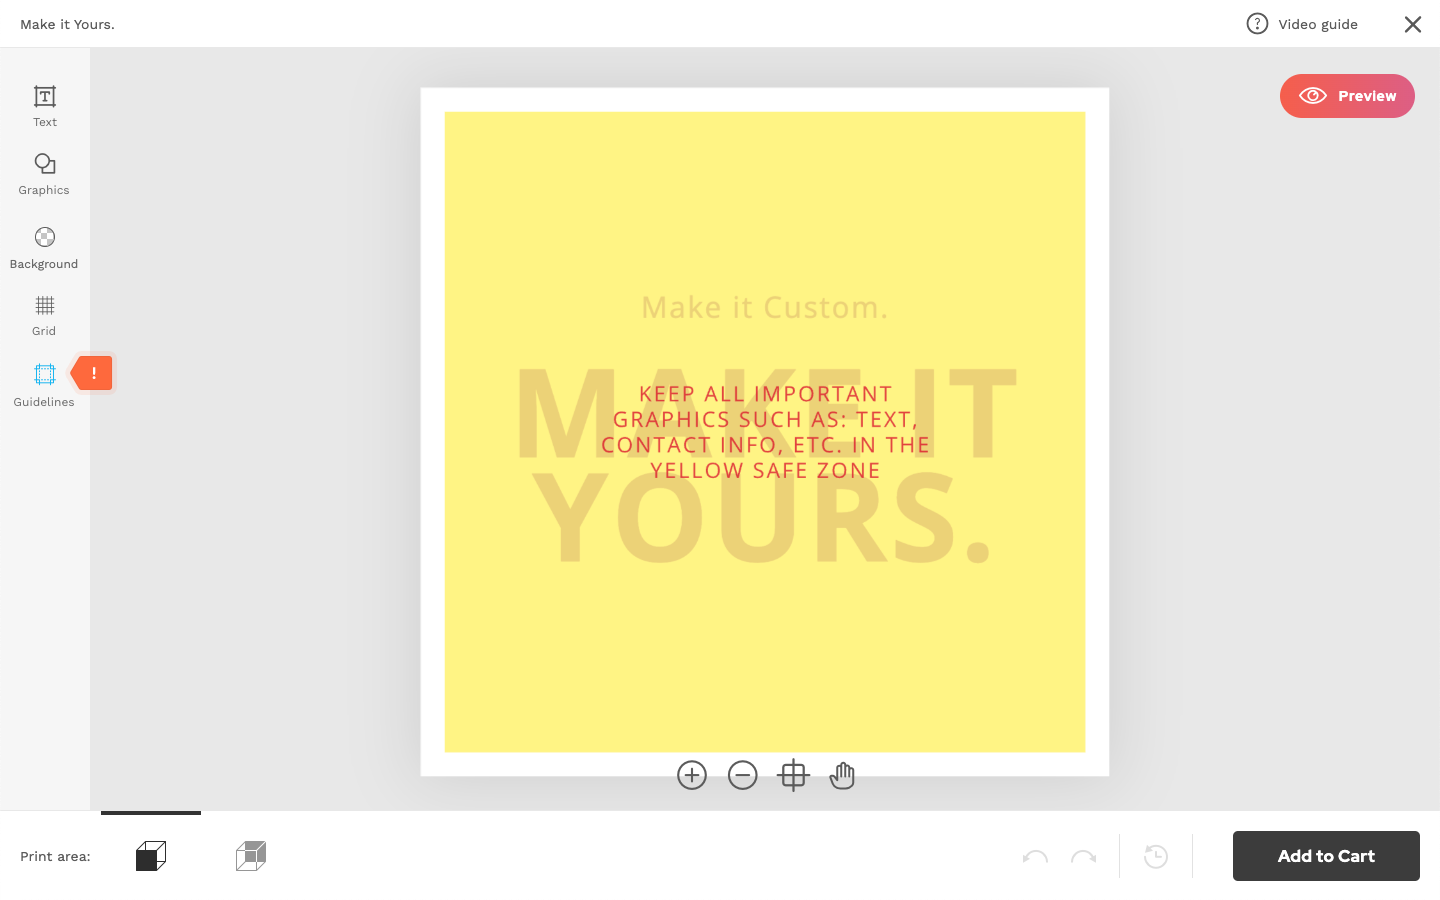
- Guidelines will be visible only in the Design Editor and will not be included in the final print-ready file.
Before we get started
First, create a toolset with a 100% vector scale. This toolset will be used temporarily for the guidelines file upload, ensuring the file is imported at its original size without requiring any adjustments. To do this:
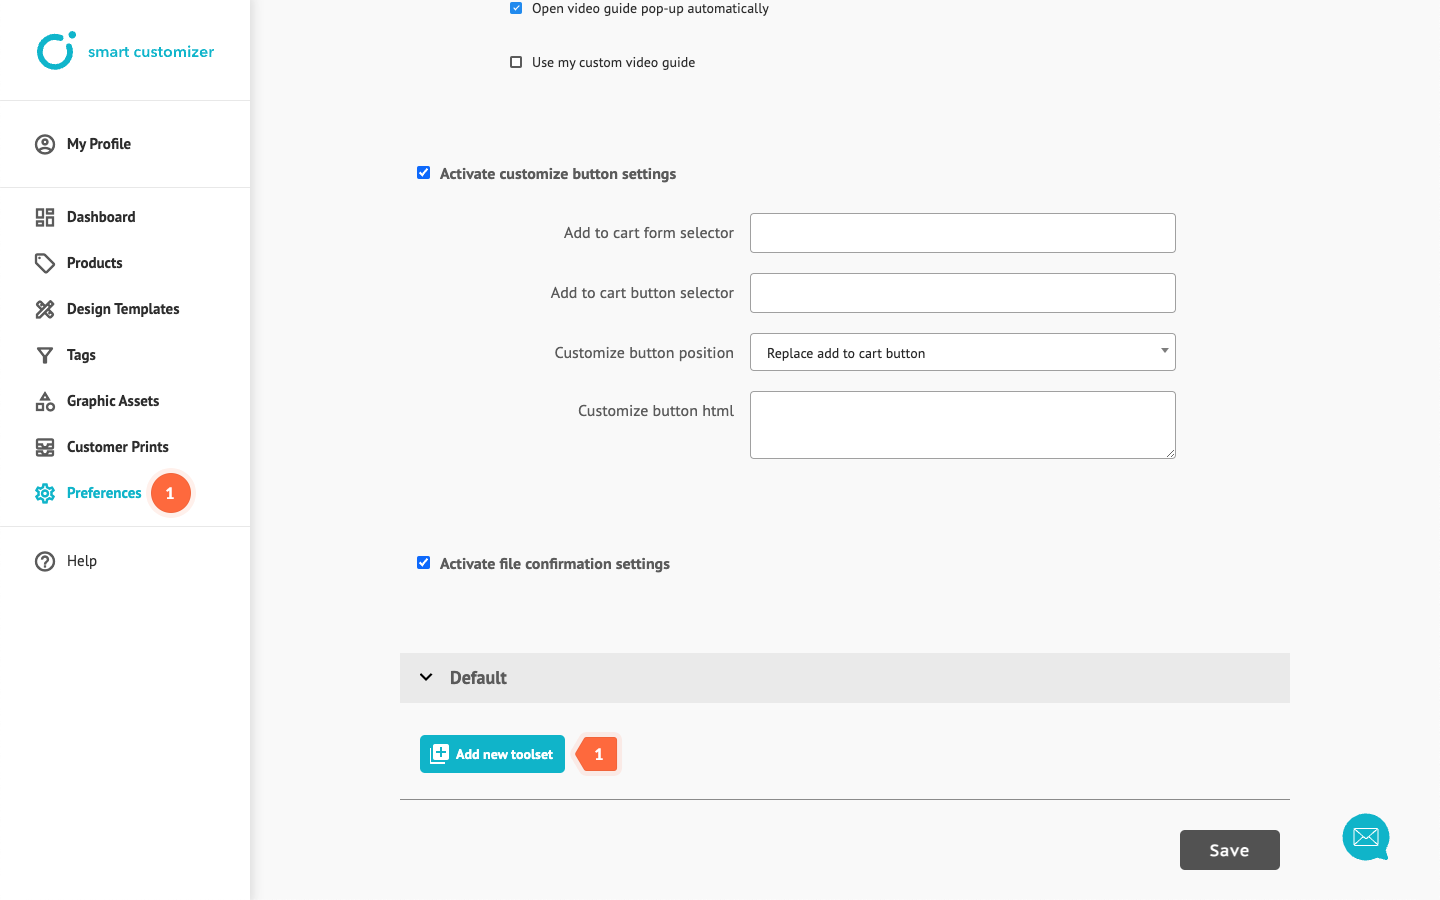
- Go to Preferences and click Add new toolset.
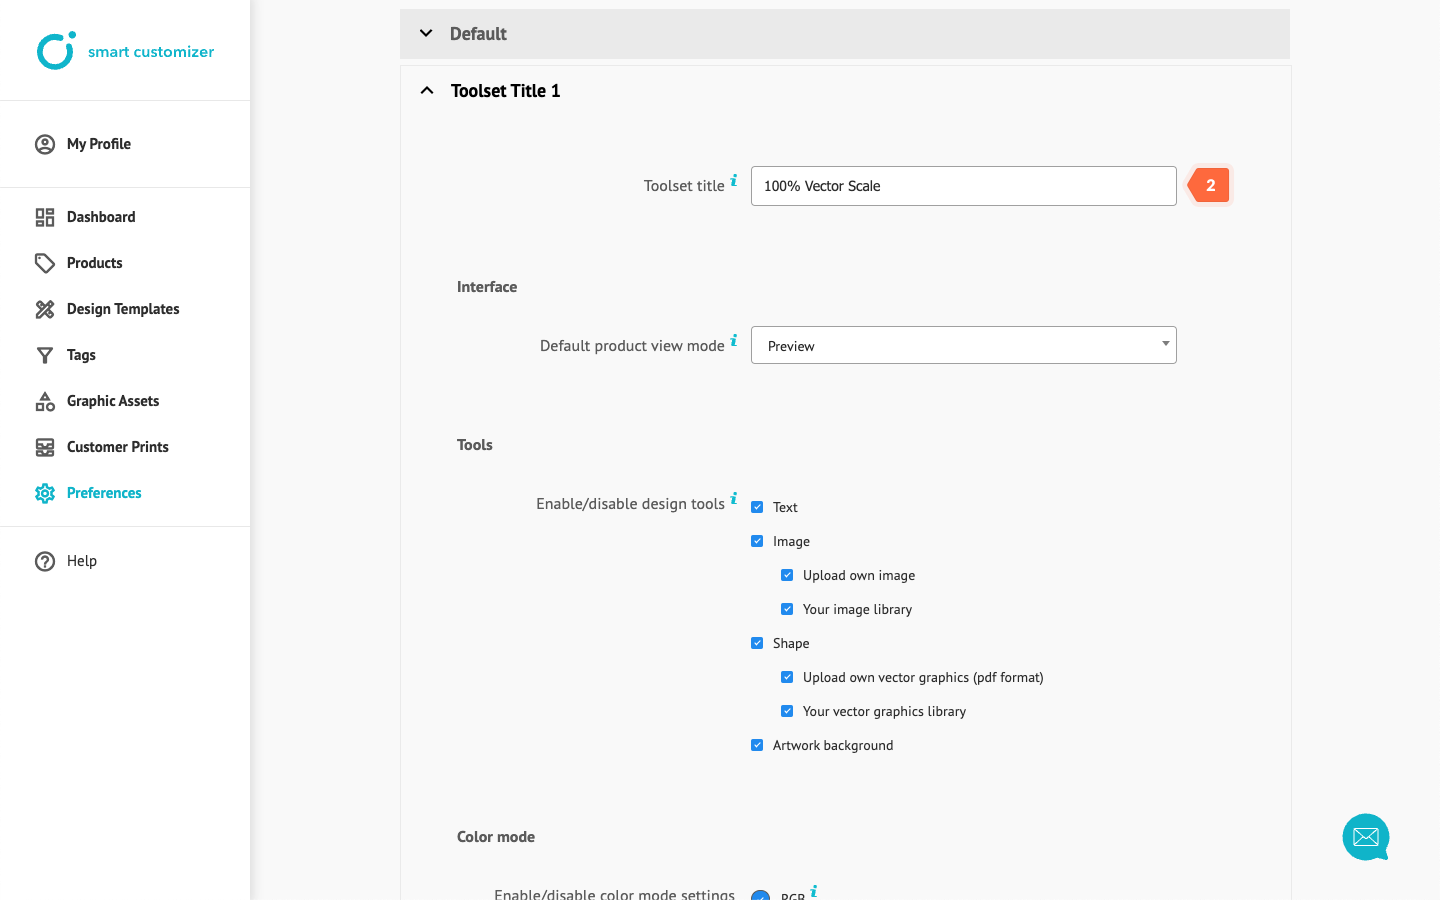
- Enter the Toolset title.
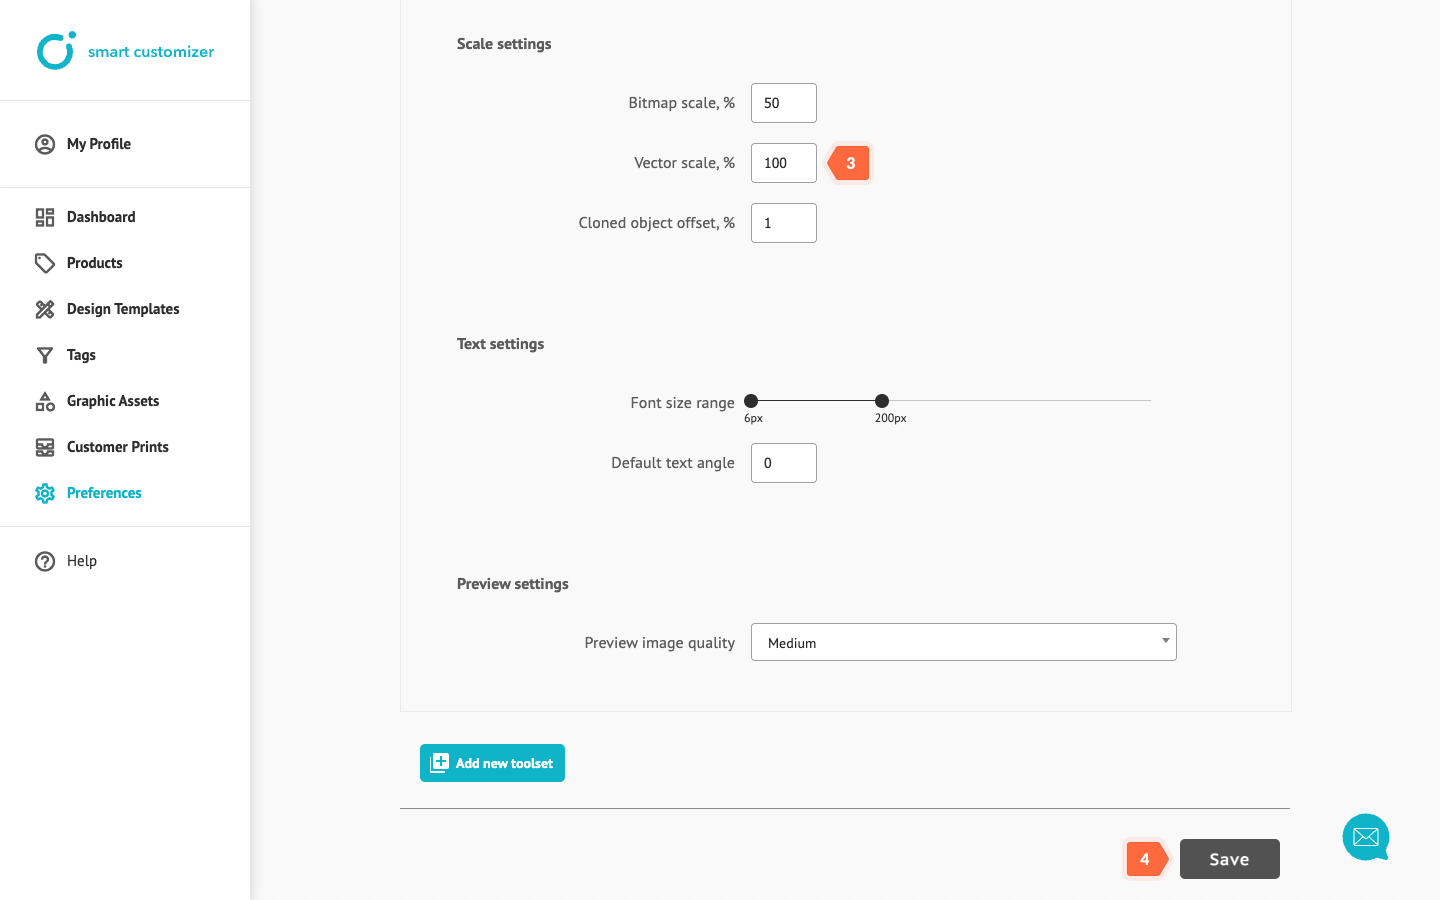
- Change Vector scale to 100%.
- Save the changes.
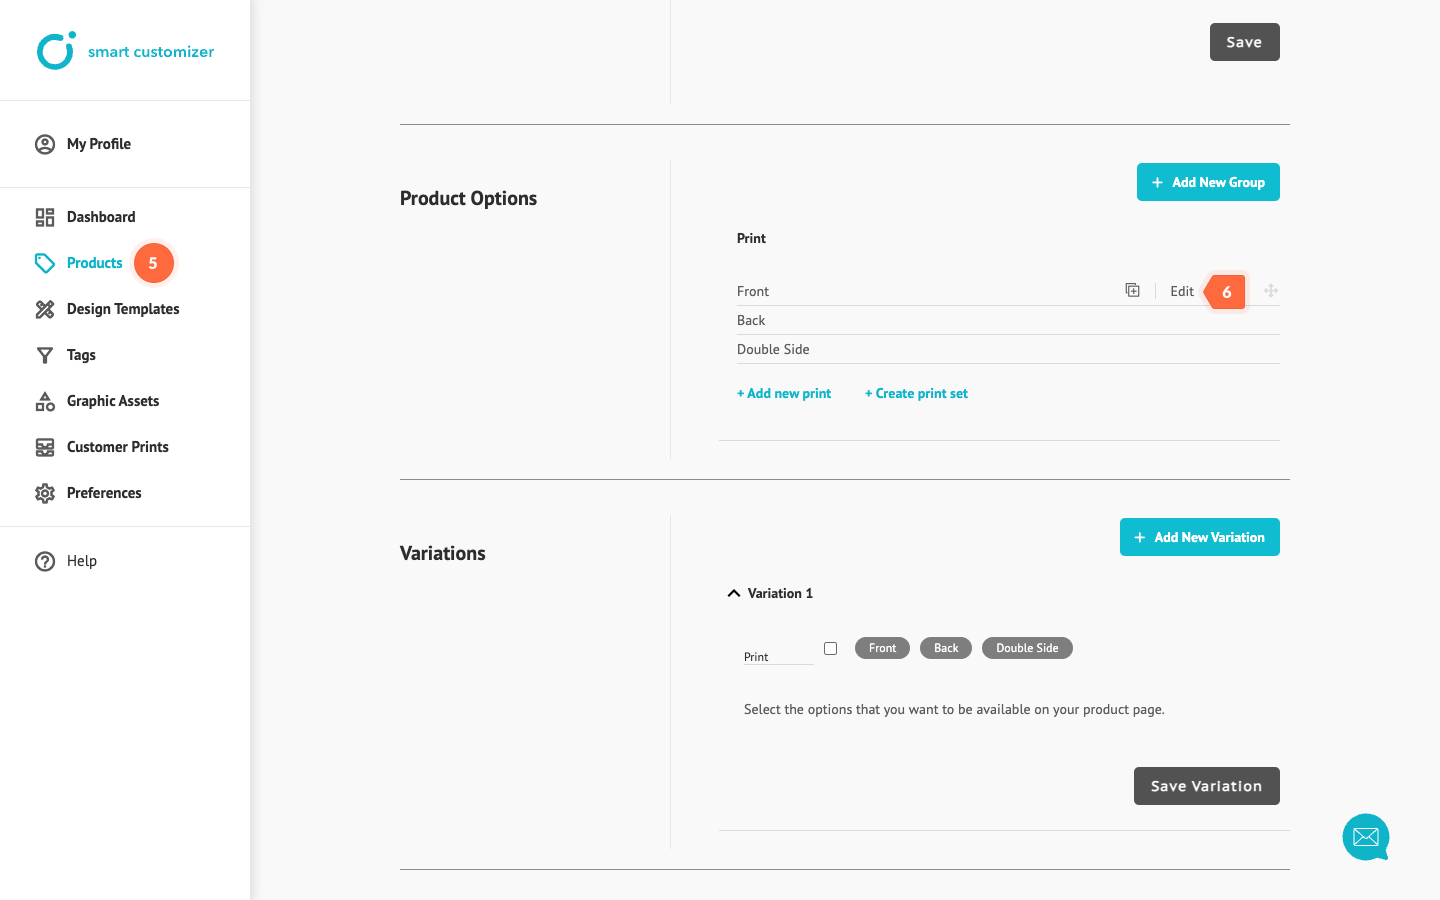
- Open your Product template.
- In Product Options > Print click Edit on the print area for which you want to add a guidelines layer.
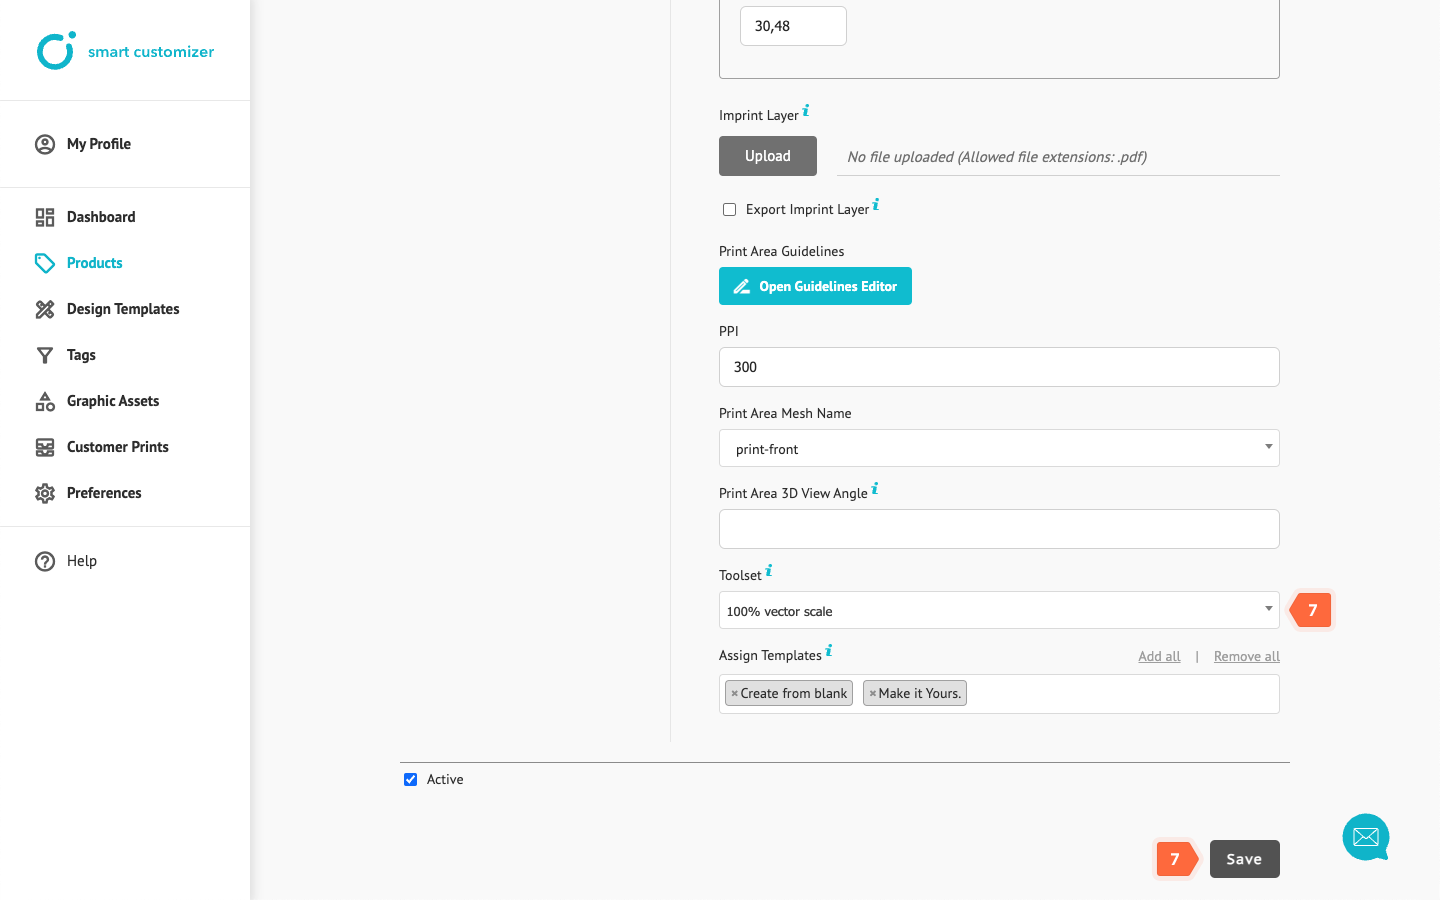
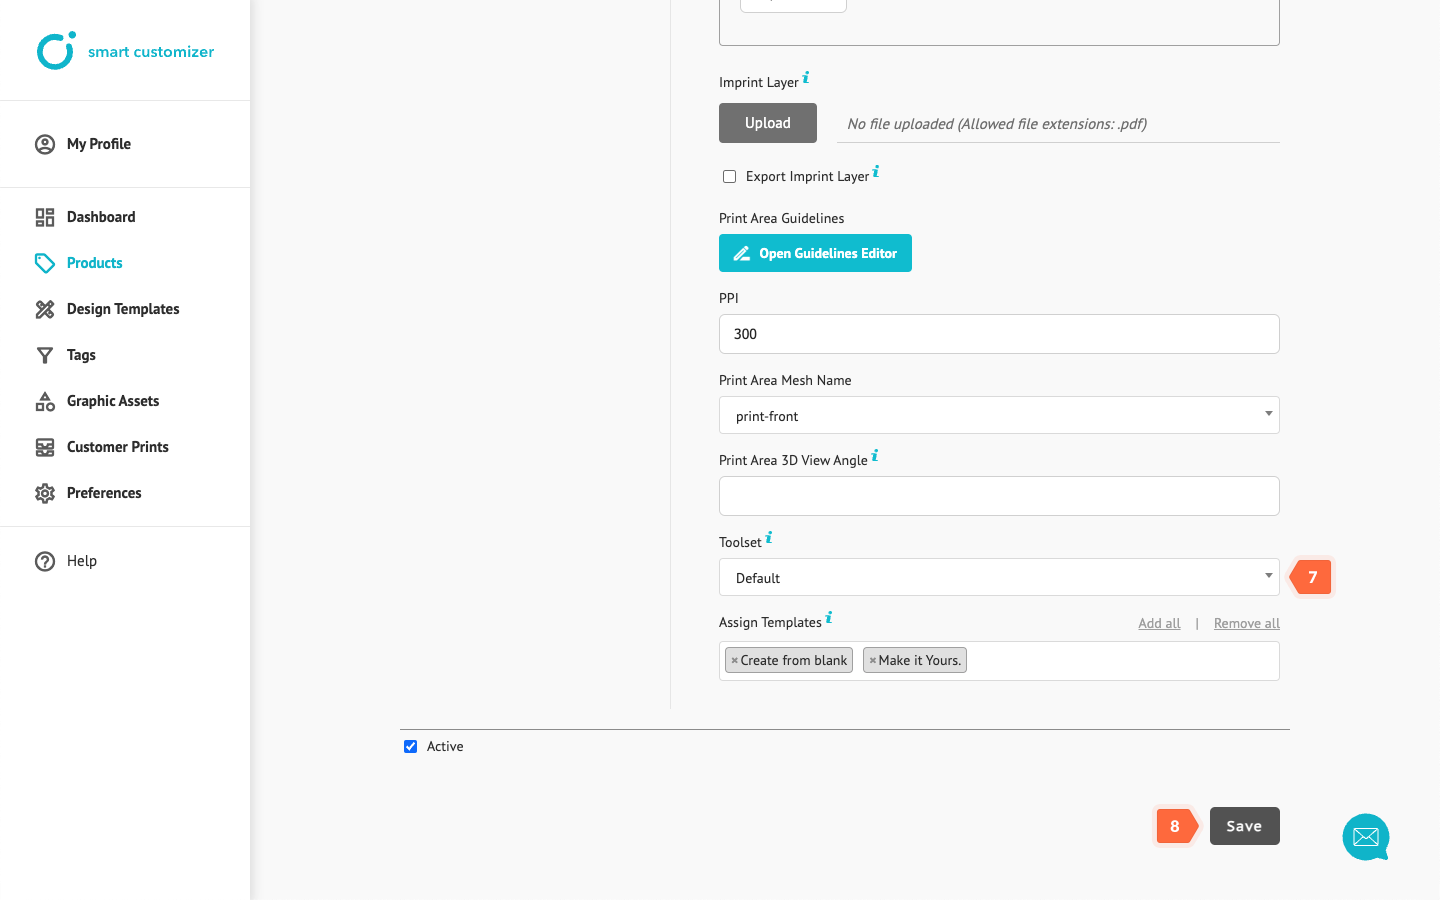
- Assign a newly created toolset and click Save.
Guidelines setup
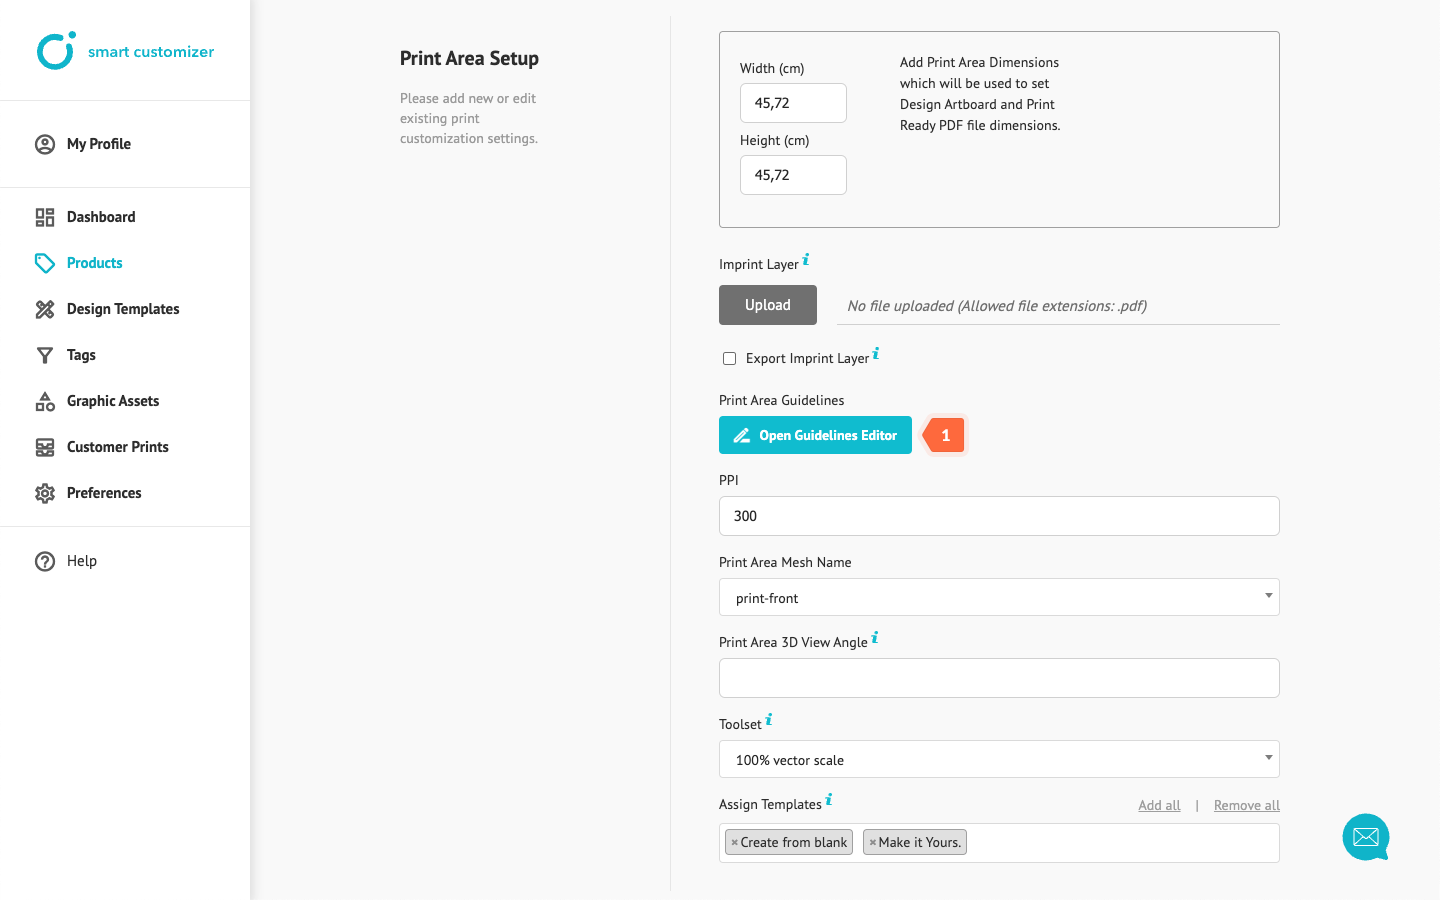
- Click Open Guidelines Editor.
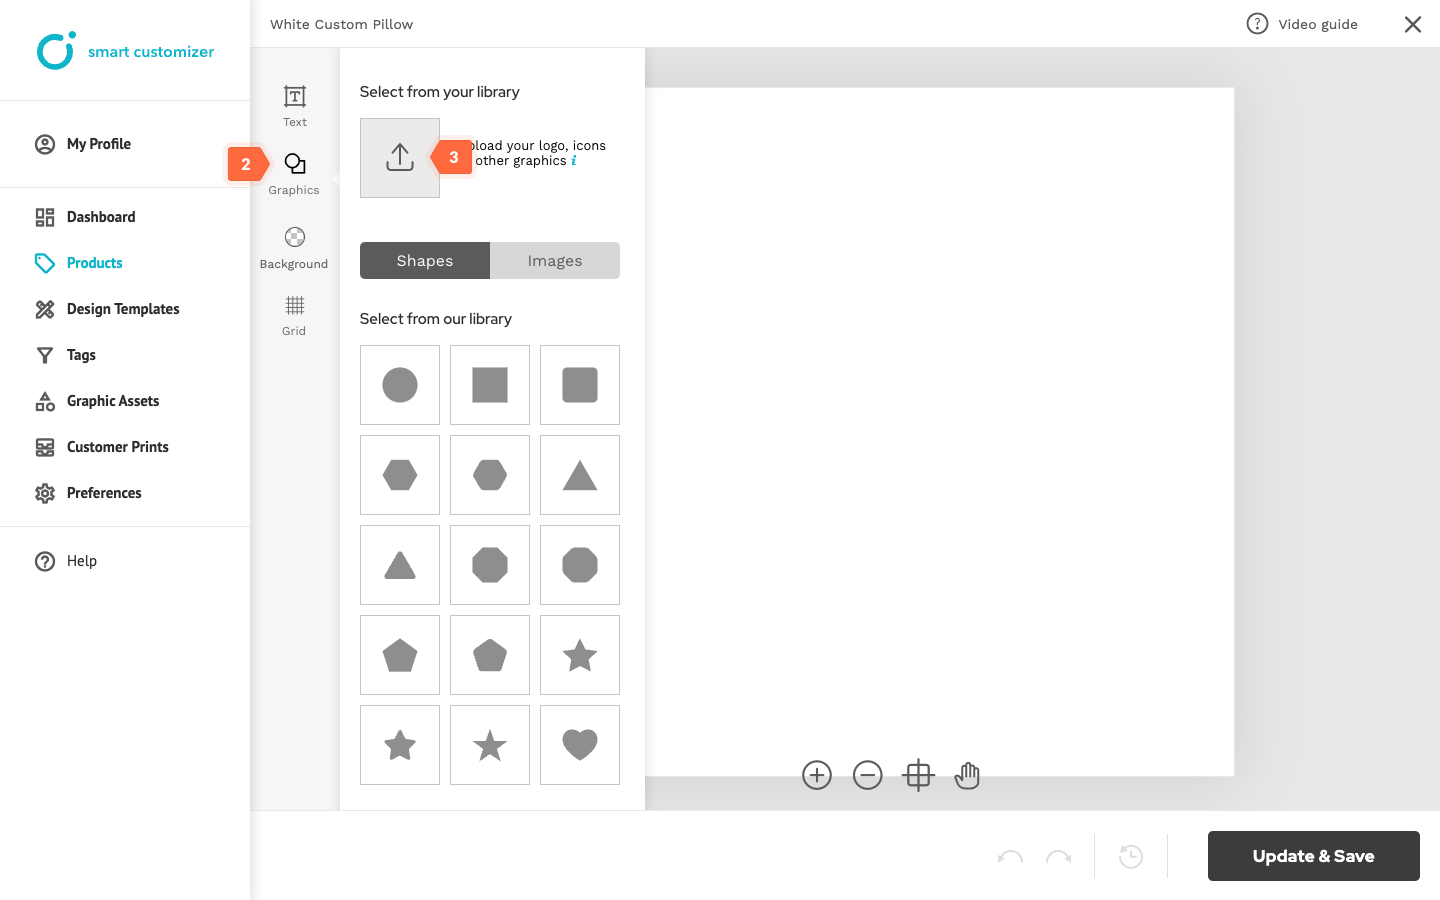
- Select Graphics icon.
- Click Upload and add your file.
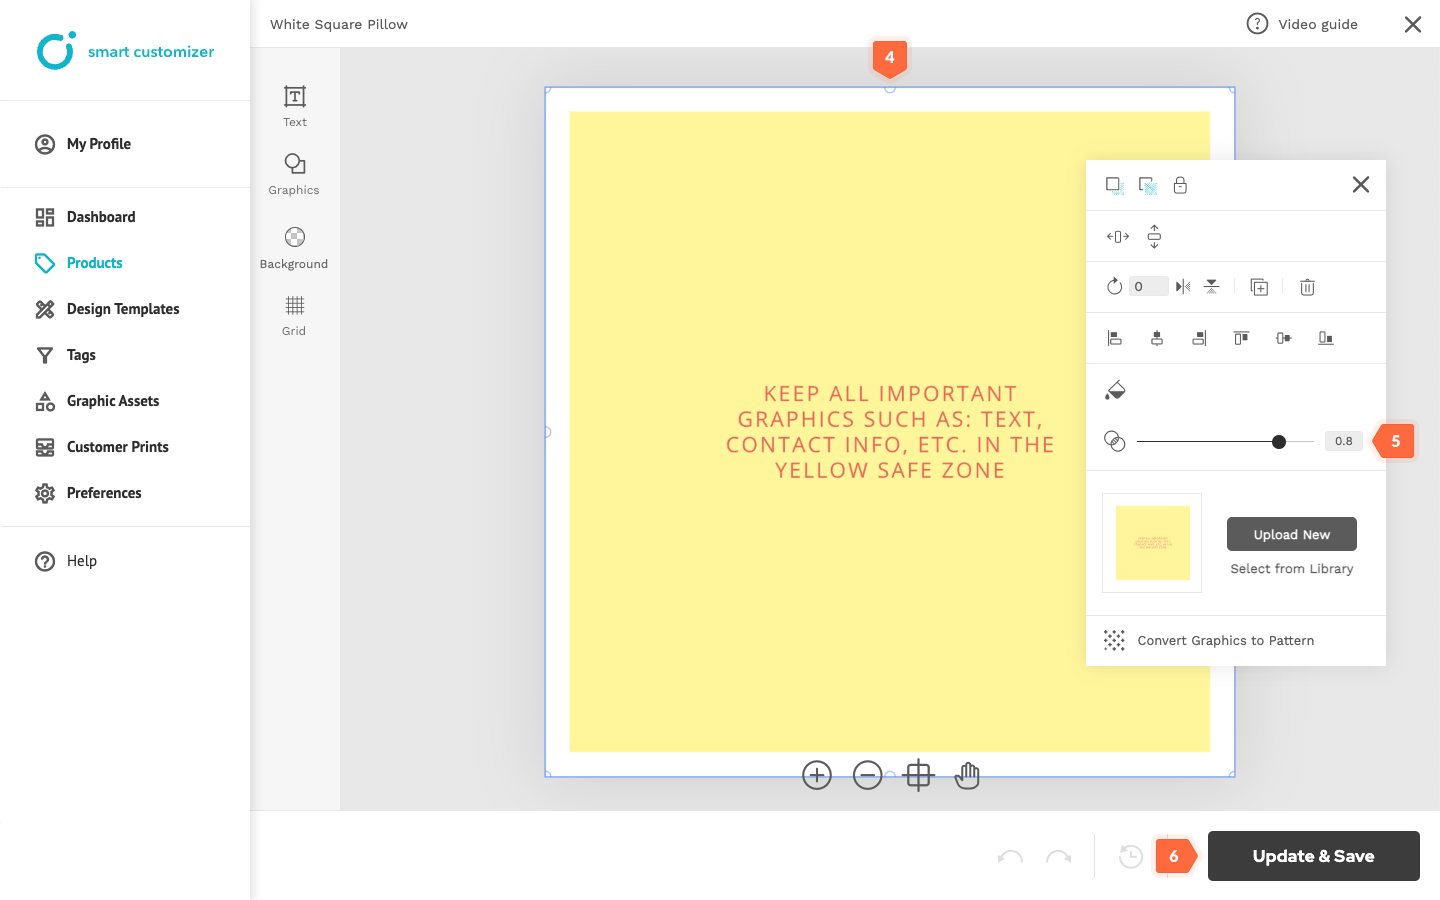
- Once uploaded, adjust the placement of the guideline graphics.
- We recommend reducing the opacity to at least 80%, so the end user can see both the design and the guidelines.
- Once done, click on Update & Save.
- Select the Default toolset or the toolset that was originally set up for the product.
- Save the changes.
- Once it is saved do not forget to test how it works in the design editor. If necessary, repeat the steps for the other print areas.
