Simple 2D product template setup in WordPress
This article refers to Smart Customizer Web to Print WordPress Version 2 plugin (current version) Explore the Version 1 article here
About 2D product templates
- Product templates can be either 2D or 3D. A 2D option is ideal when you only have an image of your product.
- These templates load quickly since the images are not excessively large, allowing customers to view them faster.
- You can use AI to generate product images. When creating images, ensure the description aligns with our model image requirements.
- The SC product template must be linked to an existing WooCommerce product. The SC app does not automatically create products in WooCommerce, so be sure to add the product beforehand. If you're uncertain about how to create a new product in WooCommerce, please refer to their documentation.
Before we get started
Before you begin, make sure you have your product’s Model Image ready. This image is essential for the technical customization setup.
Image requirements:
- For a realistic print appearance, the product in the image should be positioned facing directly forward in either a front, side, back, or top view.
- The background color should be white.
- Recommended image size: 2000 x 2000 px, while the minimum size can be 600 x 600 px.
- Accepted file formats: .jpg or .png.
Additionally, prepare all other necessary product details, including the title, description, real-world scale dimensions, and print size.
Adding new product
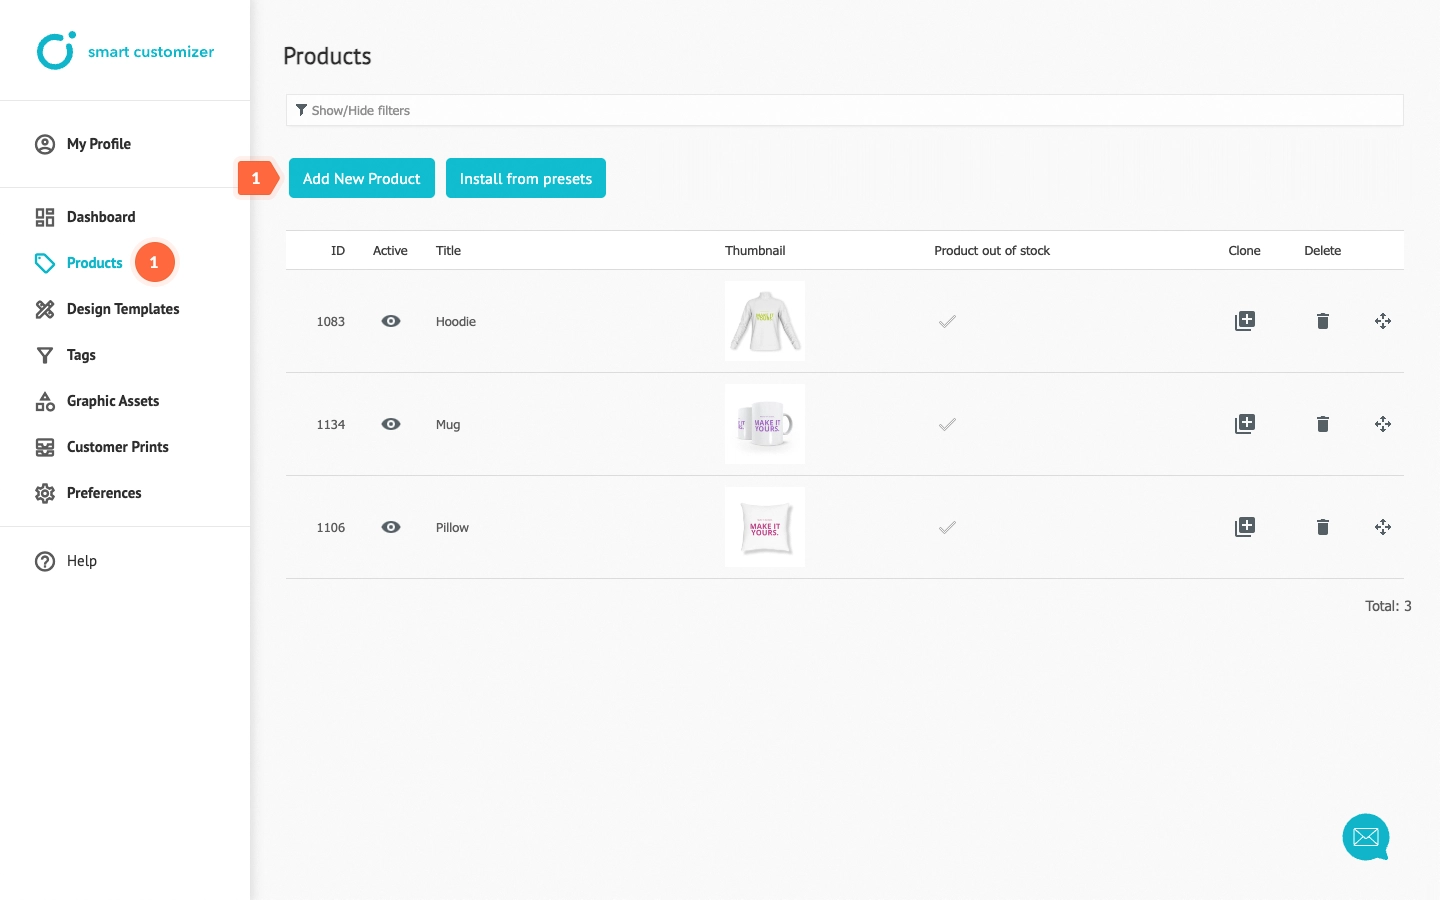
- Go to Products > Add New Product.
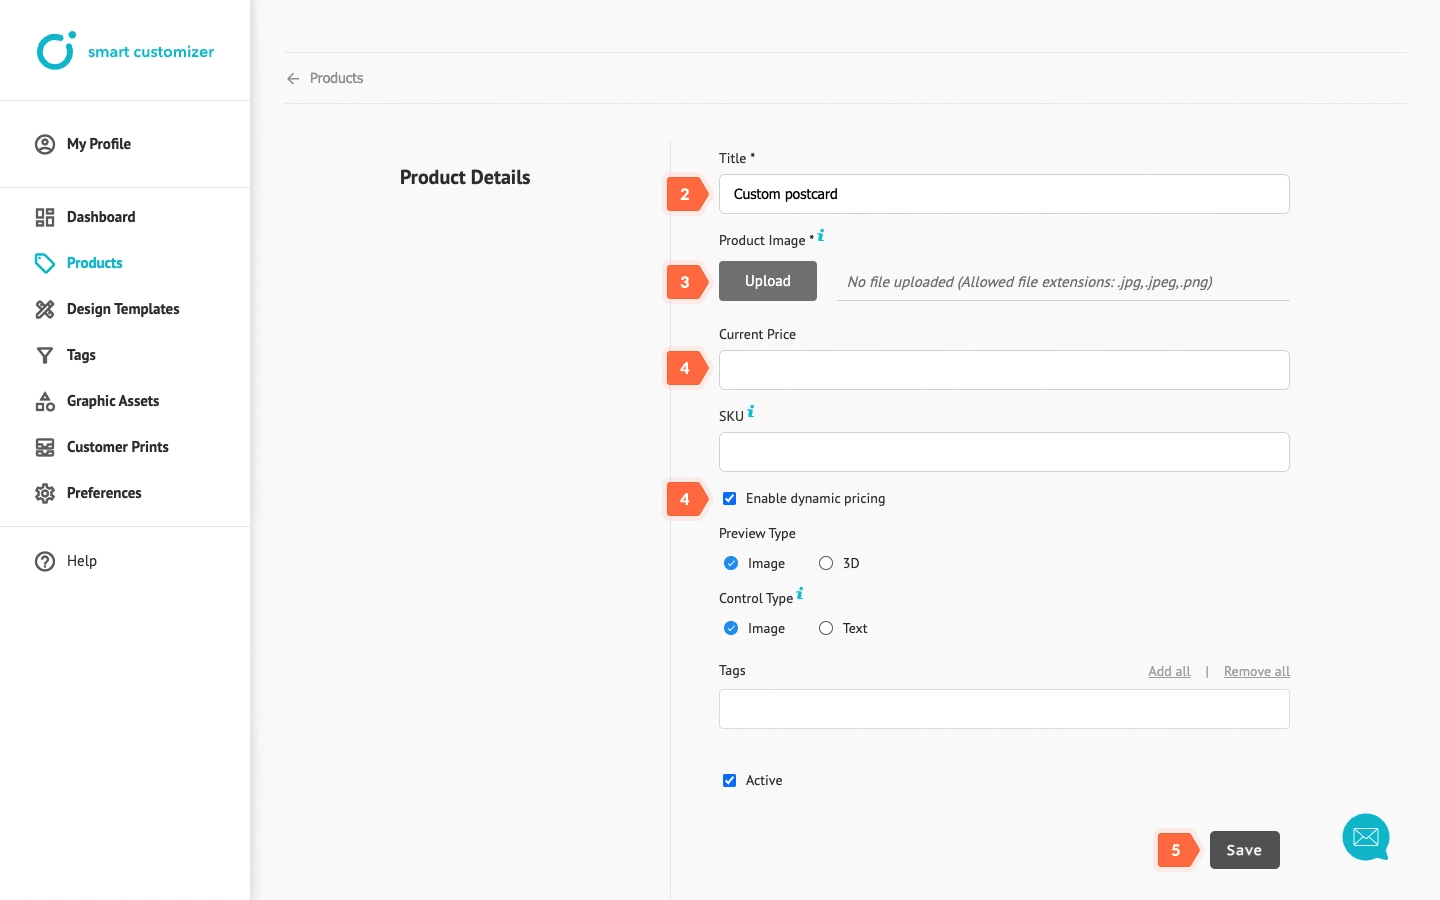
- Enter the Title.
- Upload your Product image. This image is for organizational purposes in the SC admin only and can be the same as your model image.
- By default, Dynamic Pricing is enabled. If you want to use it, enter the Current price. In case you don’t need it, uncheck the checkbox. Learn more about Dynamic Pricing.
- Save the changes.
Print setup
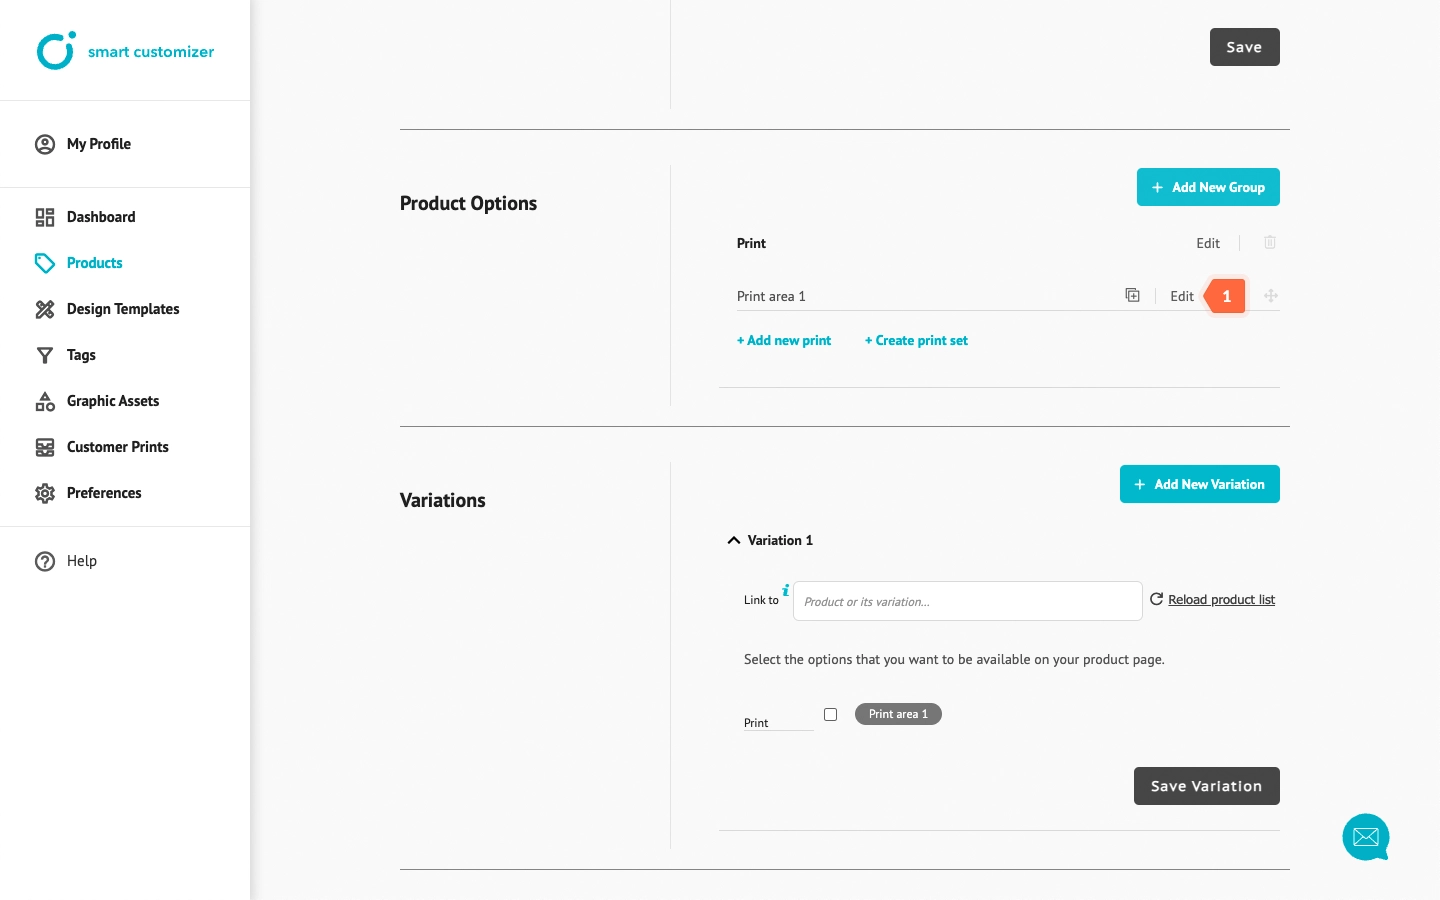
When a product is added, the print area option is automatically created. To customize it:
- In Product Options > Print > Print area 1 click Edit.
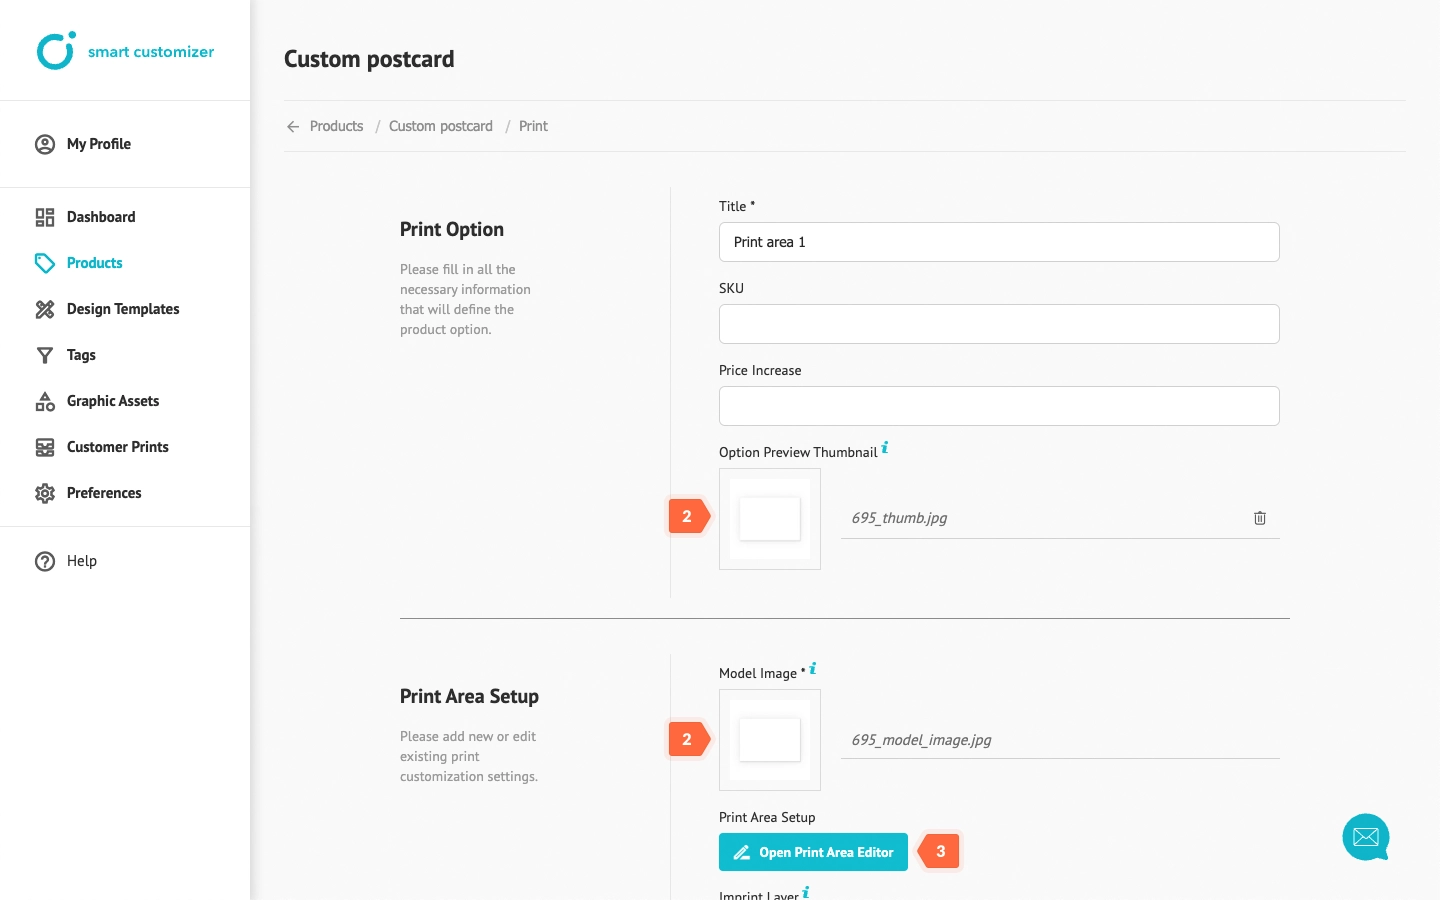
- By default, Option Preview Thumbnail and Model Image are automatically generated from the Product image. You can keep these imaged or upload new ones. Note: after uploading, make sure to save the changes before proceeding with other steps.
- Click Open Print Area Editor.
- For Ruler Length, input the product's real-world scale dimensions in centimeters.
- Align the arrows to touch the sides of the product.
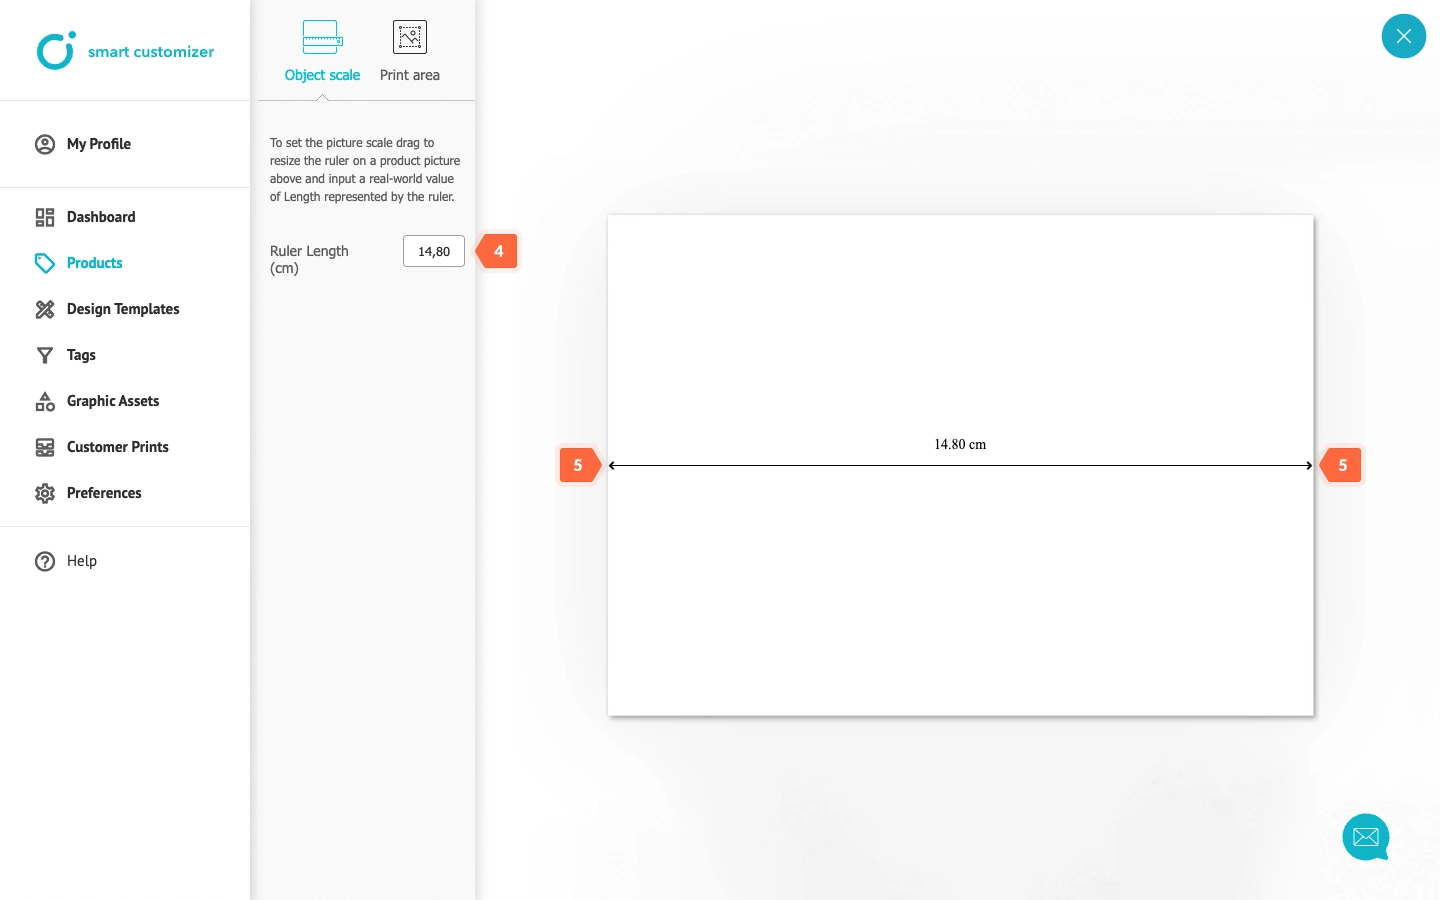
- Click Print Area.
- Define the print size by either entering numbers or adjusting the size using the blue squares.
- Click X.
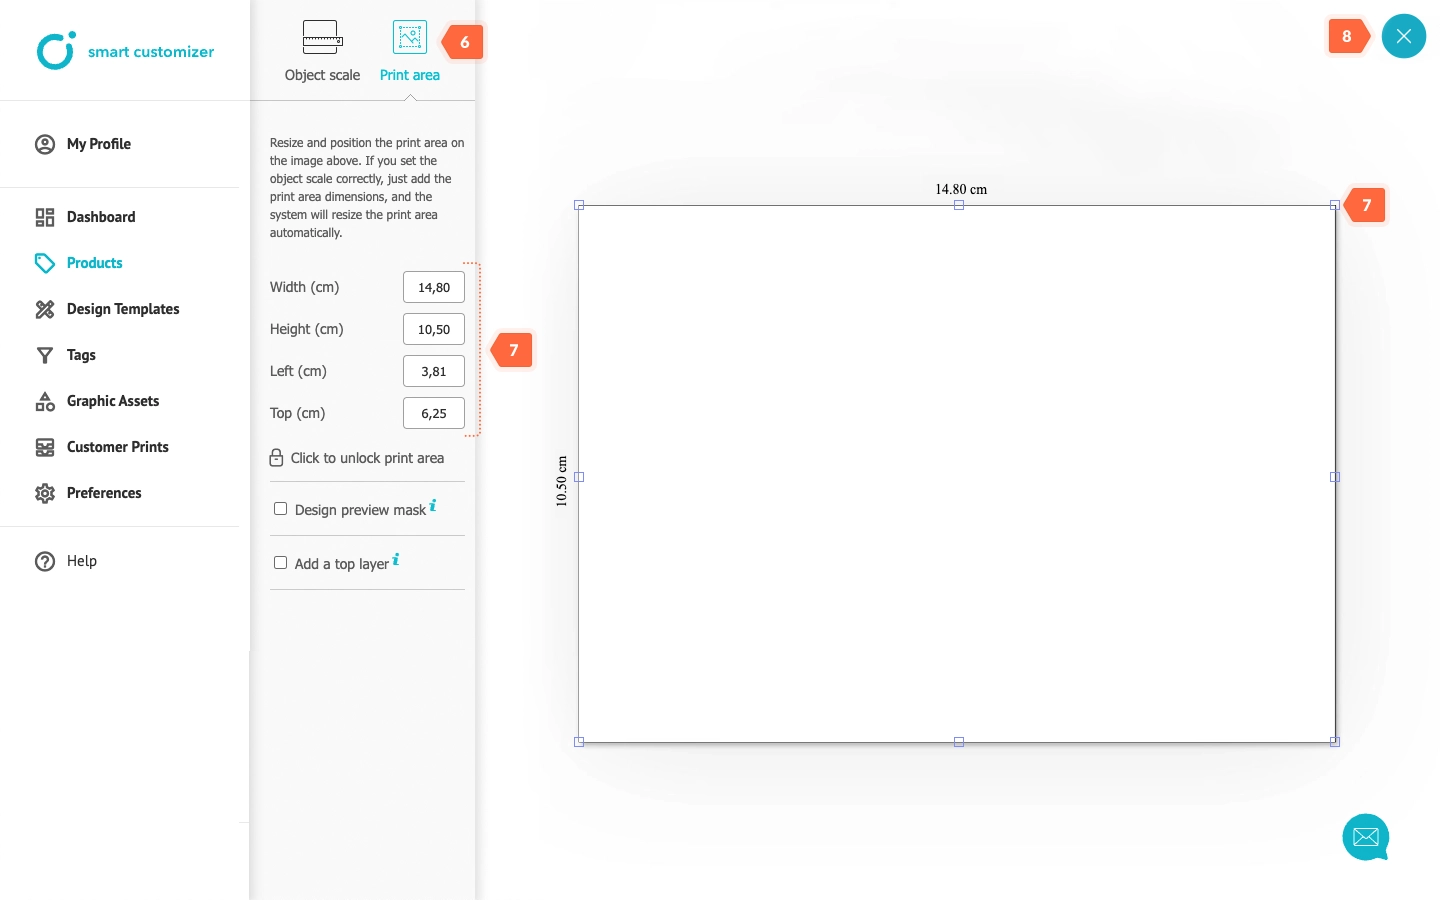
- Save the changes.
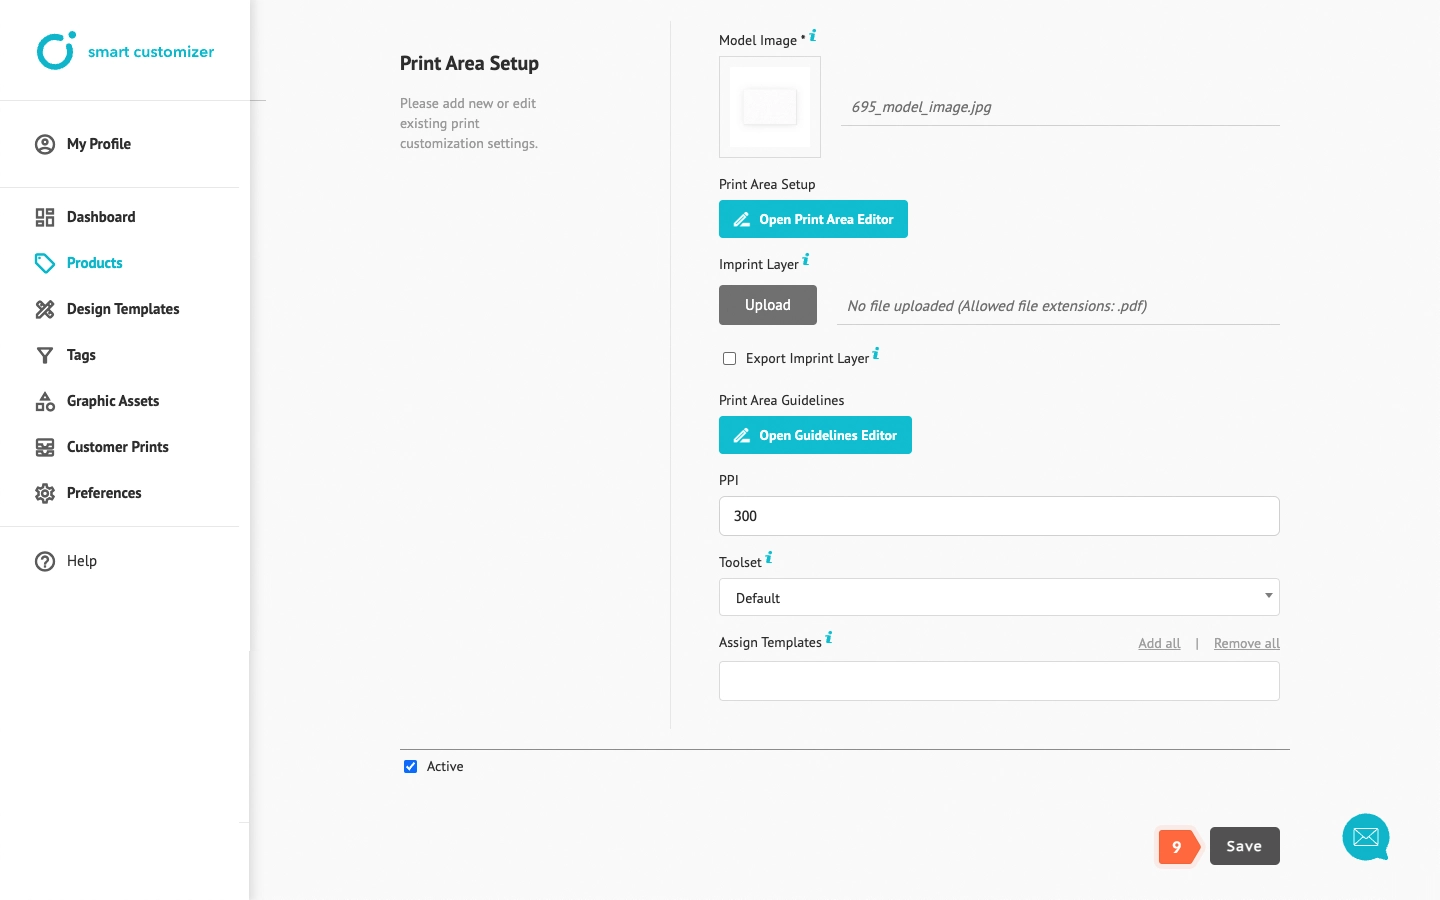
- Go back to the product settings editing page.
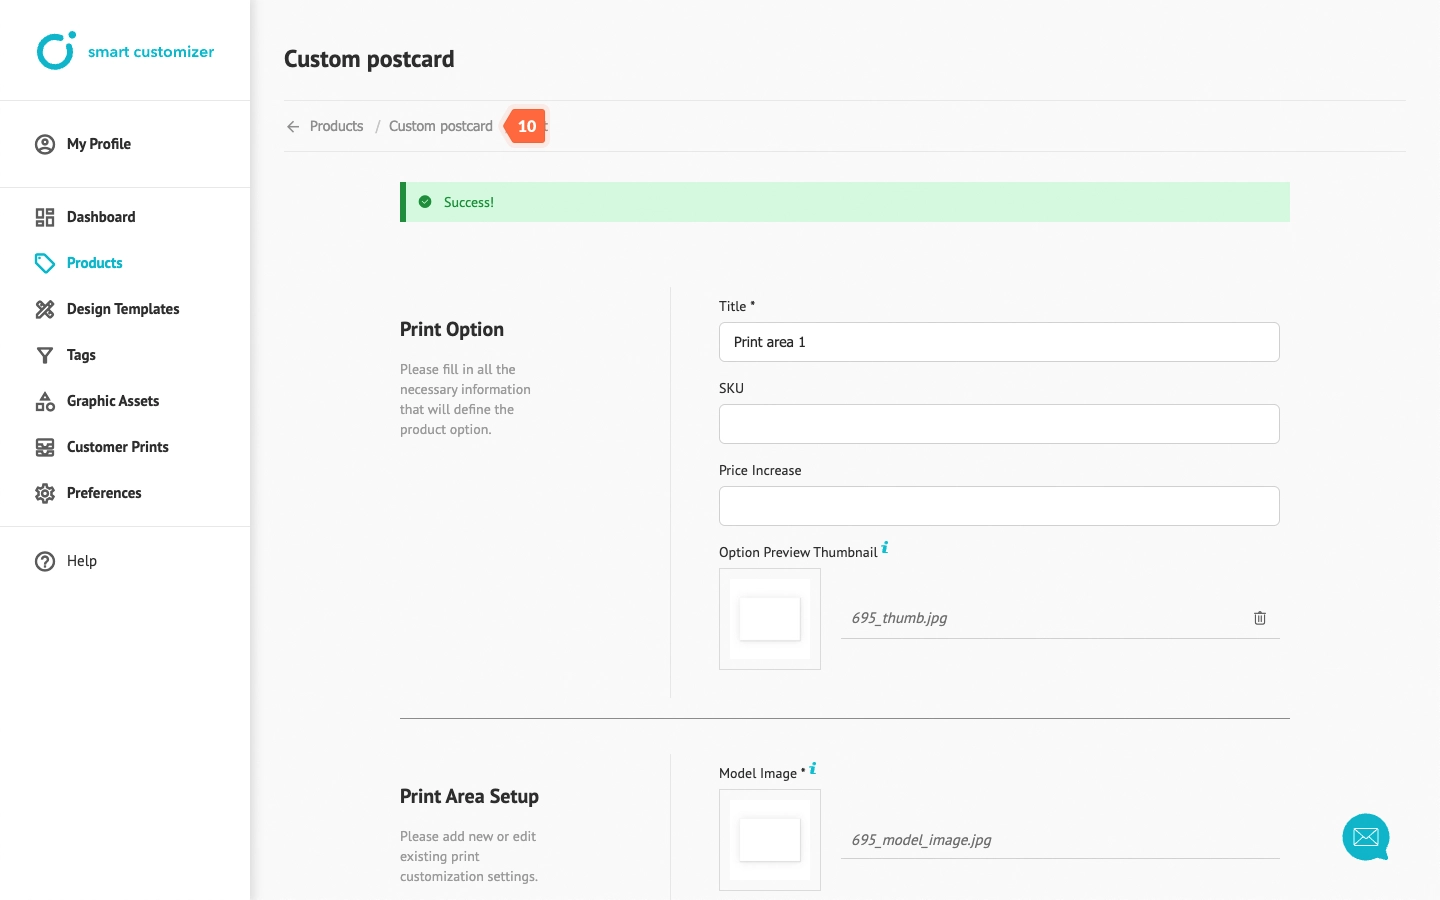
Linking to WooCommerce product
- In Variations > Variation 1 > Link to field, select the WooCommerce product you want to be customized. If necessary, you can link SC product to multiple WooCommerce products or specific product variations by selecting them from the list.
- Once you've made your selection, click Save Variation.
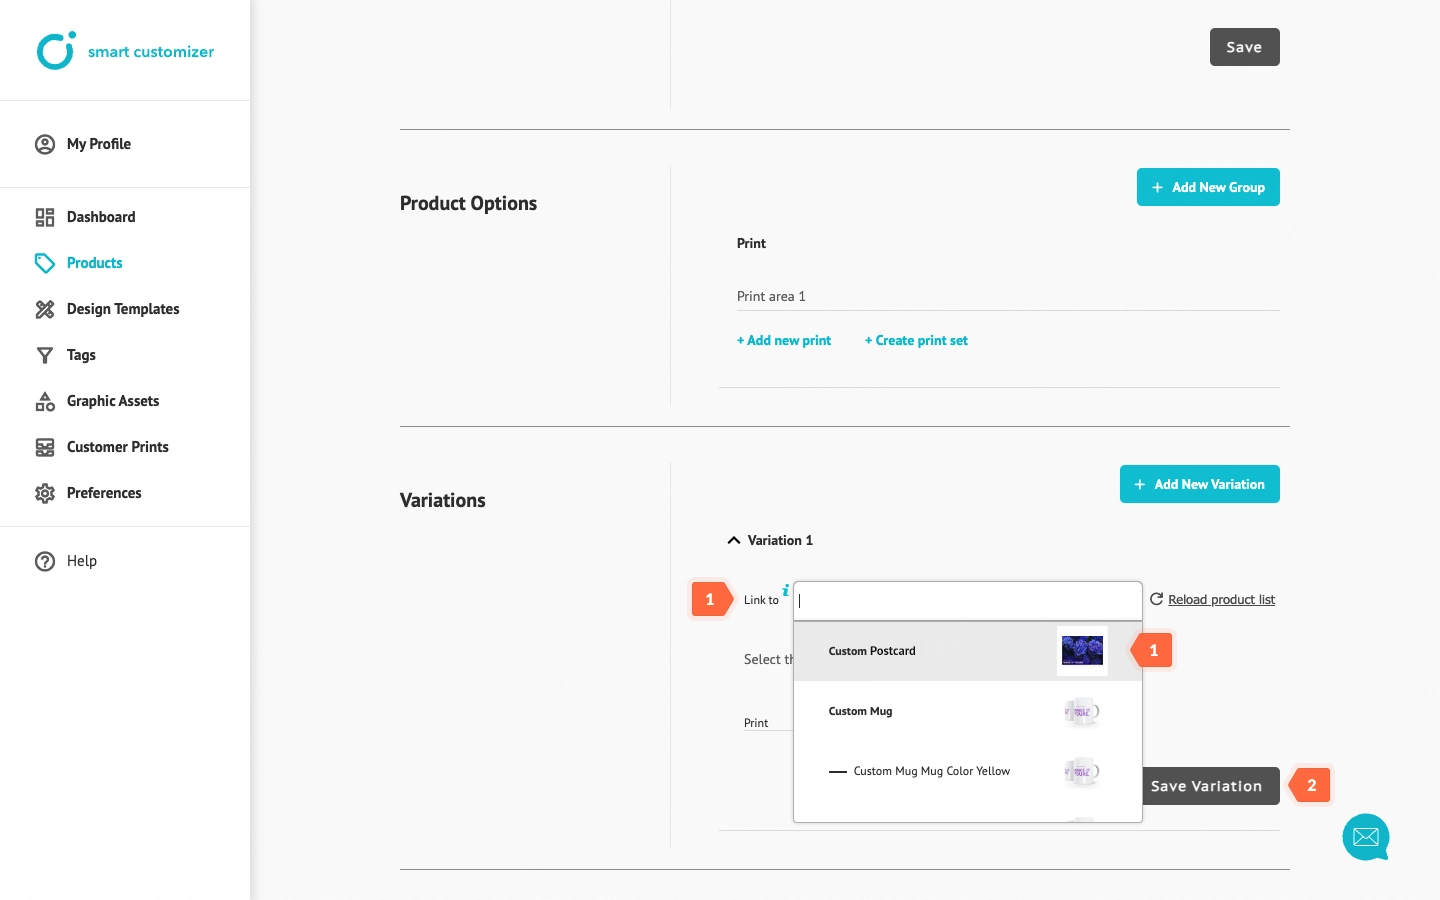
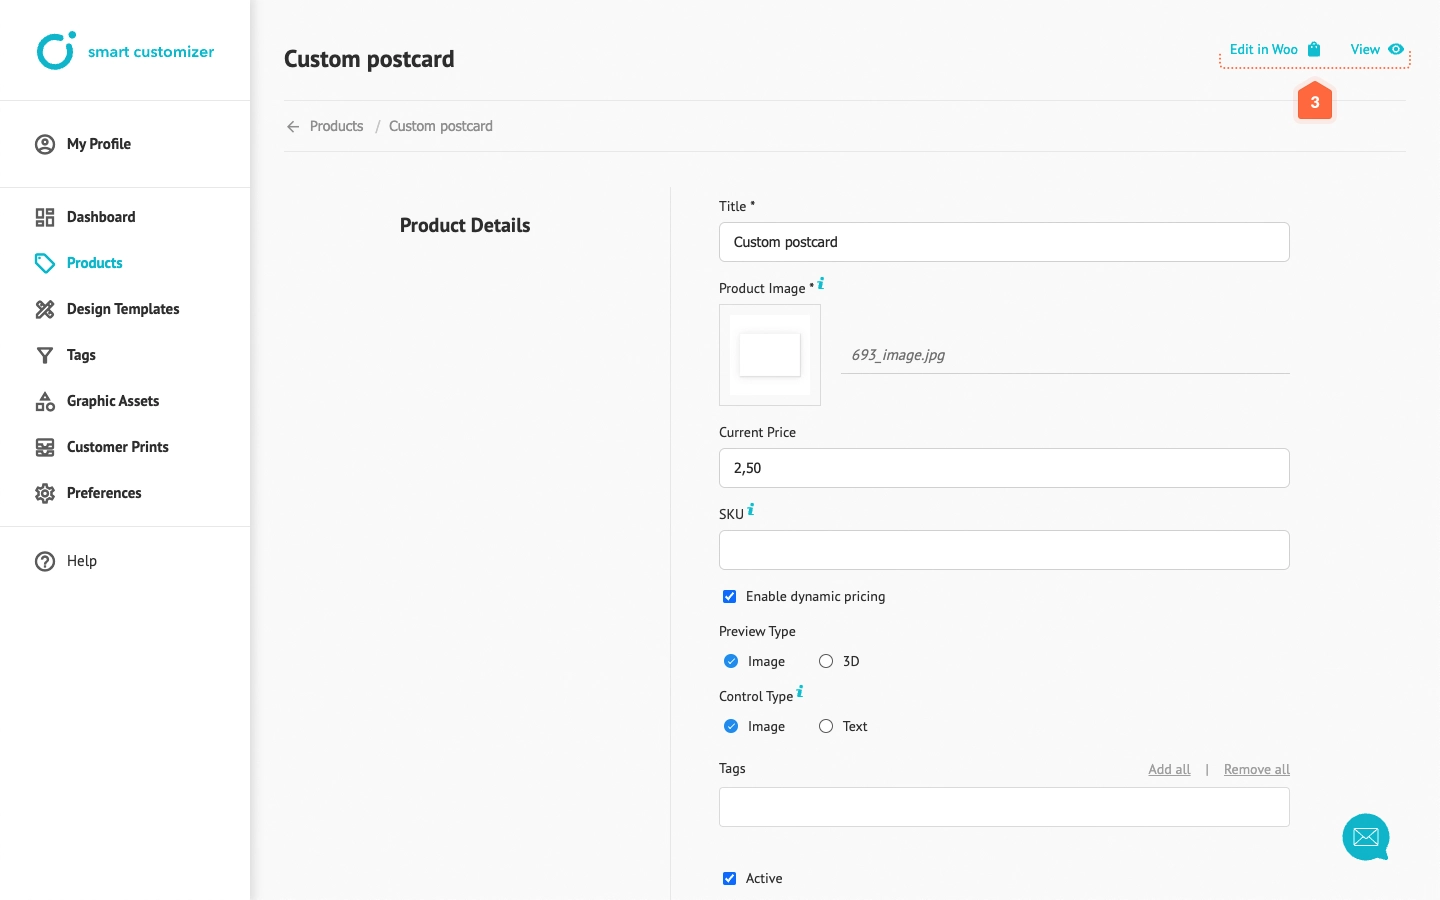
- You can now test the product and easily access the linked WooCommerce product anytime.
WooCommerce product pricing display
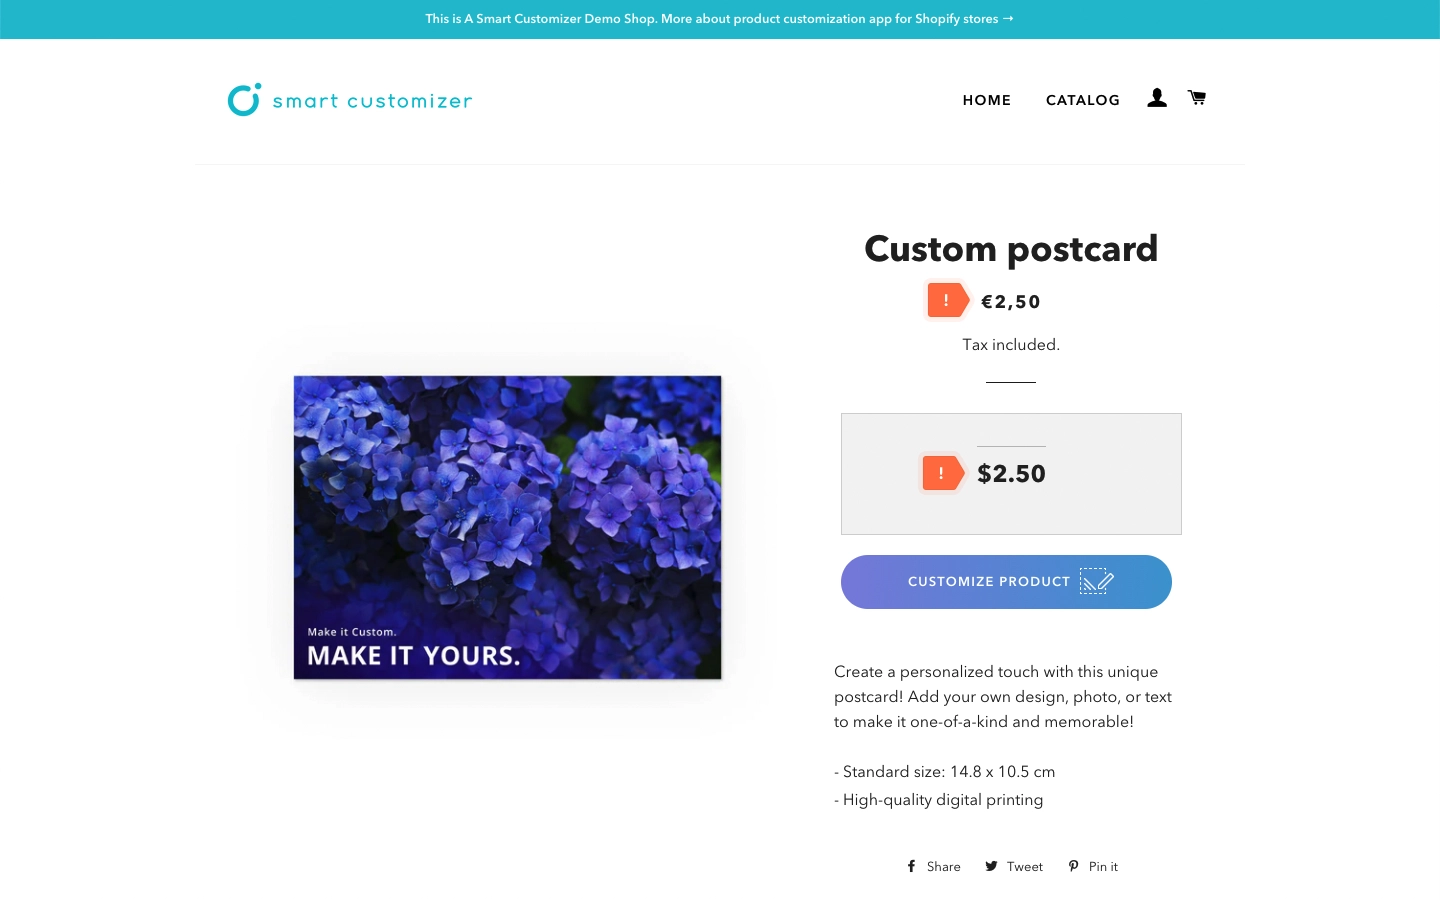
When dynamic pricing is enabled, if not specified, the default WooCommerce price will be displayed separately from the customizable product price in the SC app option wrapper:
To learn how to ensure that only the final customized product price is displayed, check this guide.
Advanced tips
- After completing the basic product setup, we recommend creating and assigning Design templates. Design templates are predefined mockups of text and visuals that help customers start the customization process quickly. Learn how to do it here: Creating design templates for your products.
- If you want to have multiple print options for a product, refer to this article for instructions.
- If you’d like to add color variations for your product, check out this article: Adding color variants
