Setting up multiple-print areas for customizable product (2D)
This article refers to Smart Customizer Web to Print App Version 2.0Explore the Version 1.0 article here
Before we get started
- You can add as many print areas as your product requires, create sets of prints, and apply different pricing to each option.
- On the product page, customers can easily switch between different print options, and you can customize how the switchers look by choosing from preset design styles.
How to add a second print area?
If you have already finished setting up the basic 2D product template, let’s add a second print area:
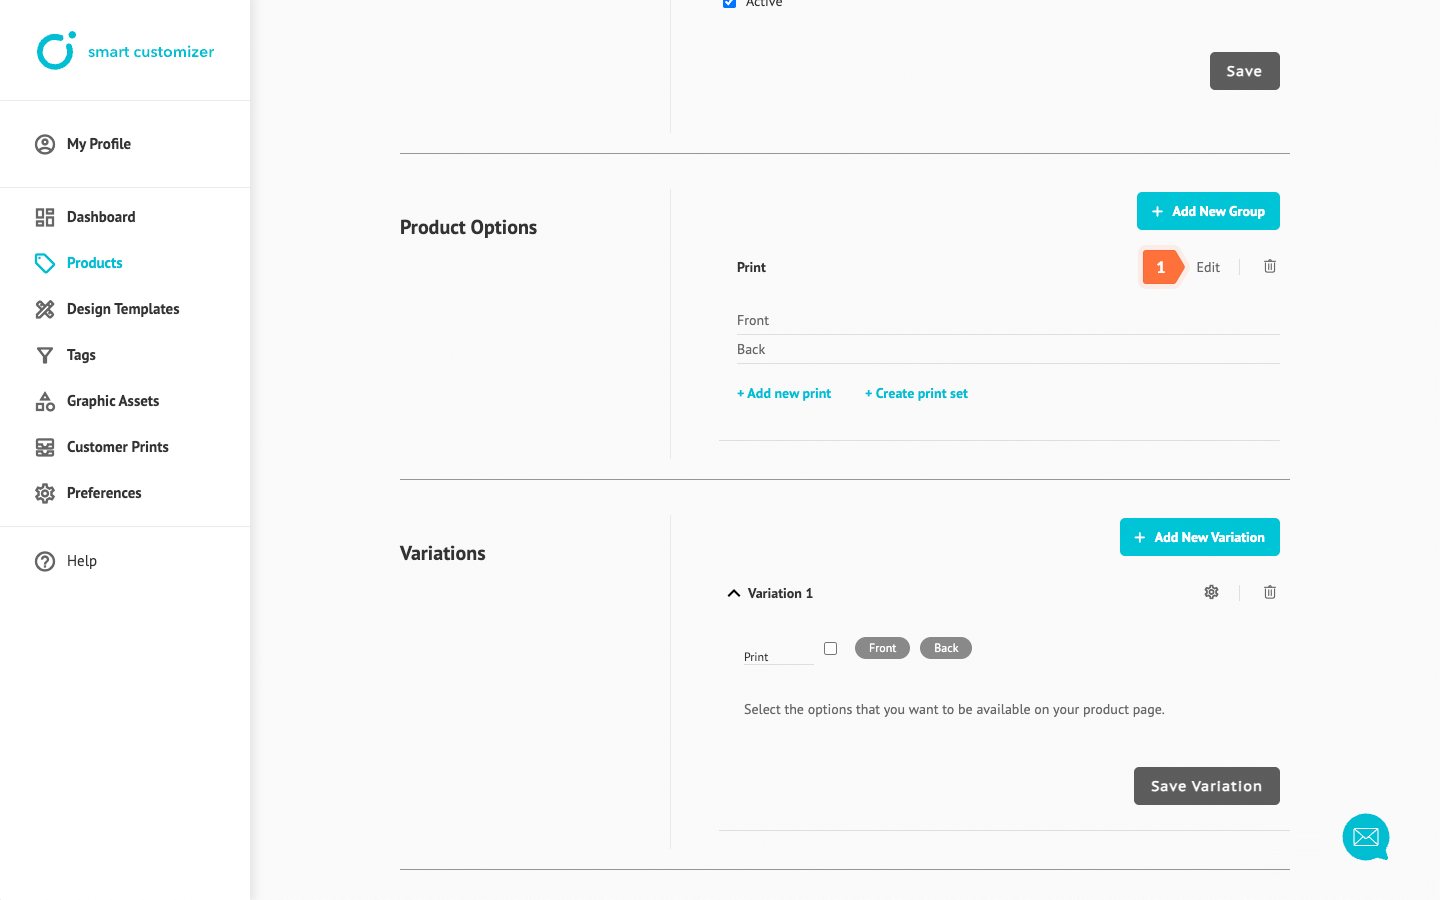
- In your Product > Product options > Print click Add new print.
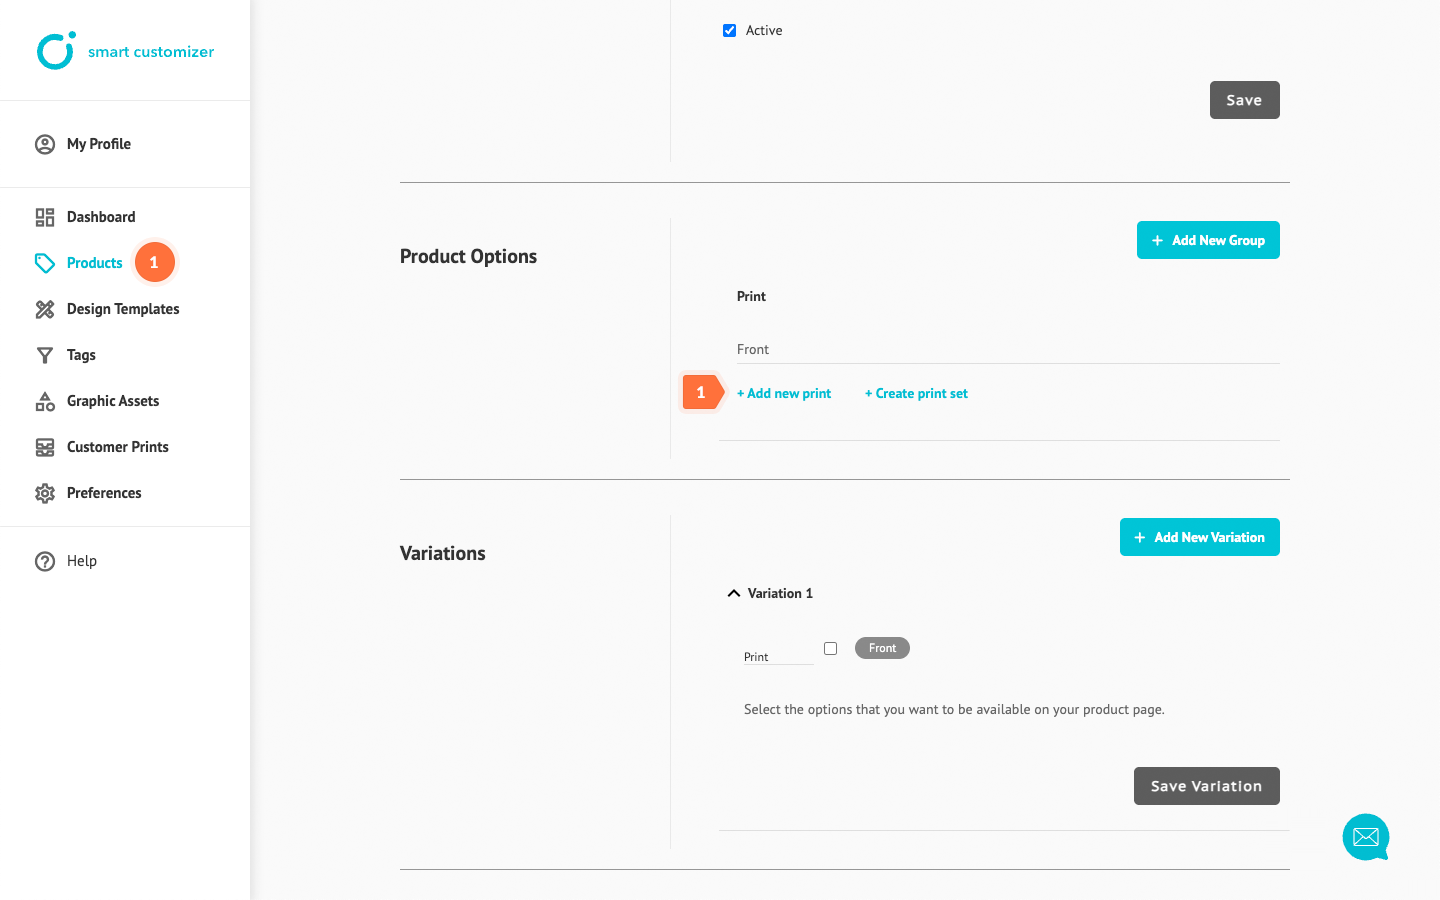
- Add a clear and simple Title.
- Upload a new Thumbnail image (optional). You can also delete the current thumbnail generated from the model image. If no thumbnail is uploaded, a white placeholder will be displayed in the options list.
- Upload the Model image that will be used as a base for customization. You can use the same picture from your first print area or a different image showing the product from another side.
- Scroll down and Save your changes.
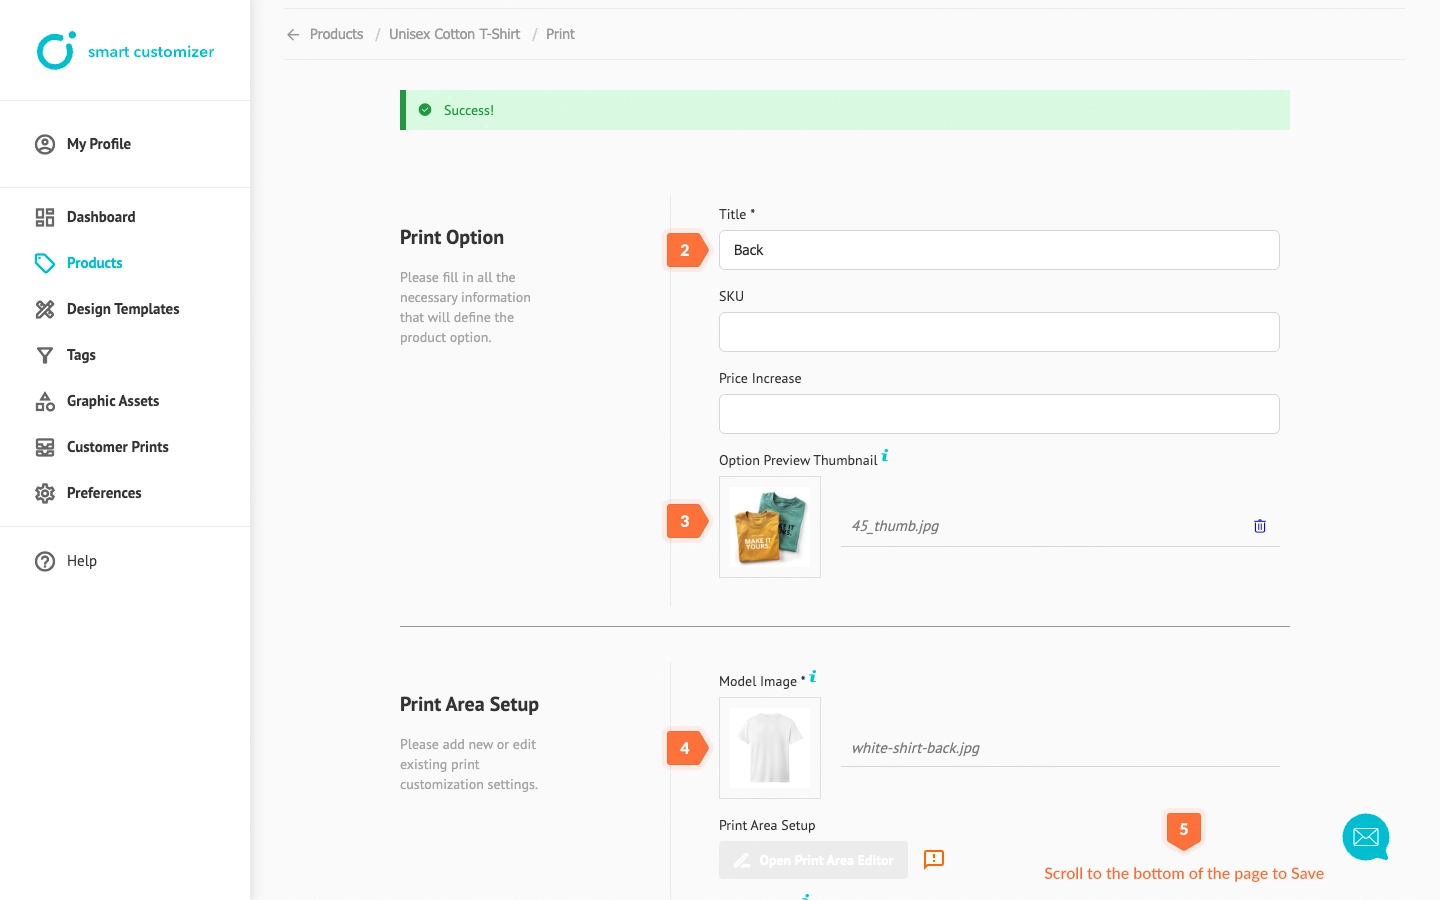
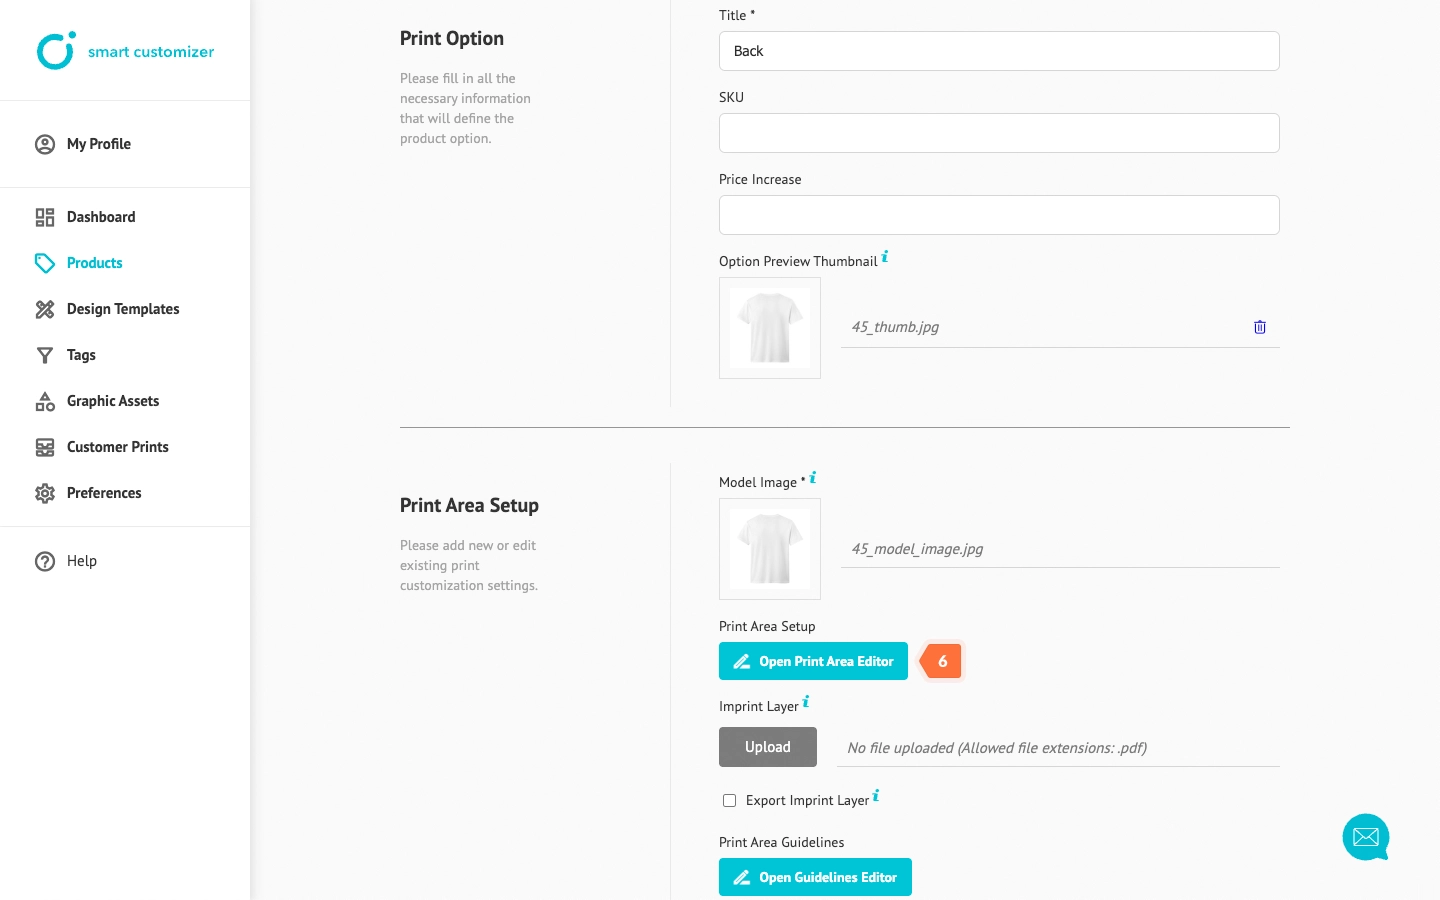
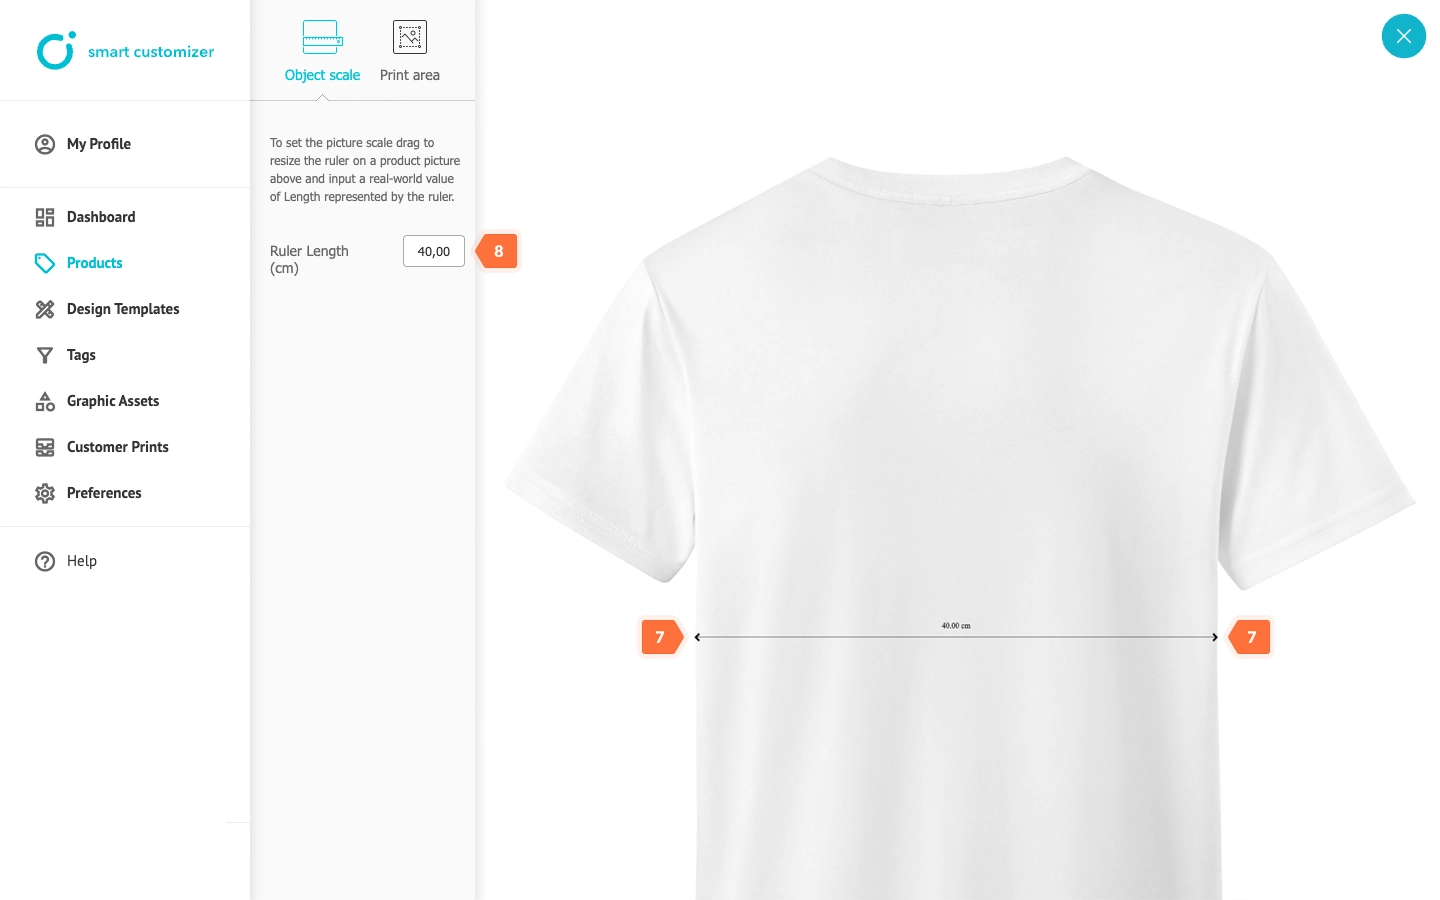
- Click Open Print Area Editor.
- Align the arrows to touch the sides of the product.
- For Ruler Length, input the product's real-world scale dimensions in centimeters.
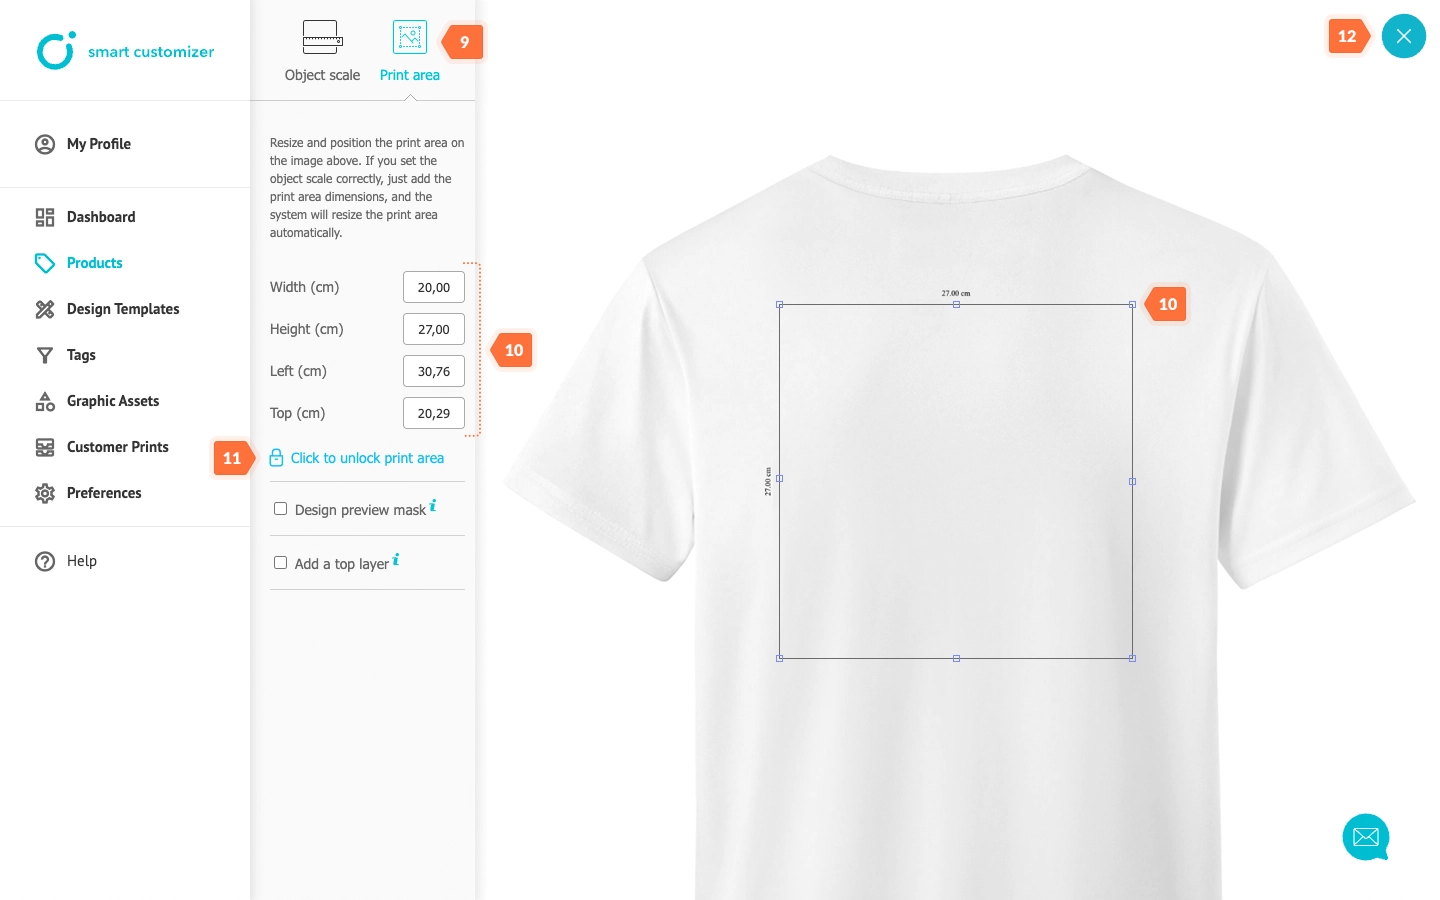
- Click Print Area.
- Define the print size by either entering numbers or adjusting the size using the blue squares.
- To prevent accidental changes, lock the print area by selecting Click to lock print area.
- Click X.
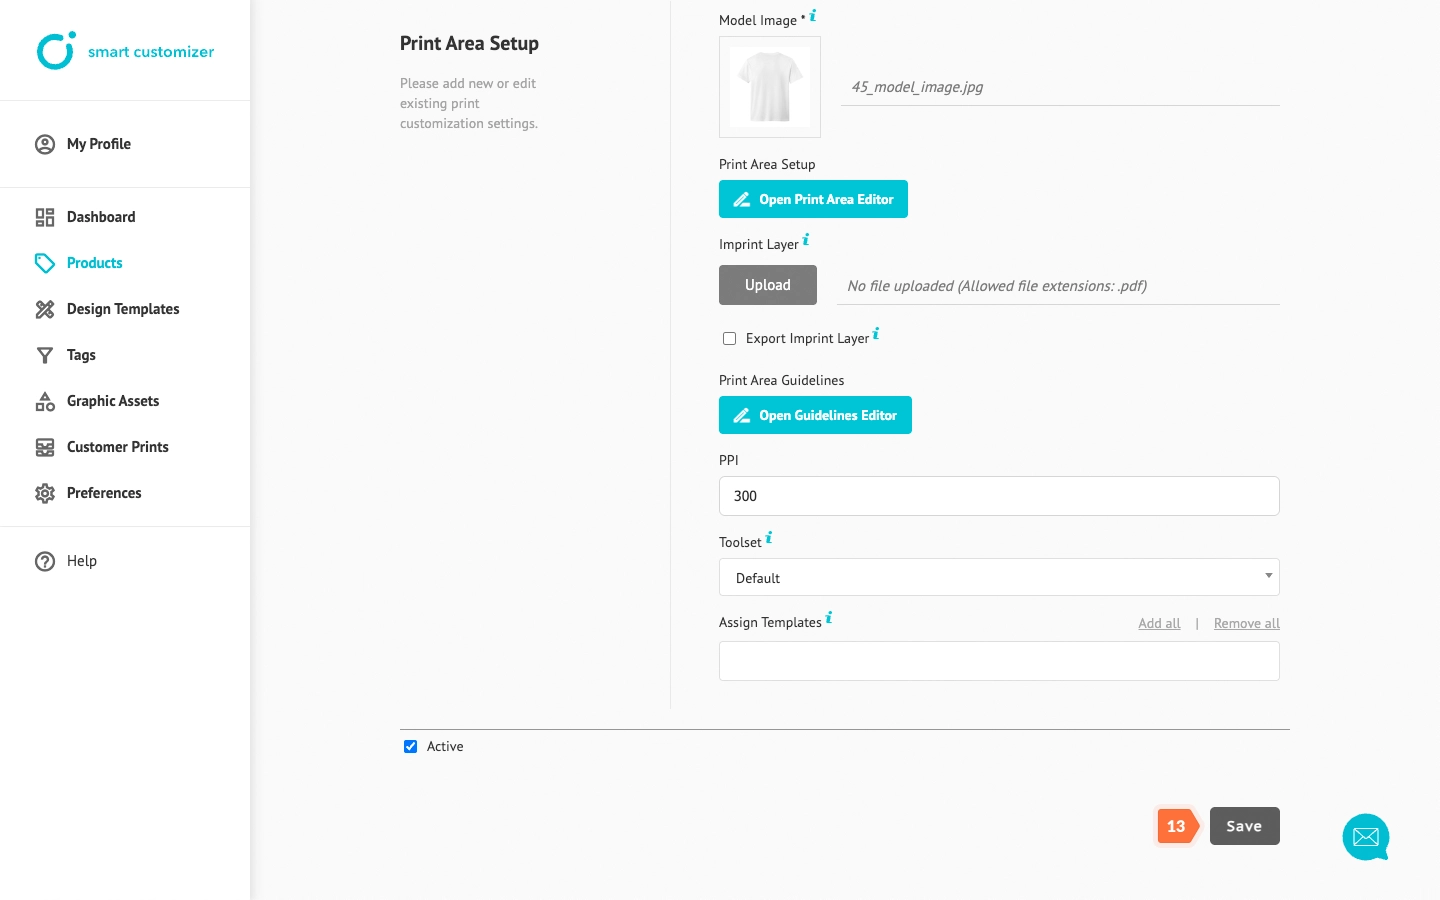
- Save the changes.
- Return to your Product editing page.
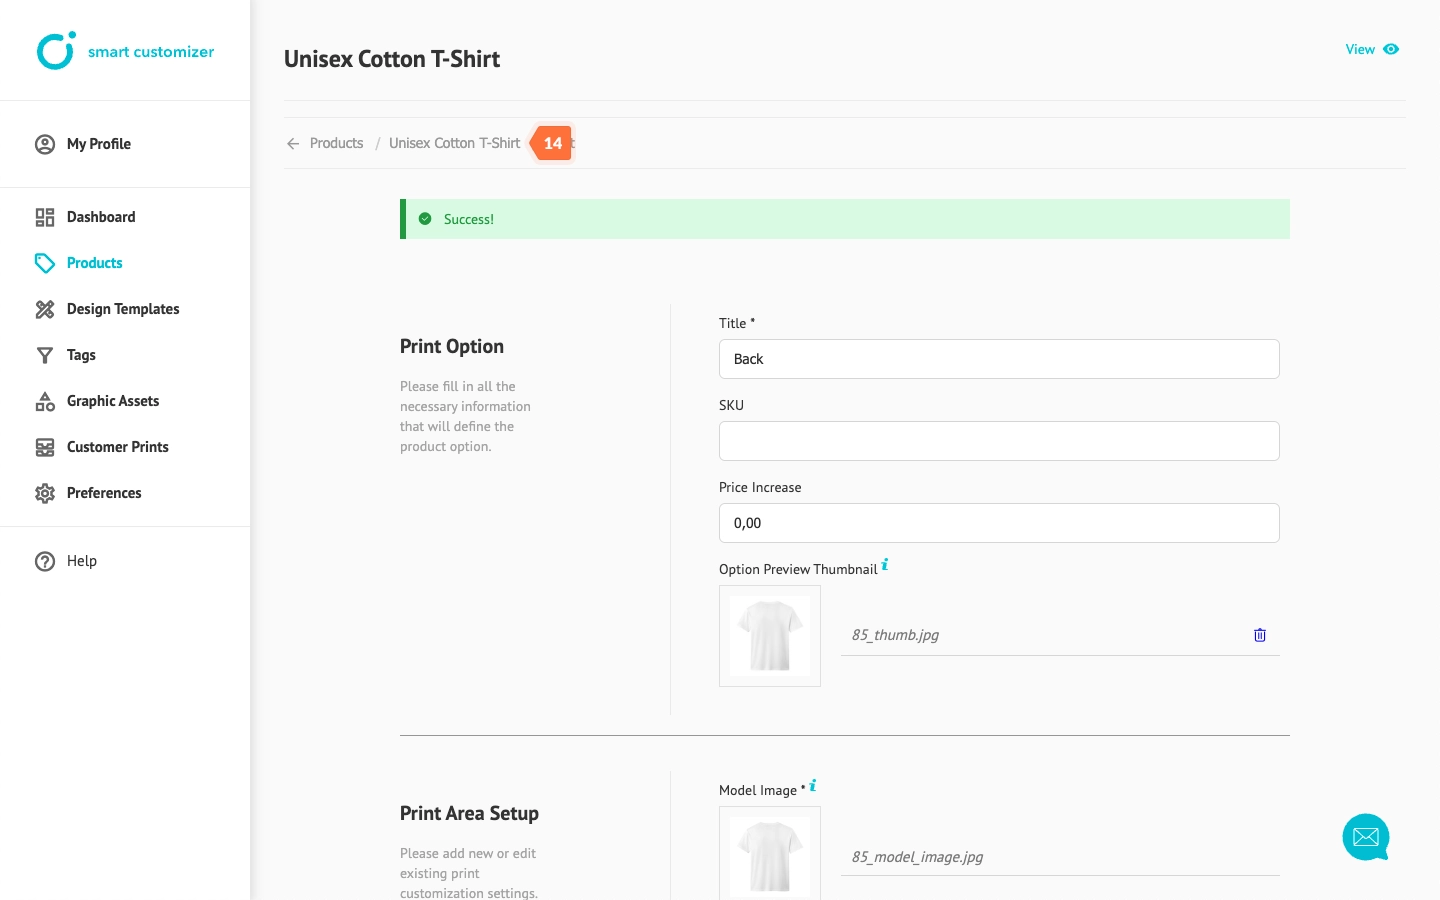
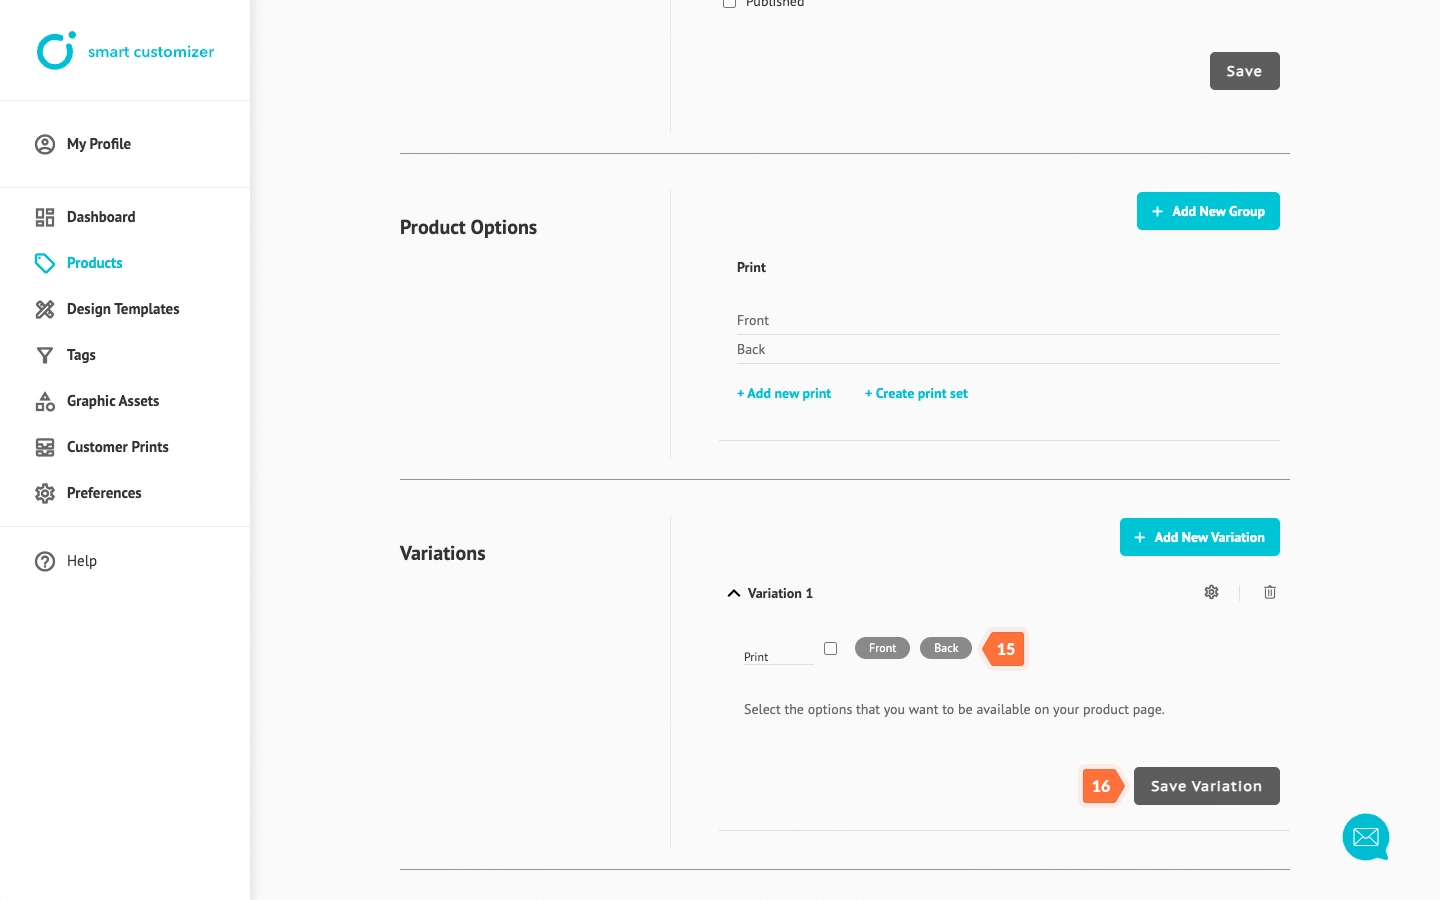
- In Variations > Variations 1, choose the newly created Back Print option. Selecting this will make it available as an option on the product page.
- Click Save variation to complete.
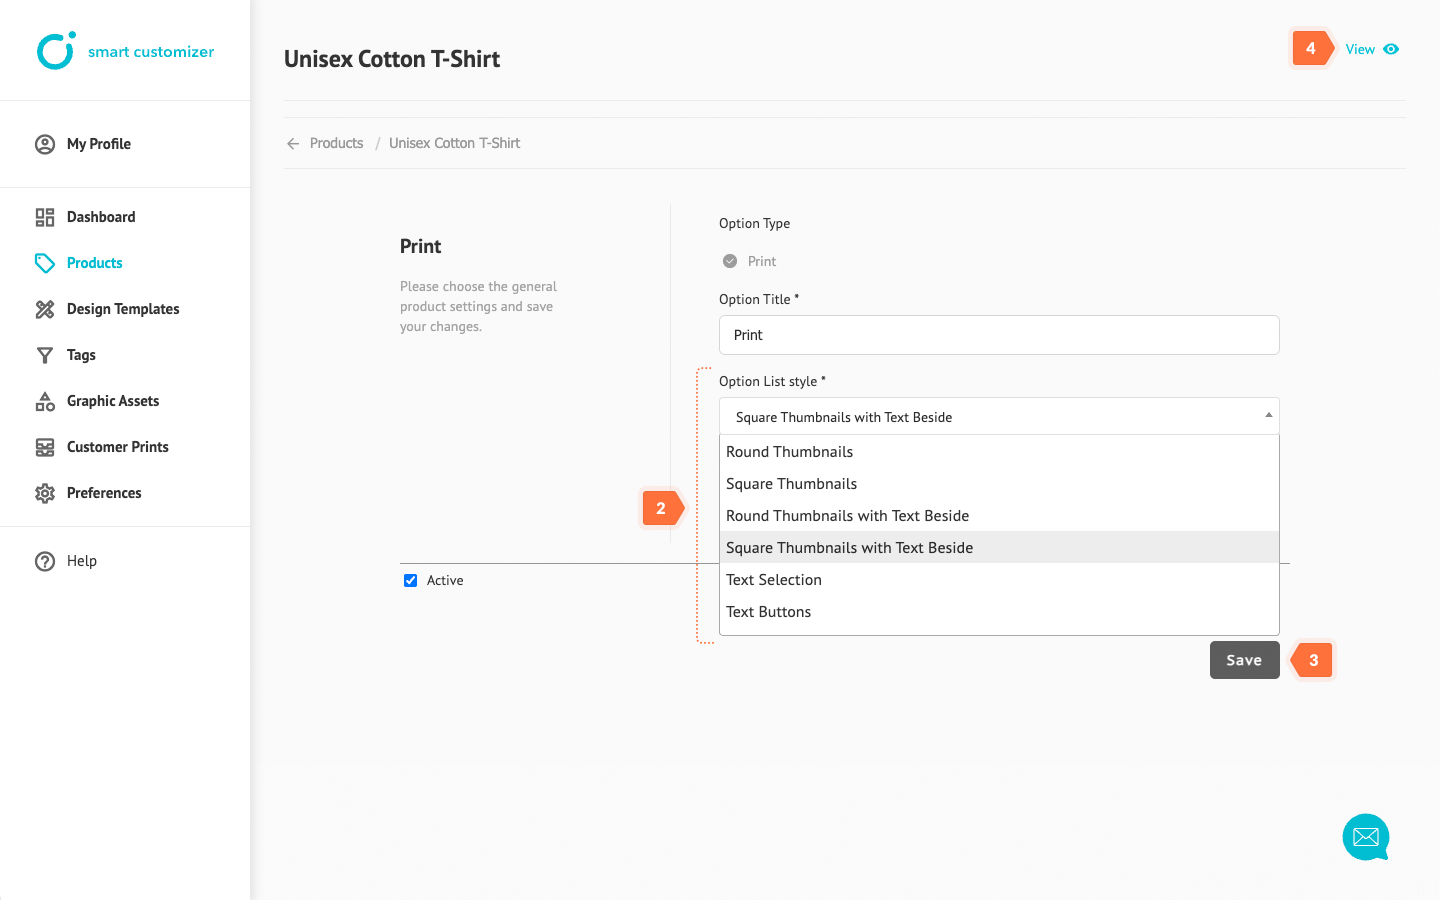
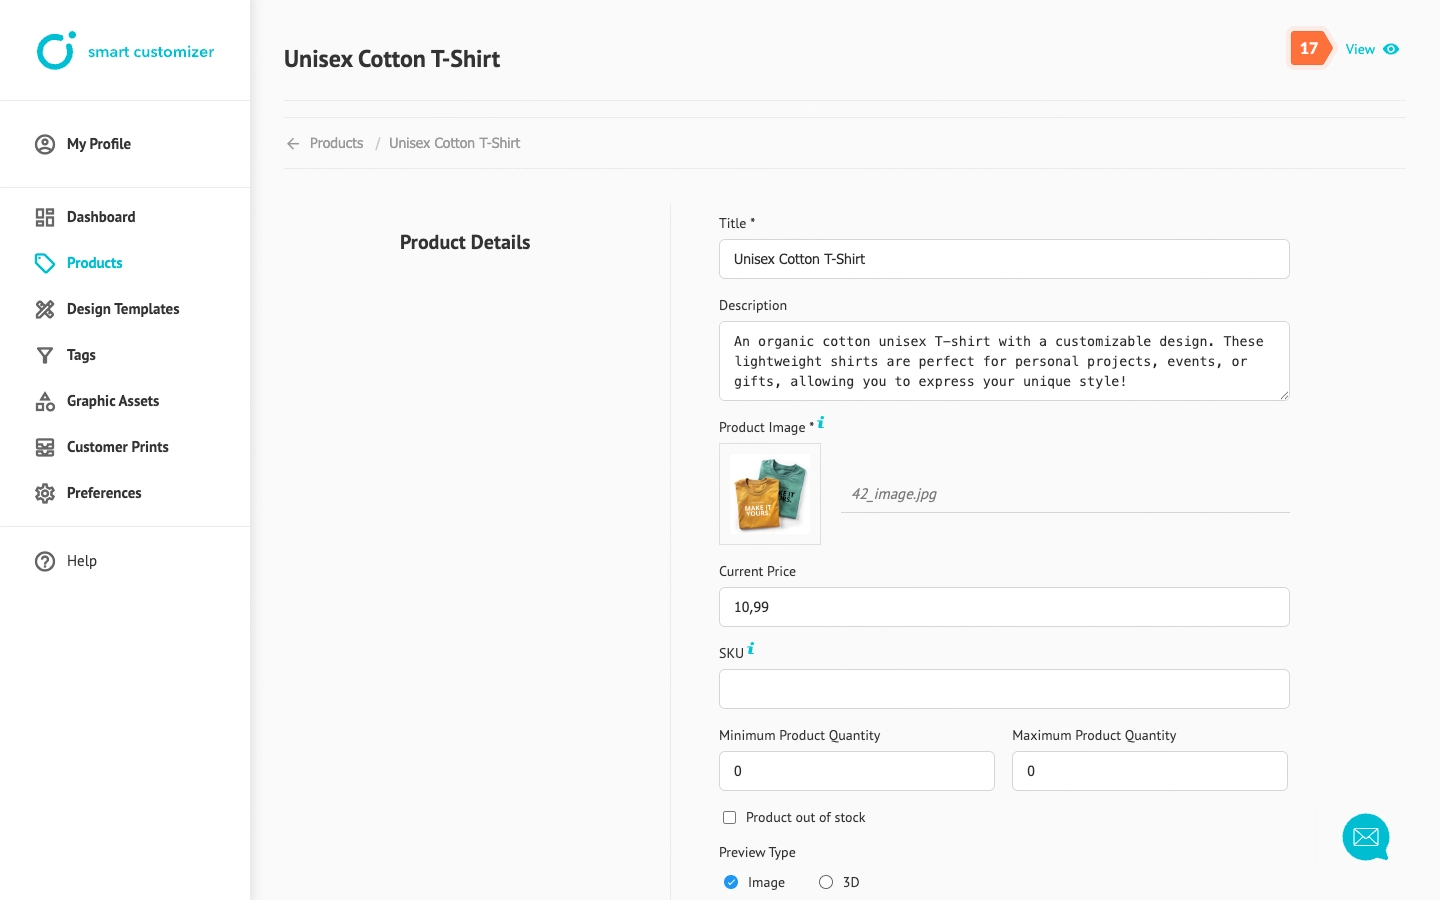
- Click View to preview and test the product customization.
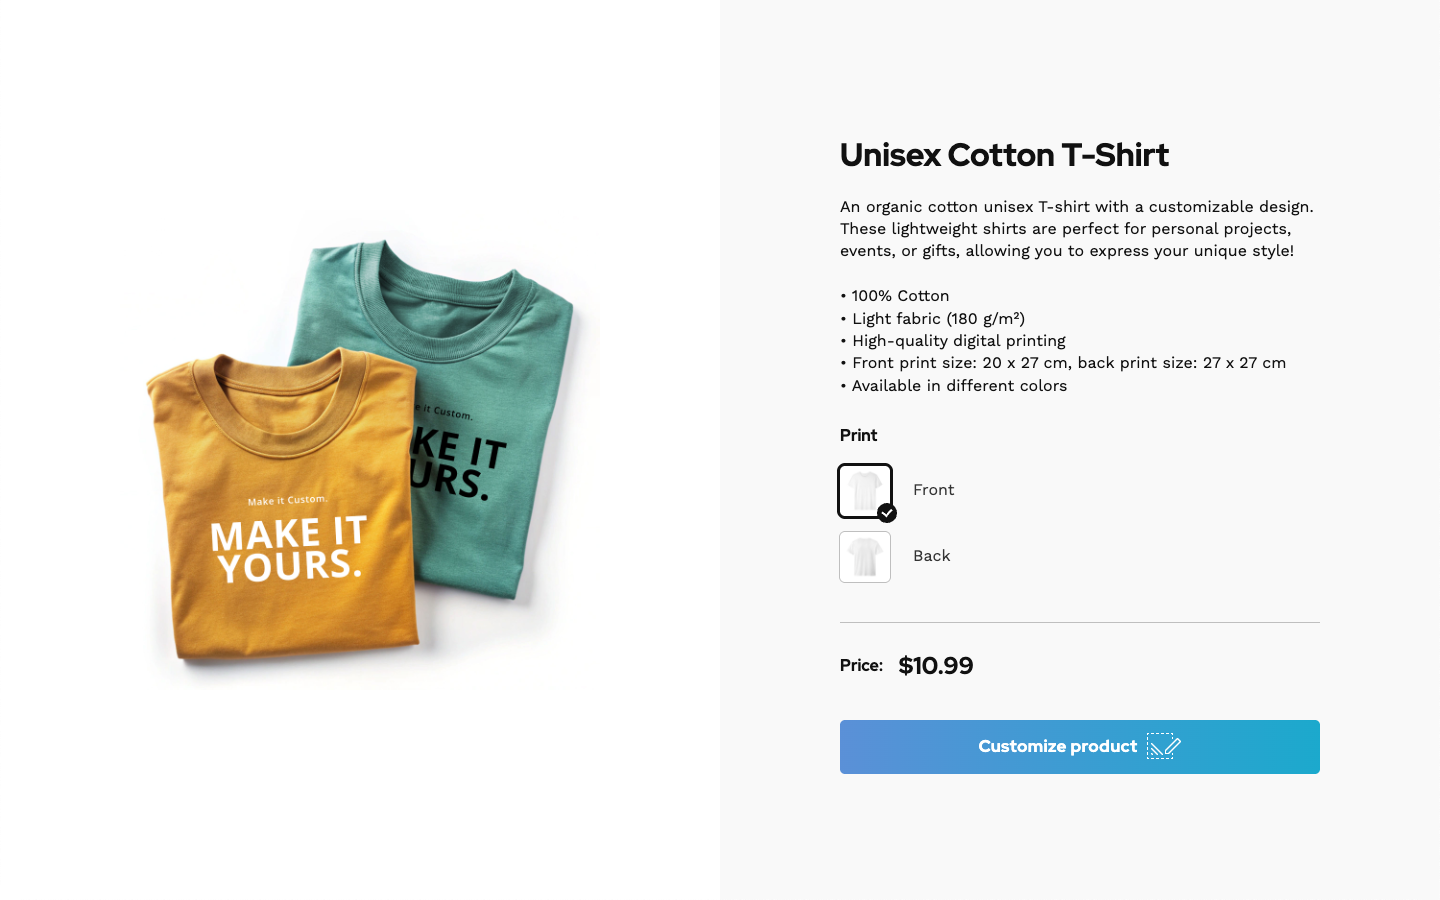
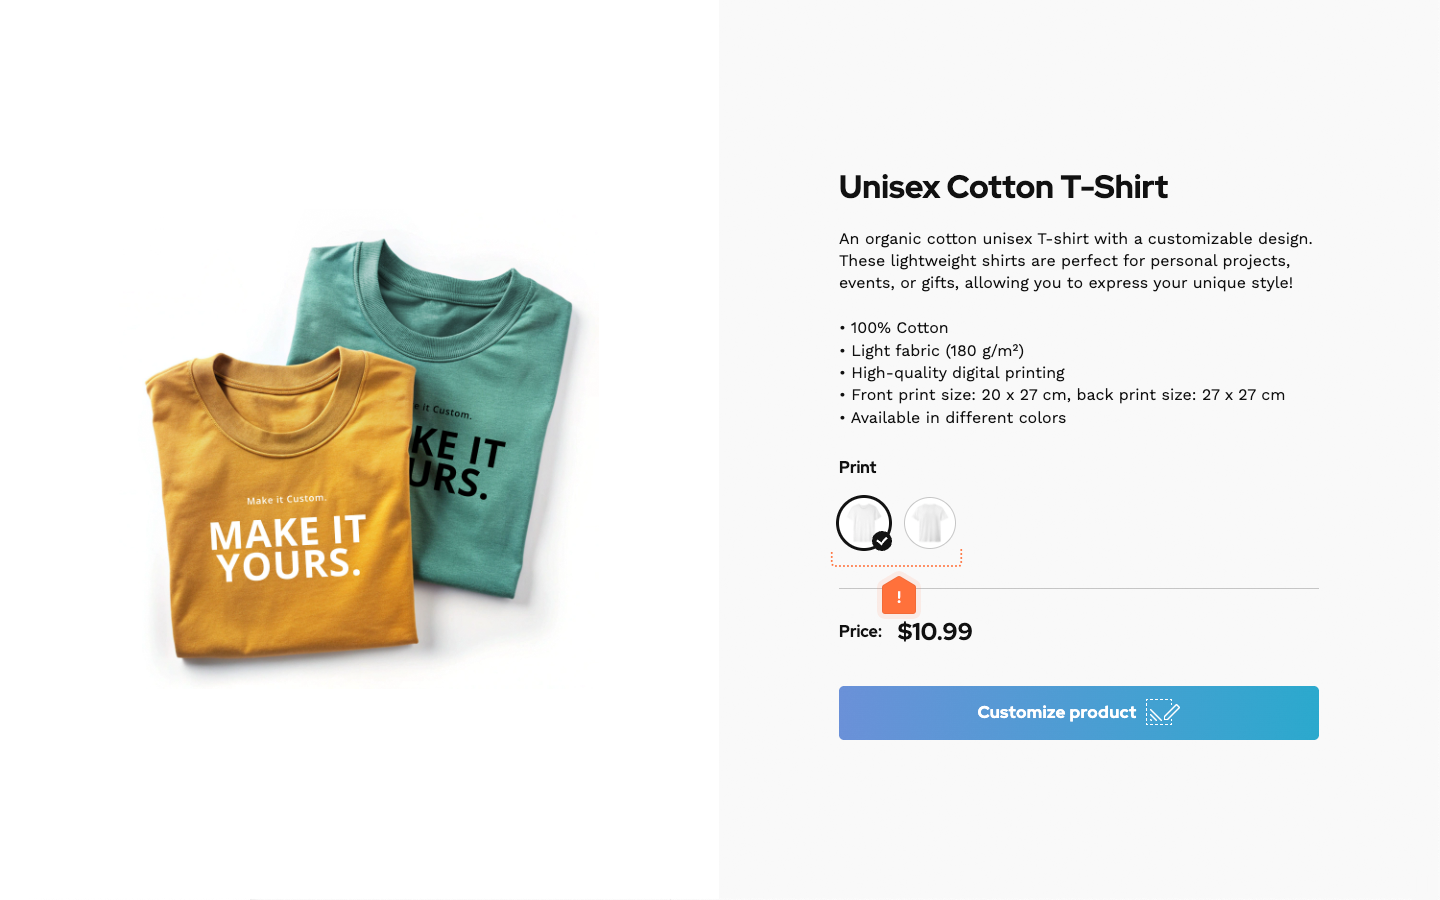
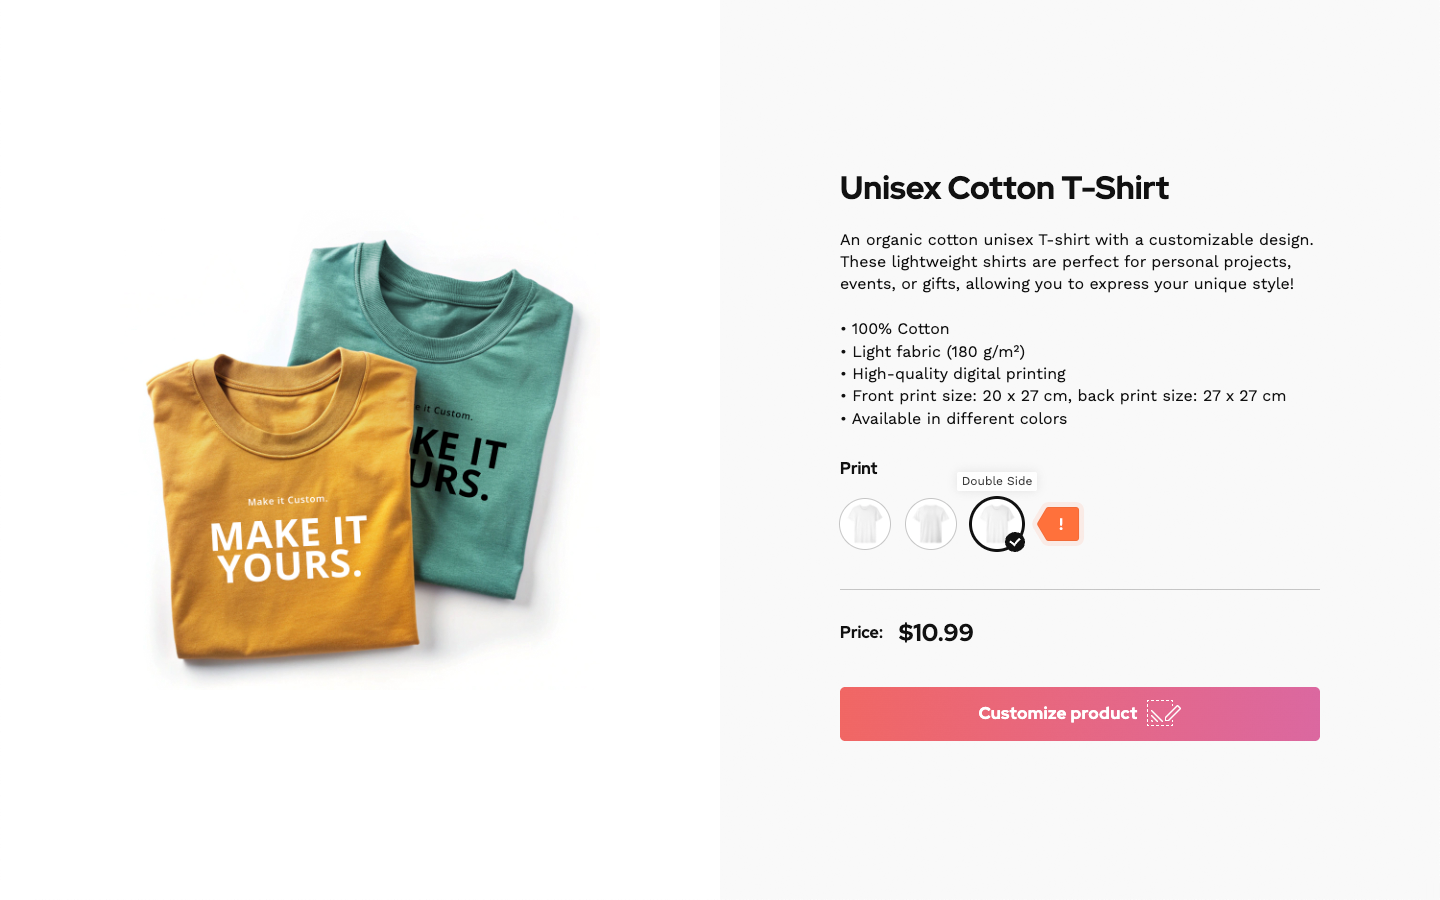
- The print options will be listed on the product page:
How to create a print set?
You can assemble multiple prints to create a set. This is useful if you want to offer different print options and set varying prices for each product variation. To do this:
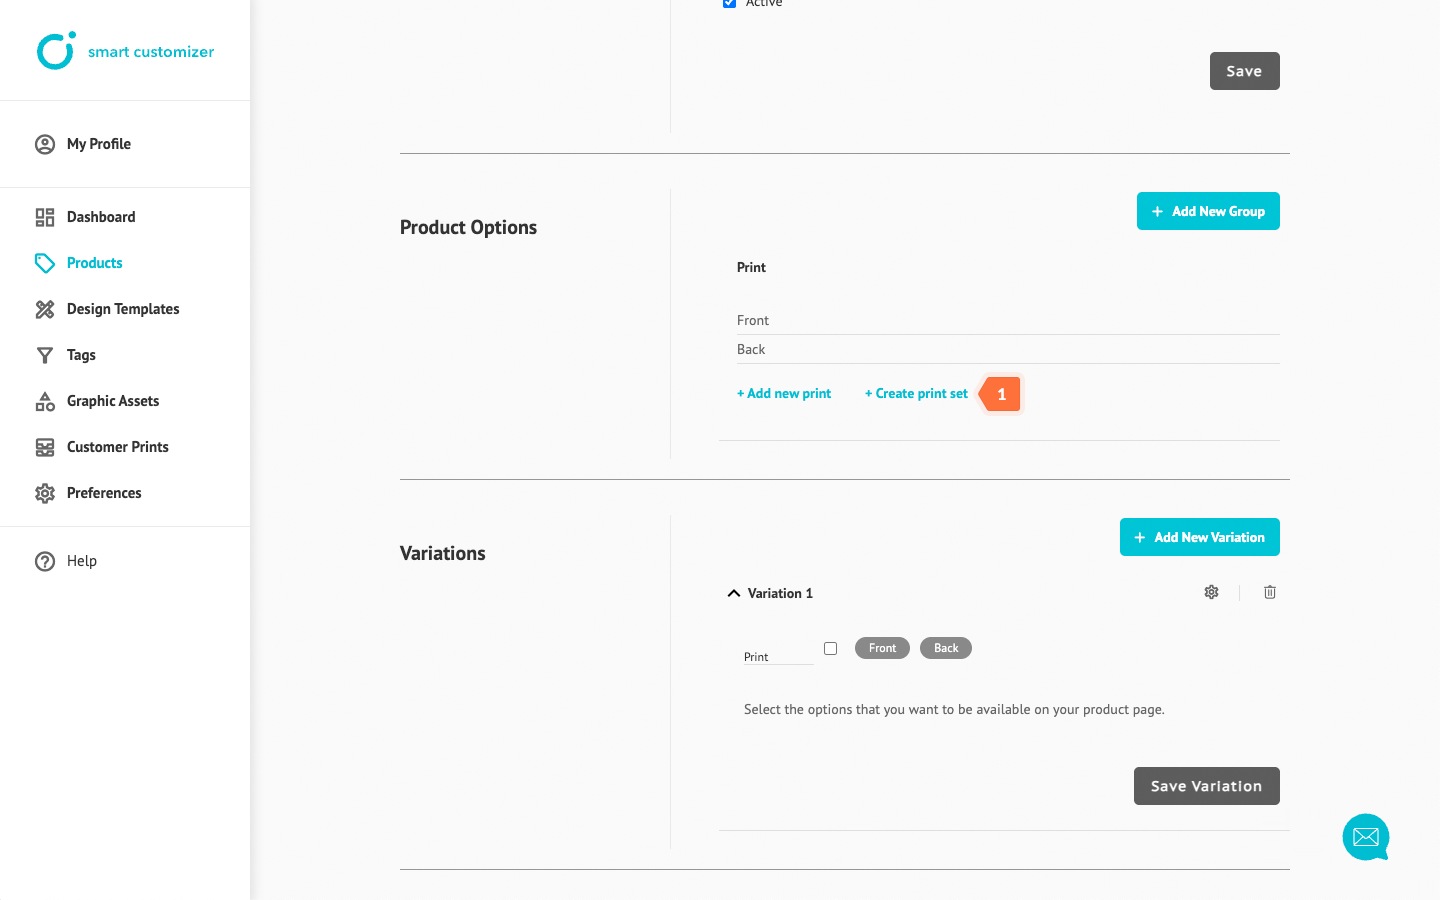
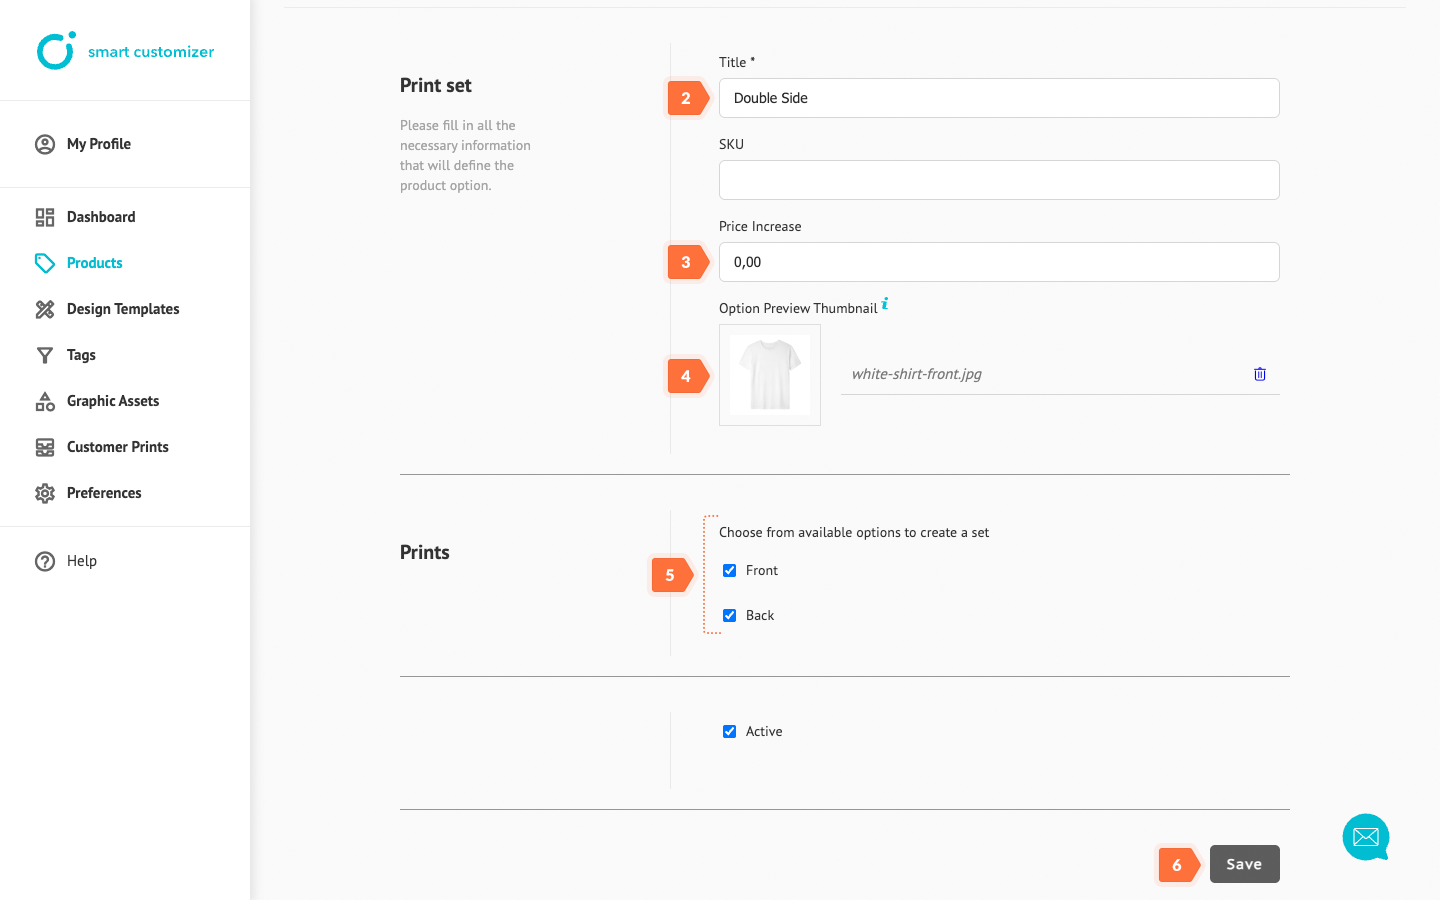
- In Product Options > Print click Create print set.
- Add a Title.
- Add a Price increase (optional).
- Upload a Thumbnail image (optional). If no thumbnail is uploaded, a white color will be displayed in the options list.
- Select the prints you want to include in the set.
- Click Save.
- Repeat steps 13-16 to make it available in the variations. The new print option will then appear in the list:
How to change the print options list style?
You can change the appearance of the options list to different styles. To do this:
