Adding color variants to your customizable product
This article refers to Smart Customizer Web to Print App Version 2.0
Before we get started
- You can add any number of color variants to your product.
- For a 2D product template, you need to have all the images of your desired colors prepared beforehand.
- For a 3D product template, you can change the color of the 3D mesh within the app.
How to add color variations for a 2D product
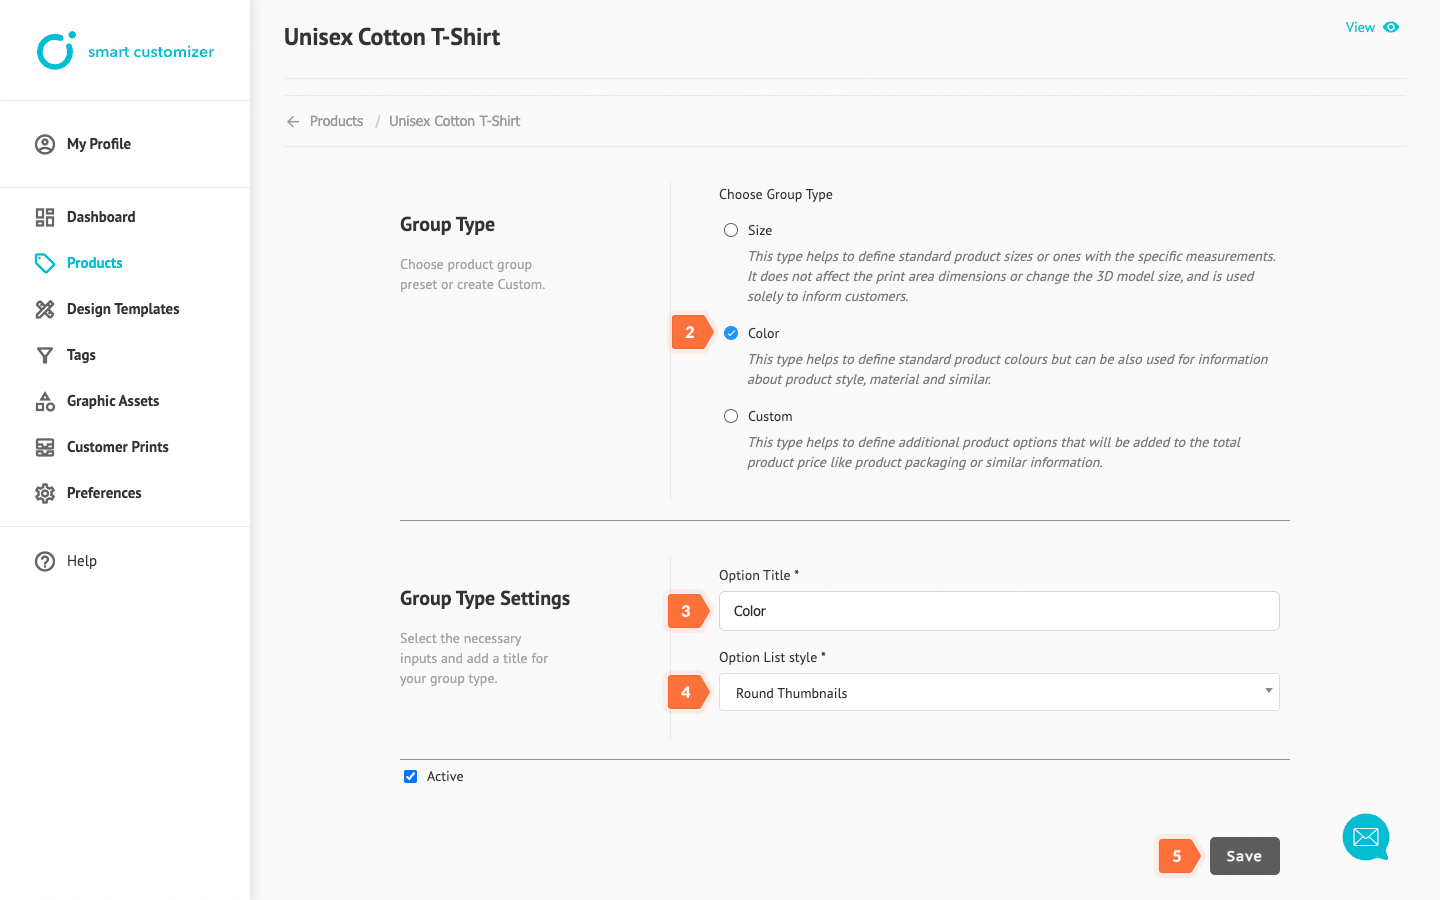
- Click Add New Group.
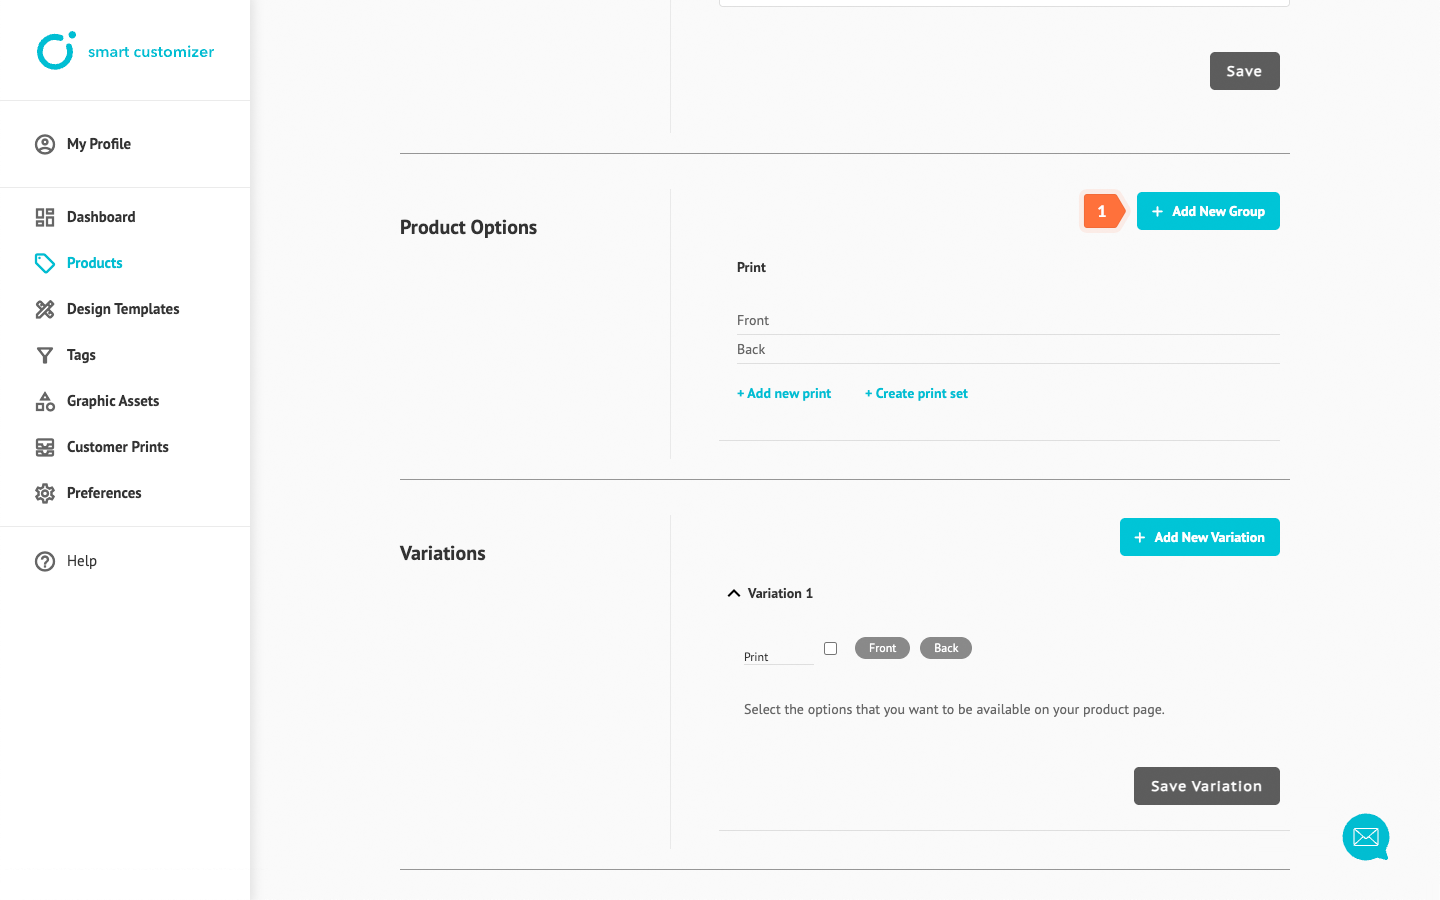
- Select the Color group.
- Enter a simple and clear name for the option Title.
- Choose the Option list style, which will be used for color switchers on the product page.
- Click Save to continue.
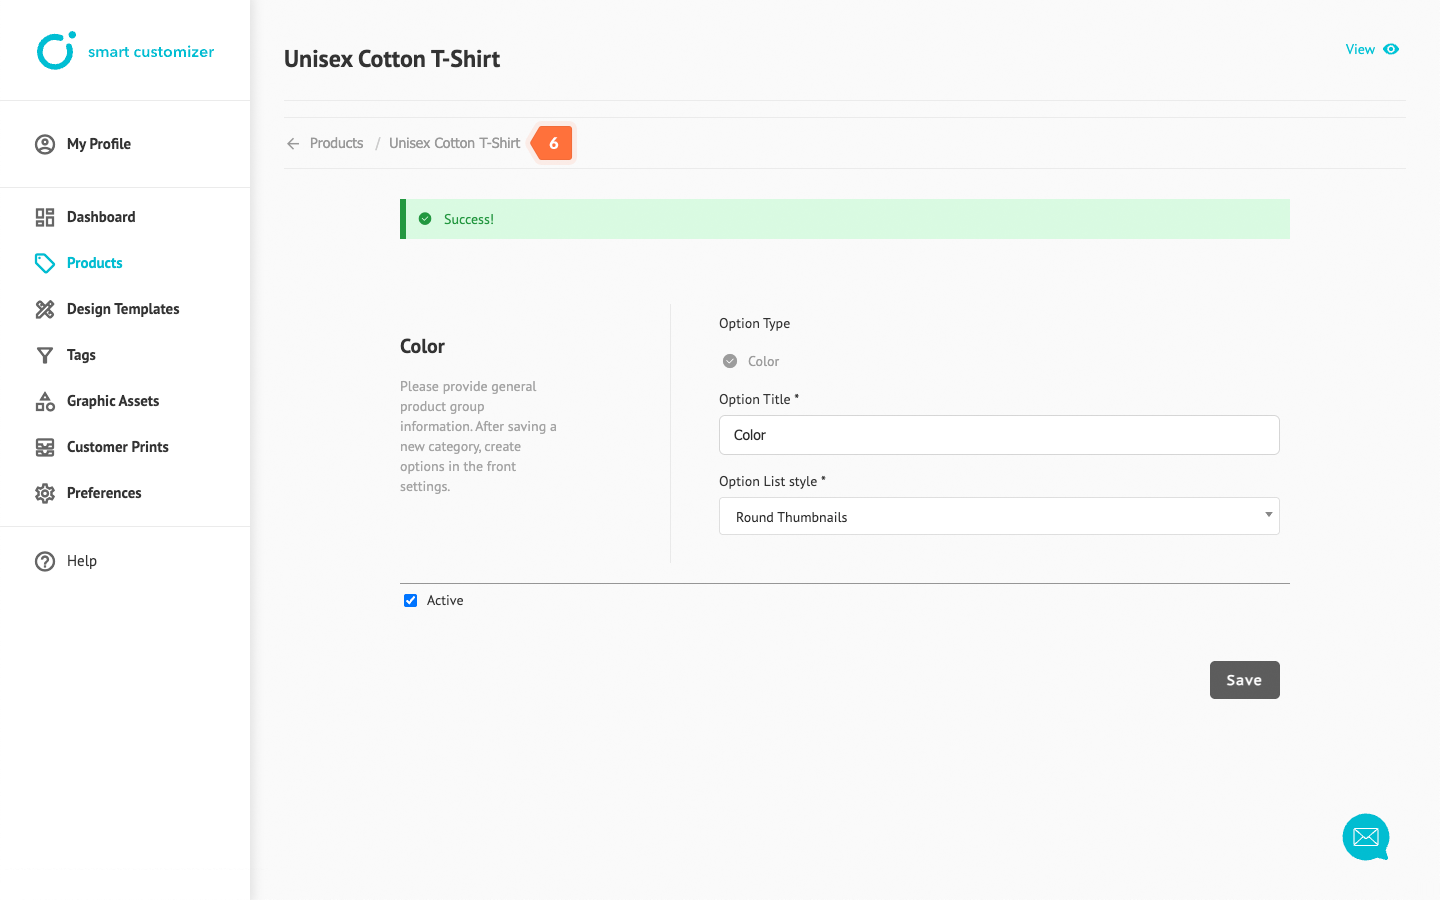
- Go back to the Product editing page.
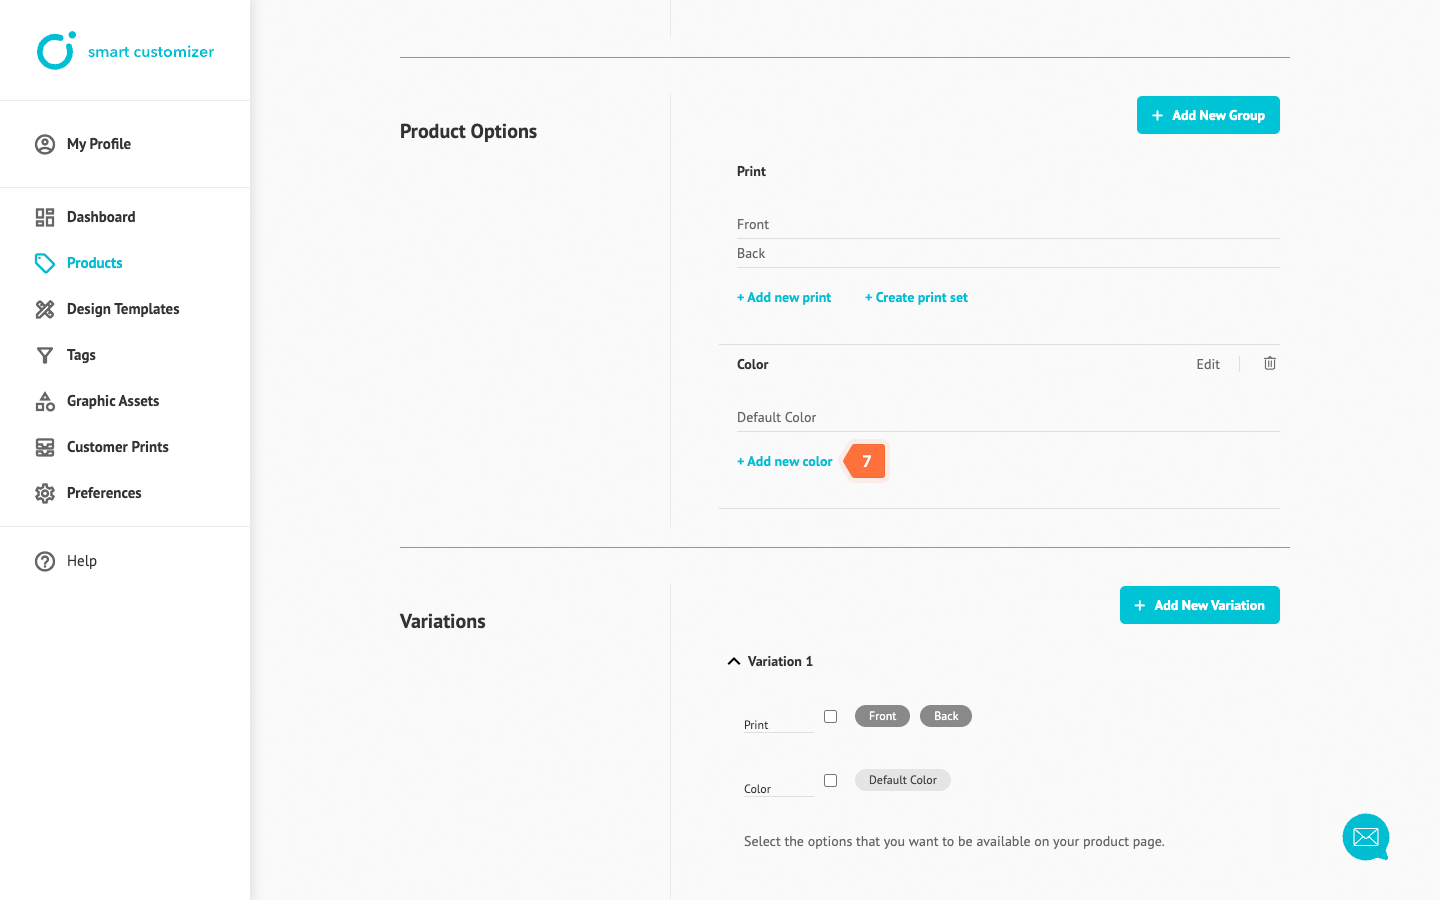
- One default color is created, which you can edit later. To add another color, click Add new color.
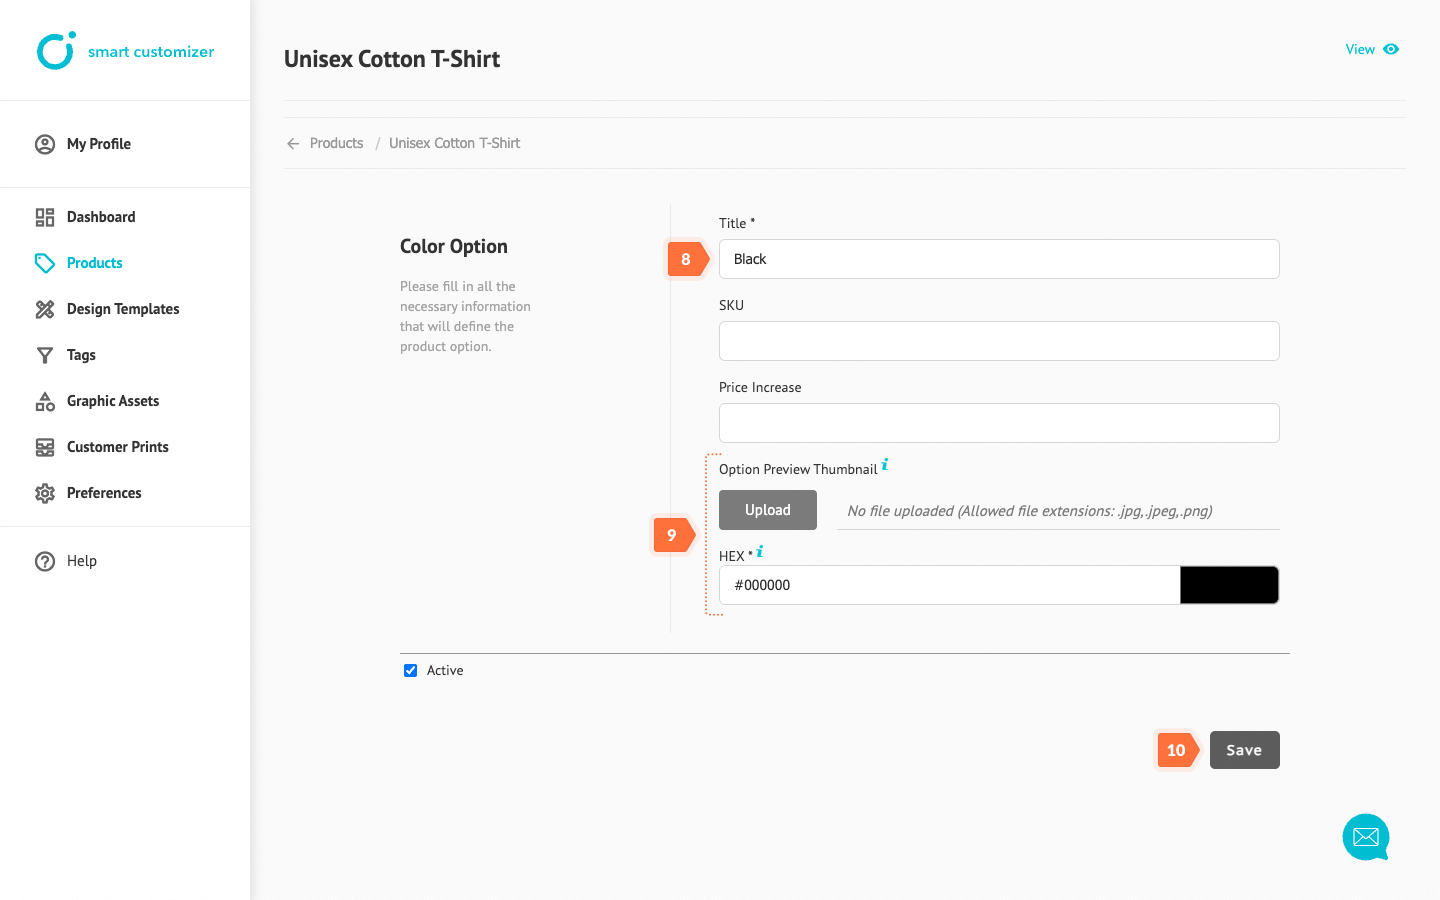
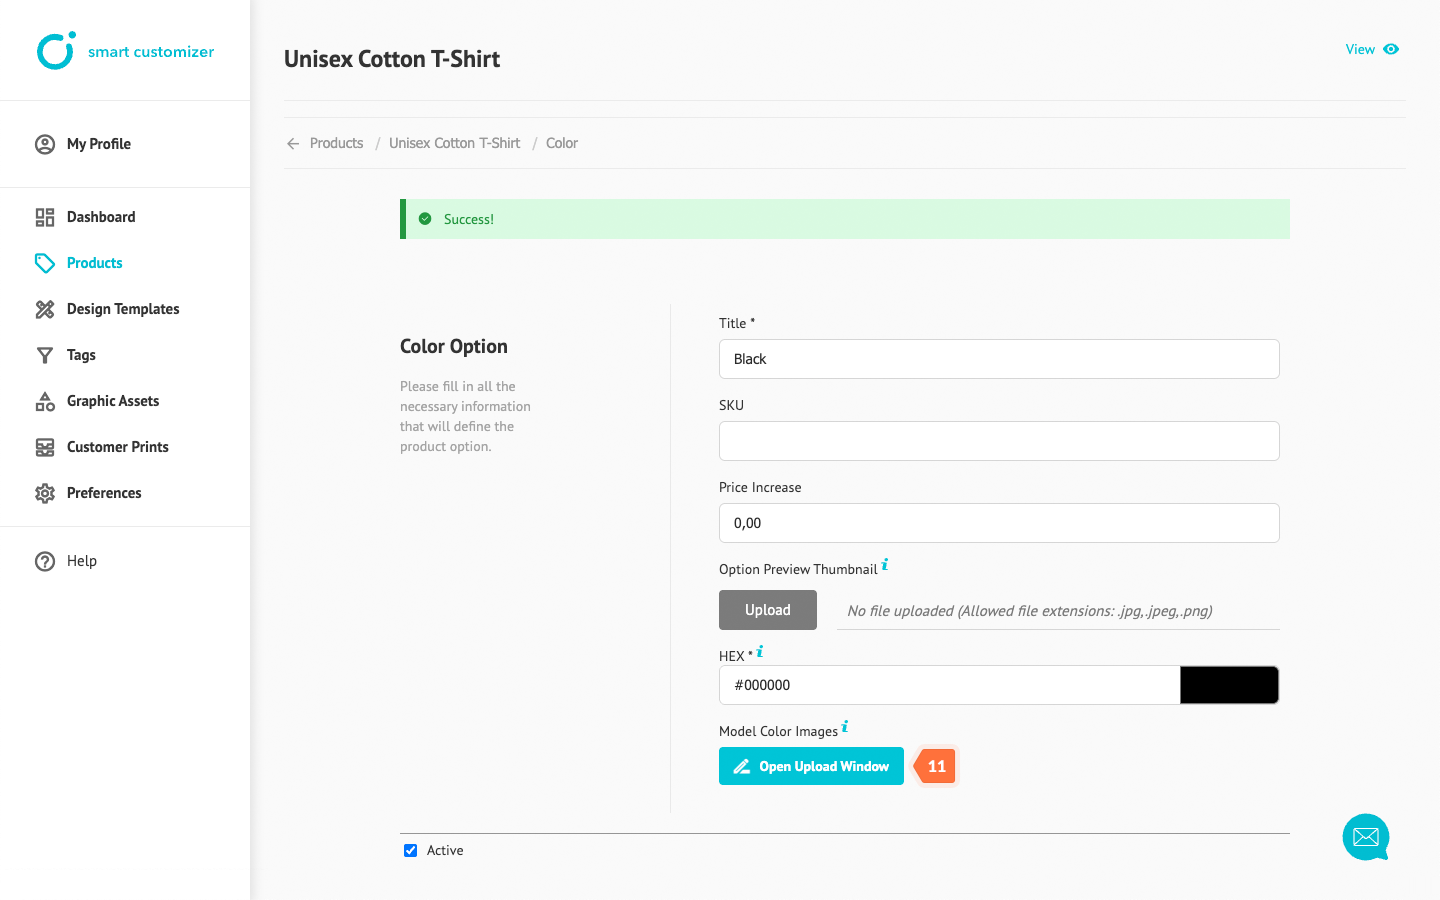
- Enter the color Title.
- Upload a Thumbnail for your product color variant, or choose a color HEX code for the option list display.
- Click Save.
- After changes are saved, click Open Upload Window.
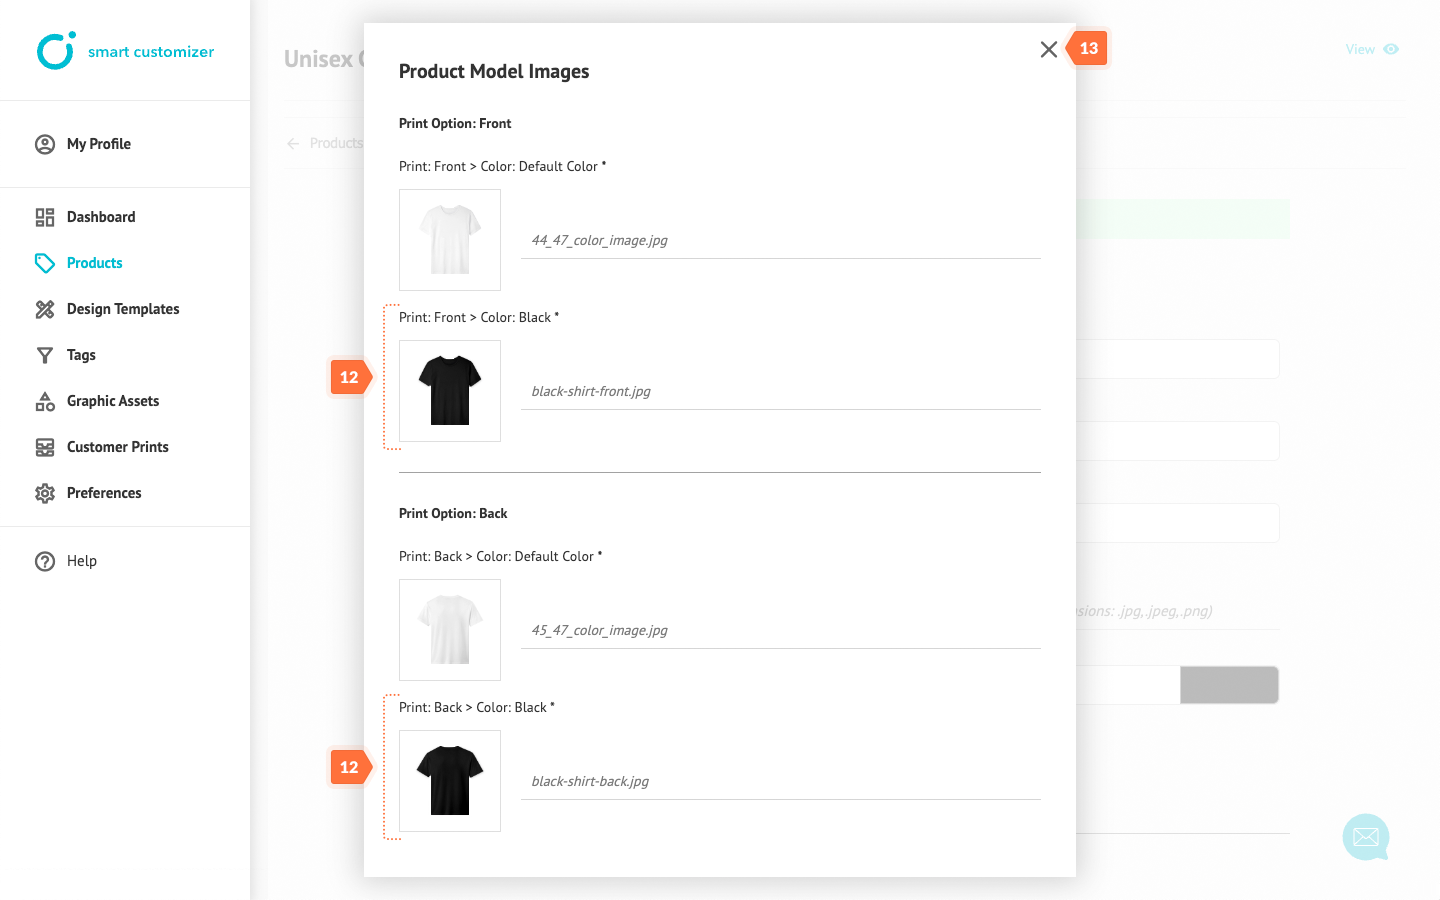
- Upload your color variation pictures for all print areas (in this case, the front and back).
- Click the X to close.
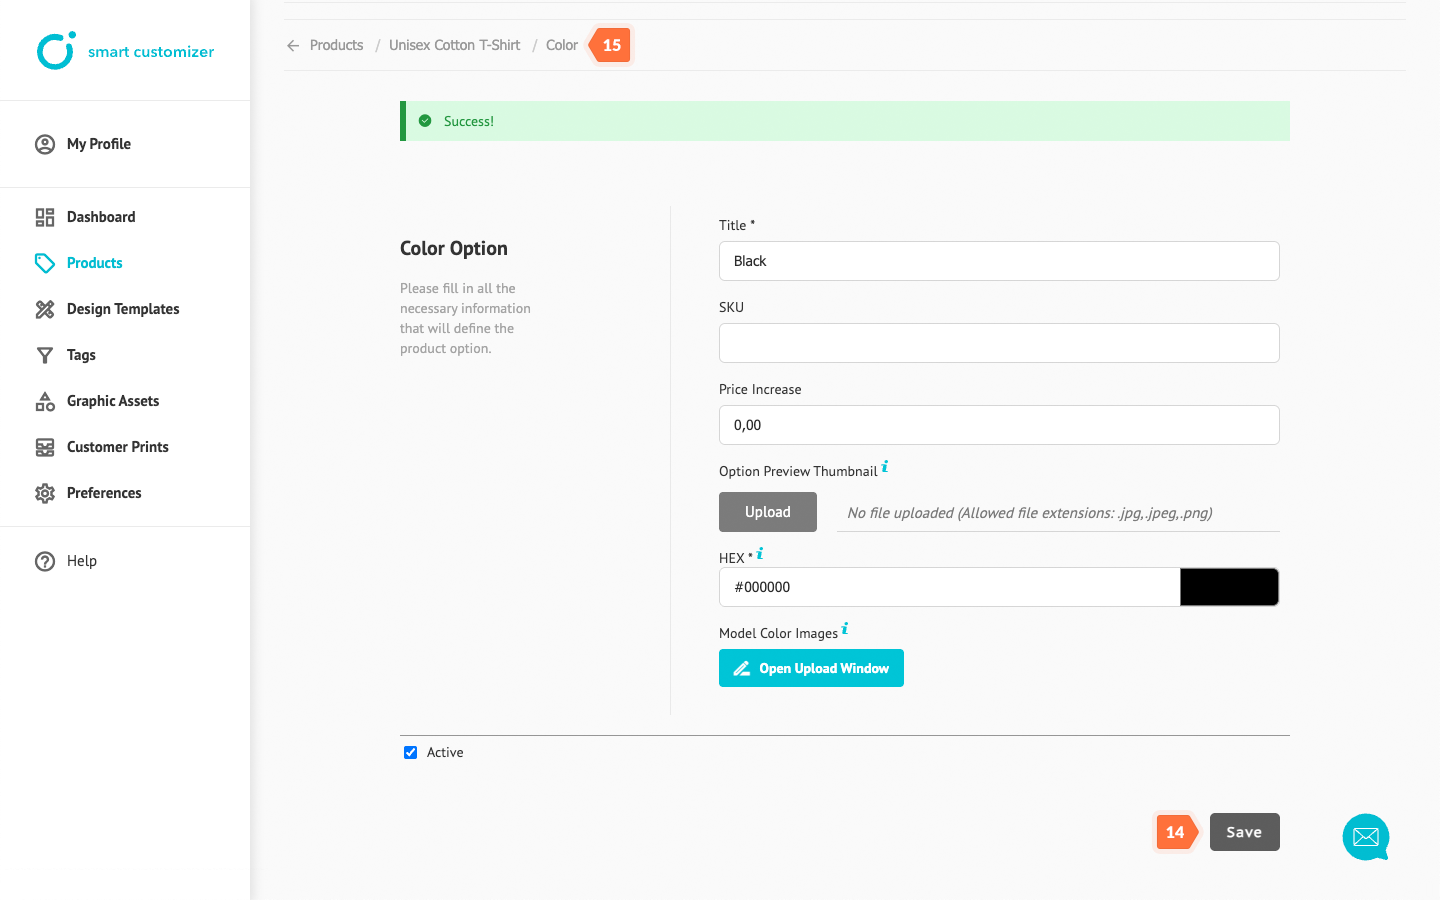
- Click Save.
- After saving, return to the Product editing page.
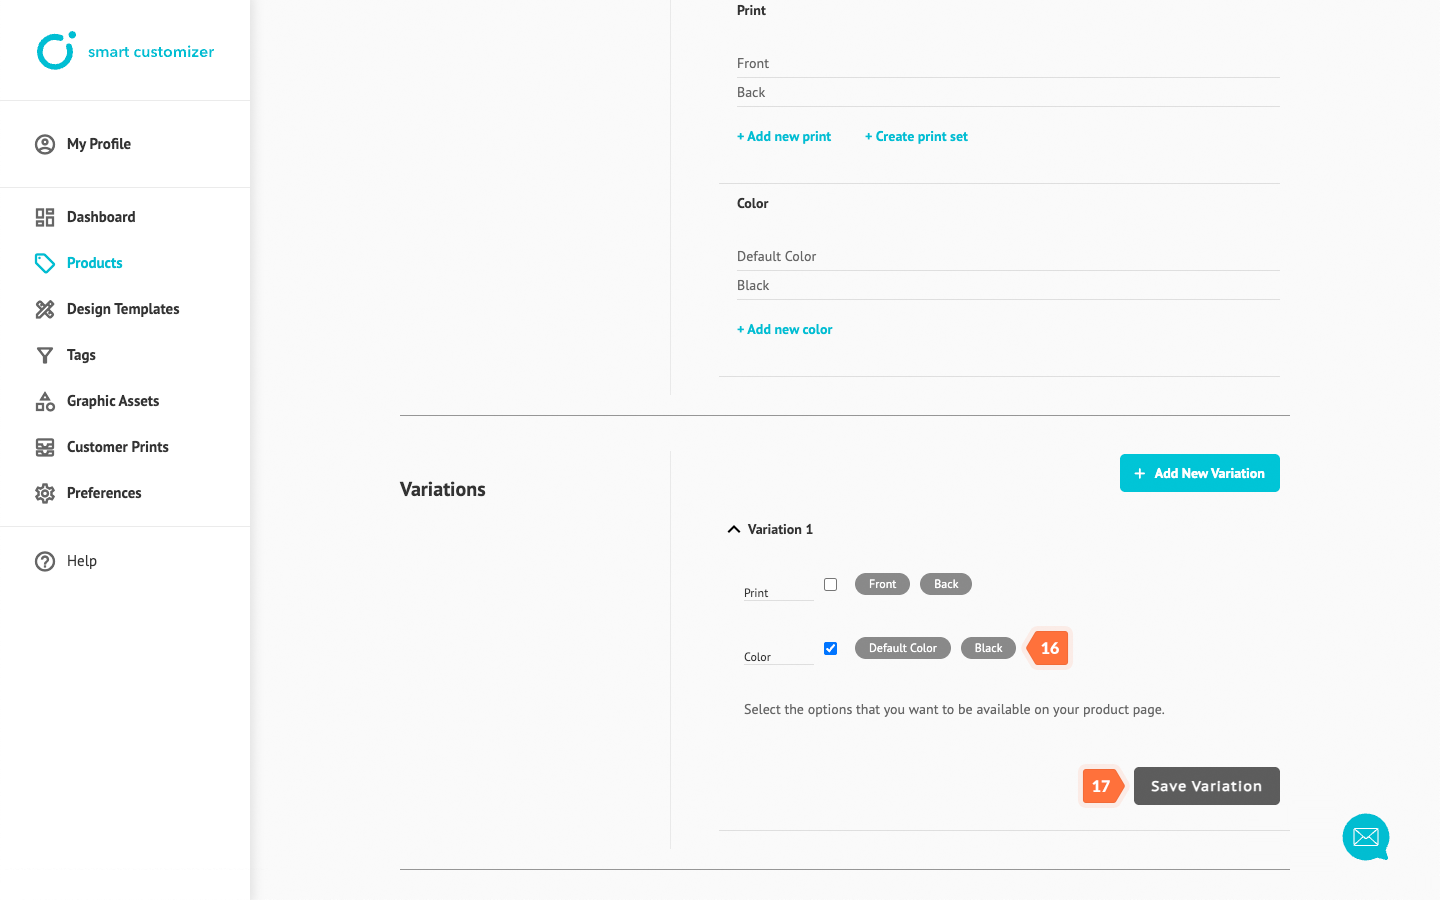
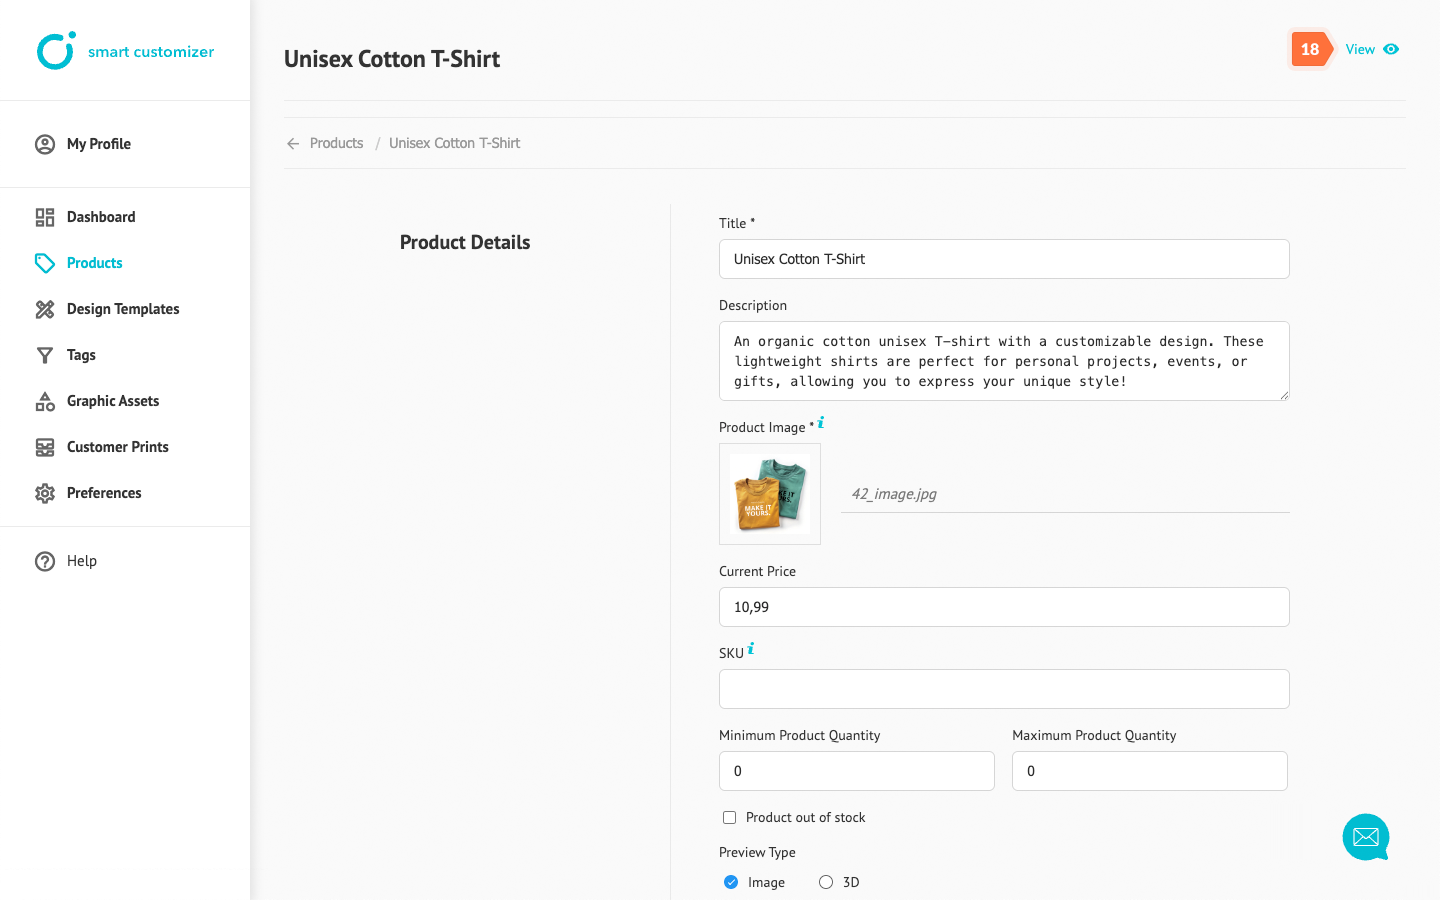
- In Variations > Variation 1 select the newly created color options to display them on the product page.
- Click Save Variation.
- Click View to test the product.
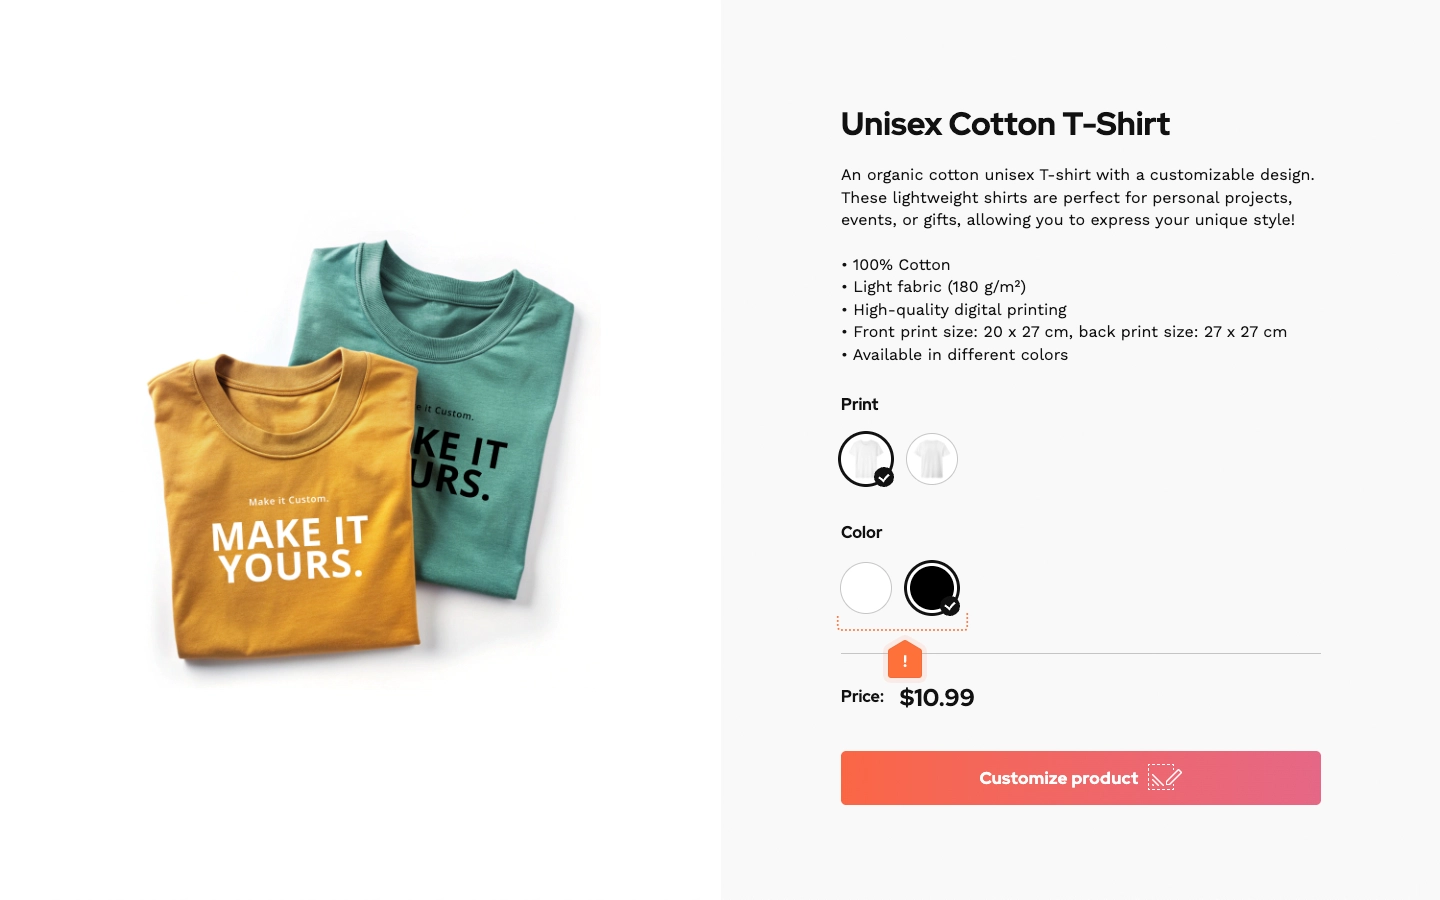
Color options will be listed under Print Options. If you want to add more color variants, repeat the same process from step 7.
How to add color variations for a 3D product
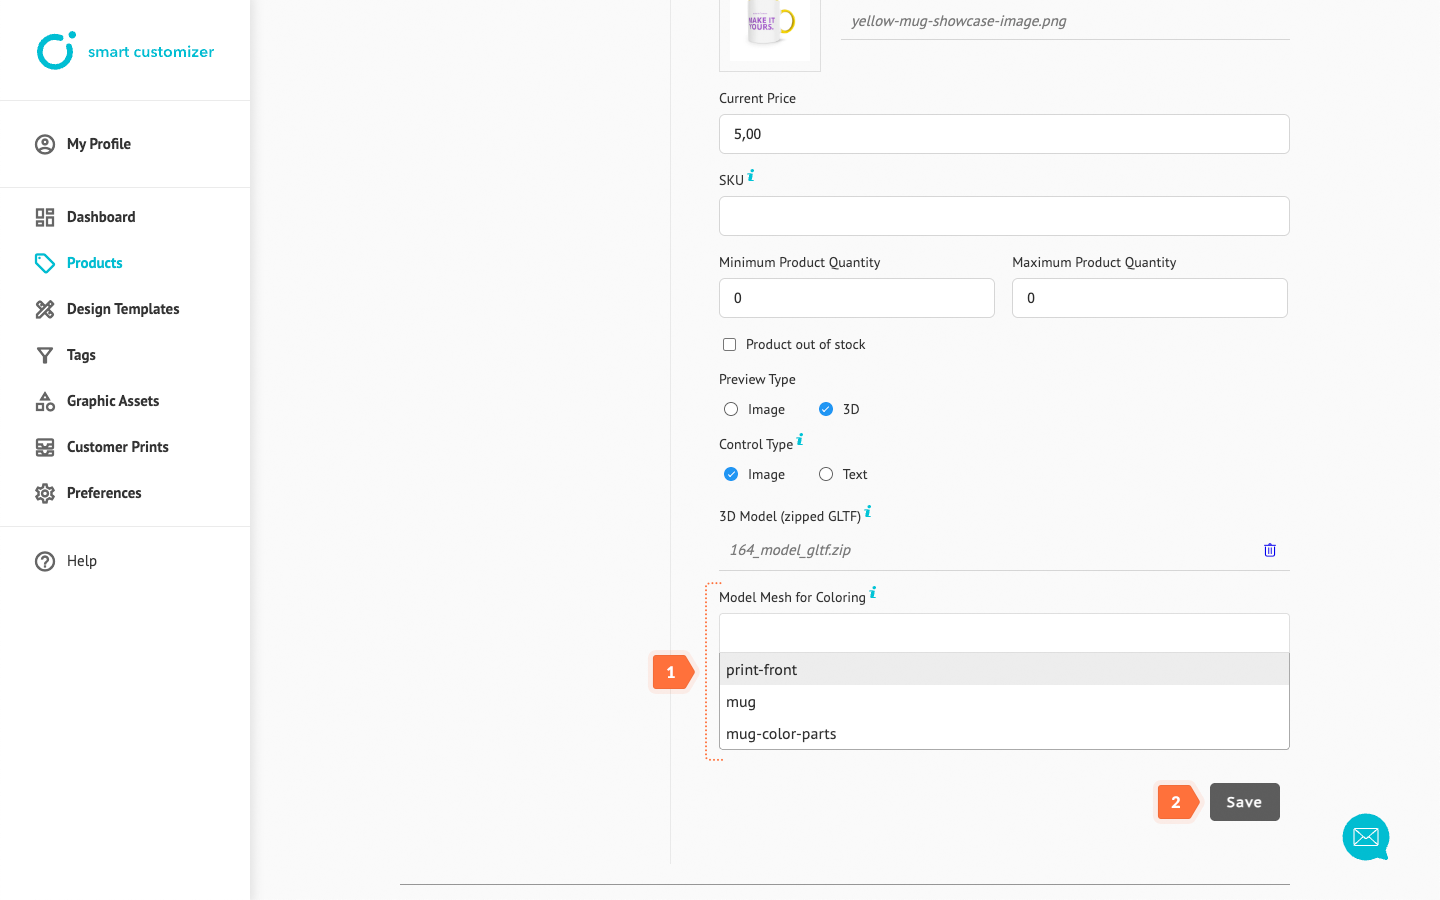
- In your Product details > Model Mesh for Coloring dropdown, choose the part of the 3D model you want to color.
- Click Save, then repeat steps 1-7, as you would for a 2D product setup, to add a new color option.
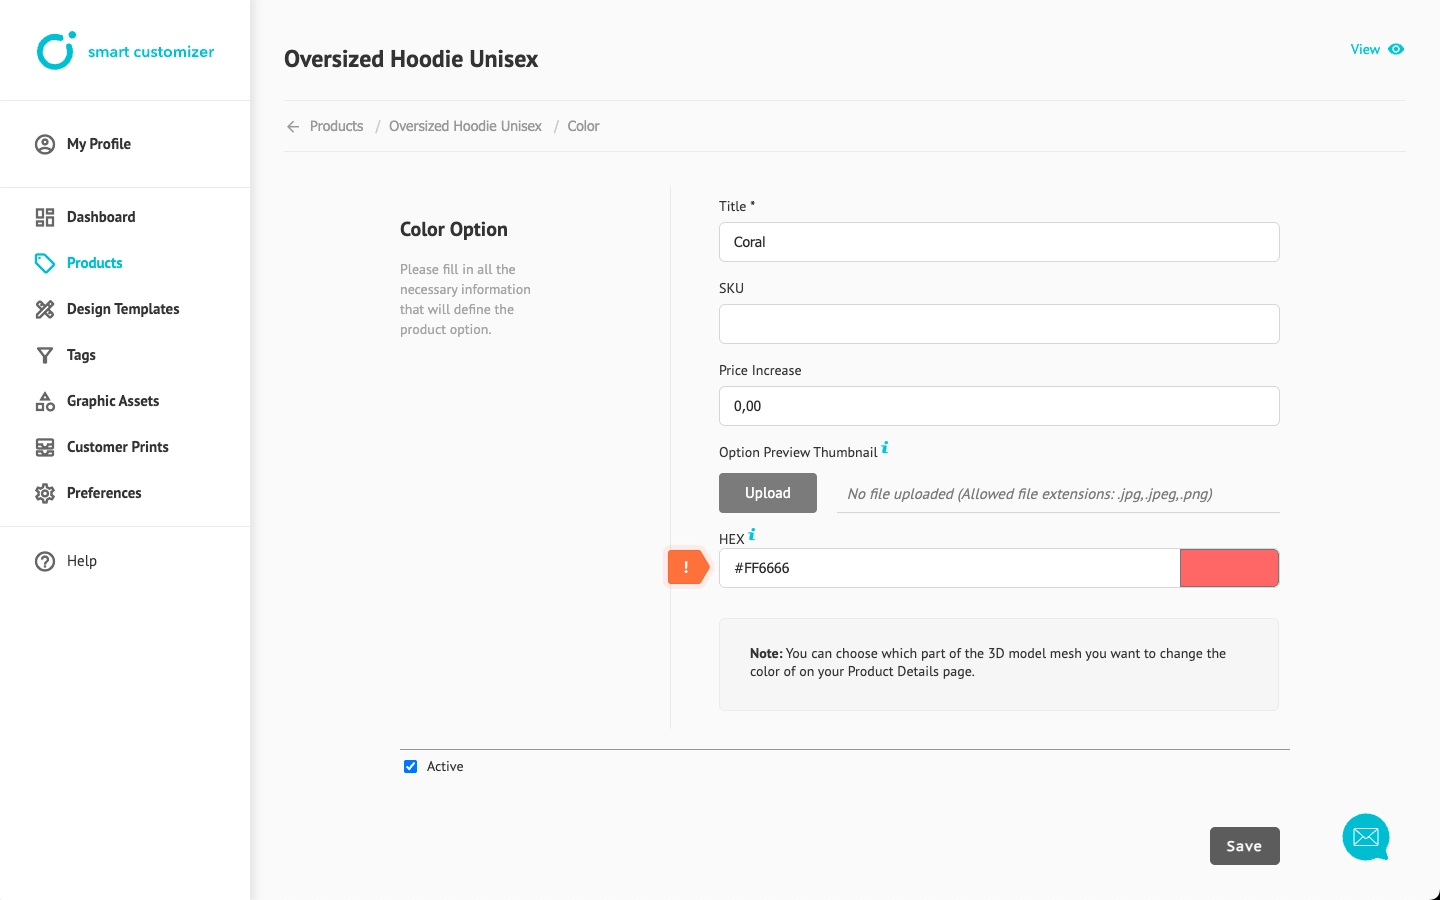
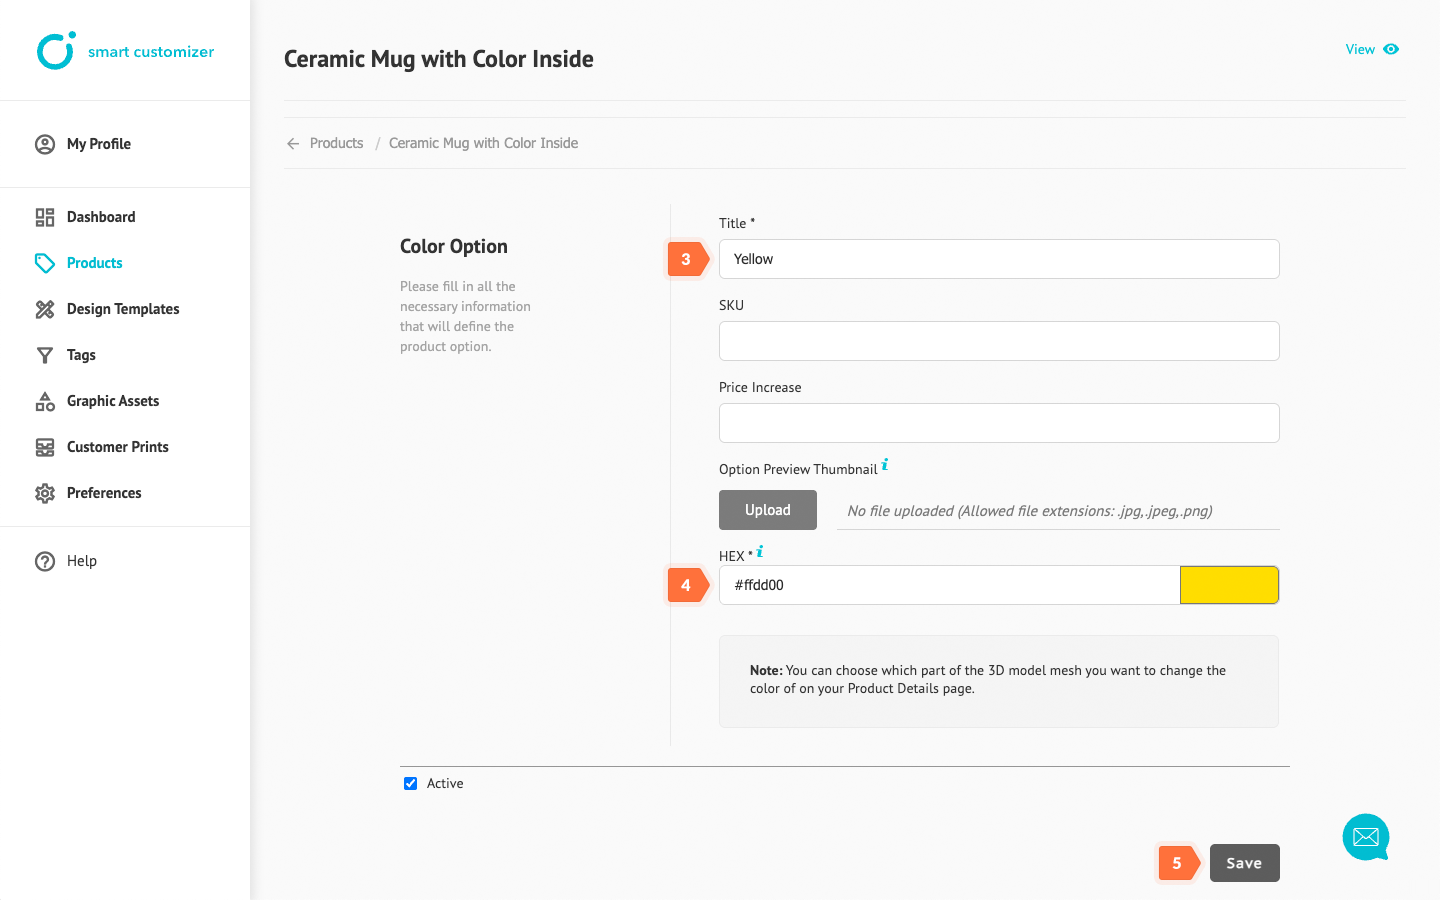
- Enter the color Title.
- Enter or select a color HEX code to apply to your selected 3D model mesh.
- Click Save and repeat steps 15-18. To add more colors, repeat the process.
Artwork background color
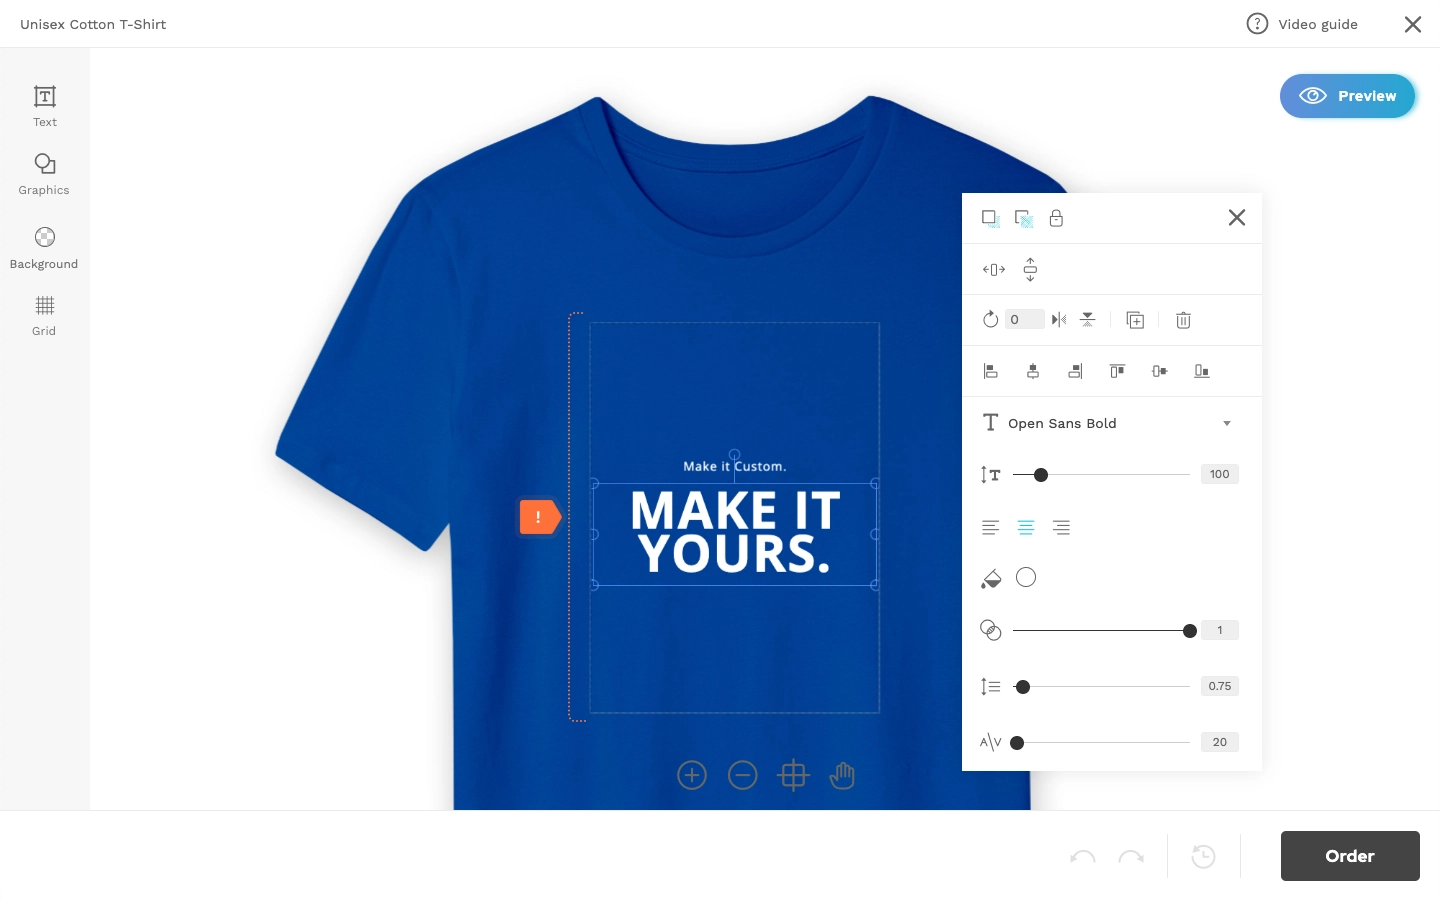
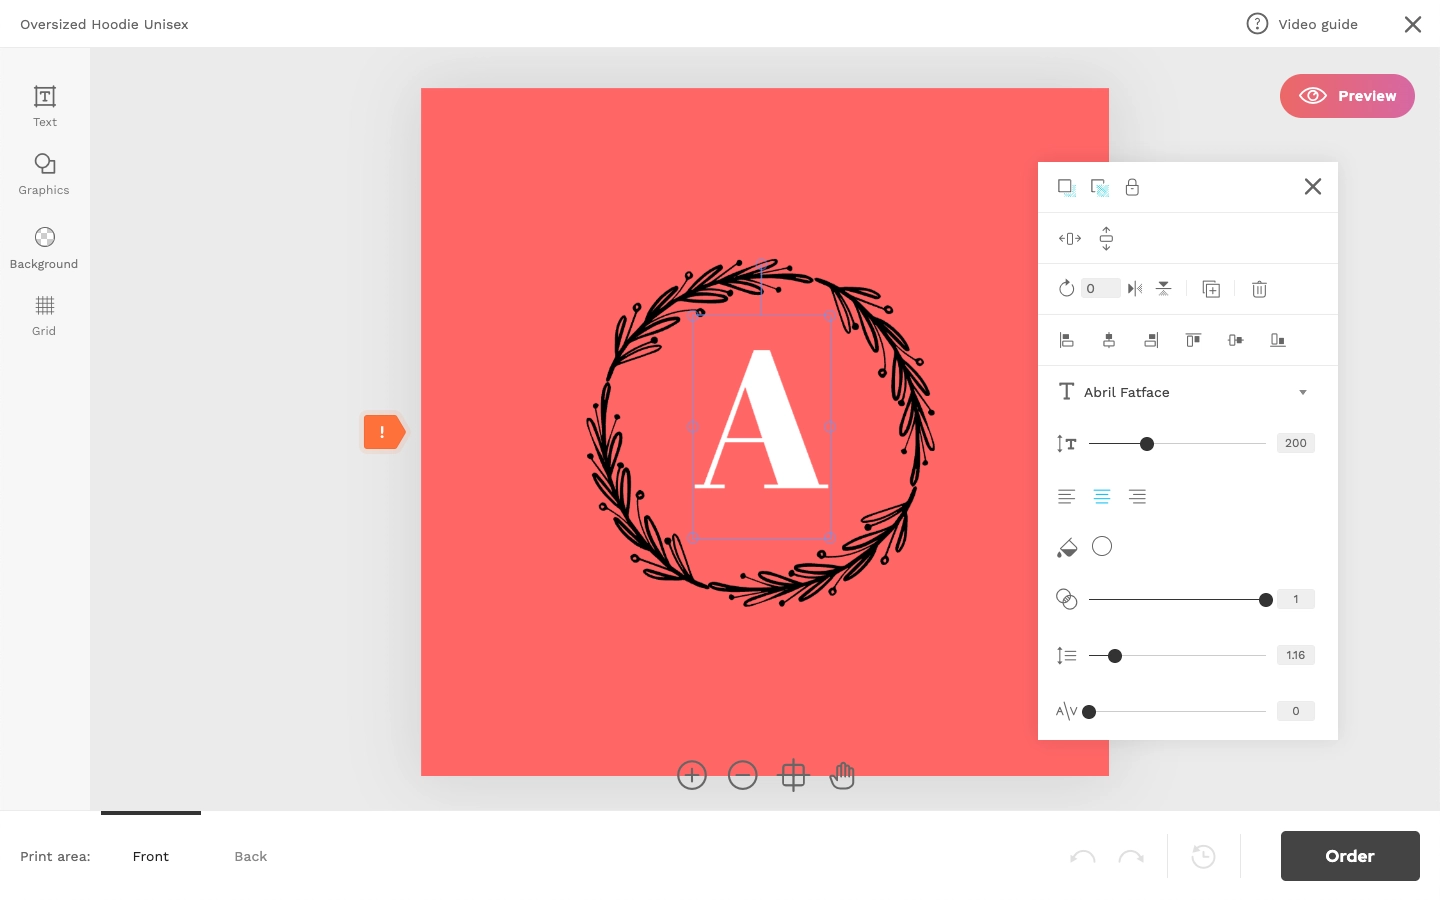
For some products, you may want the artwork's background color in the editor to match the product variant color. This allows customers to see how graphic elements will appear on the specific product color.
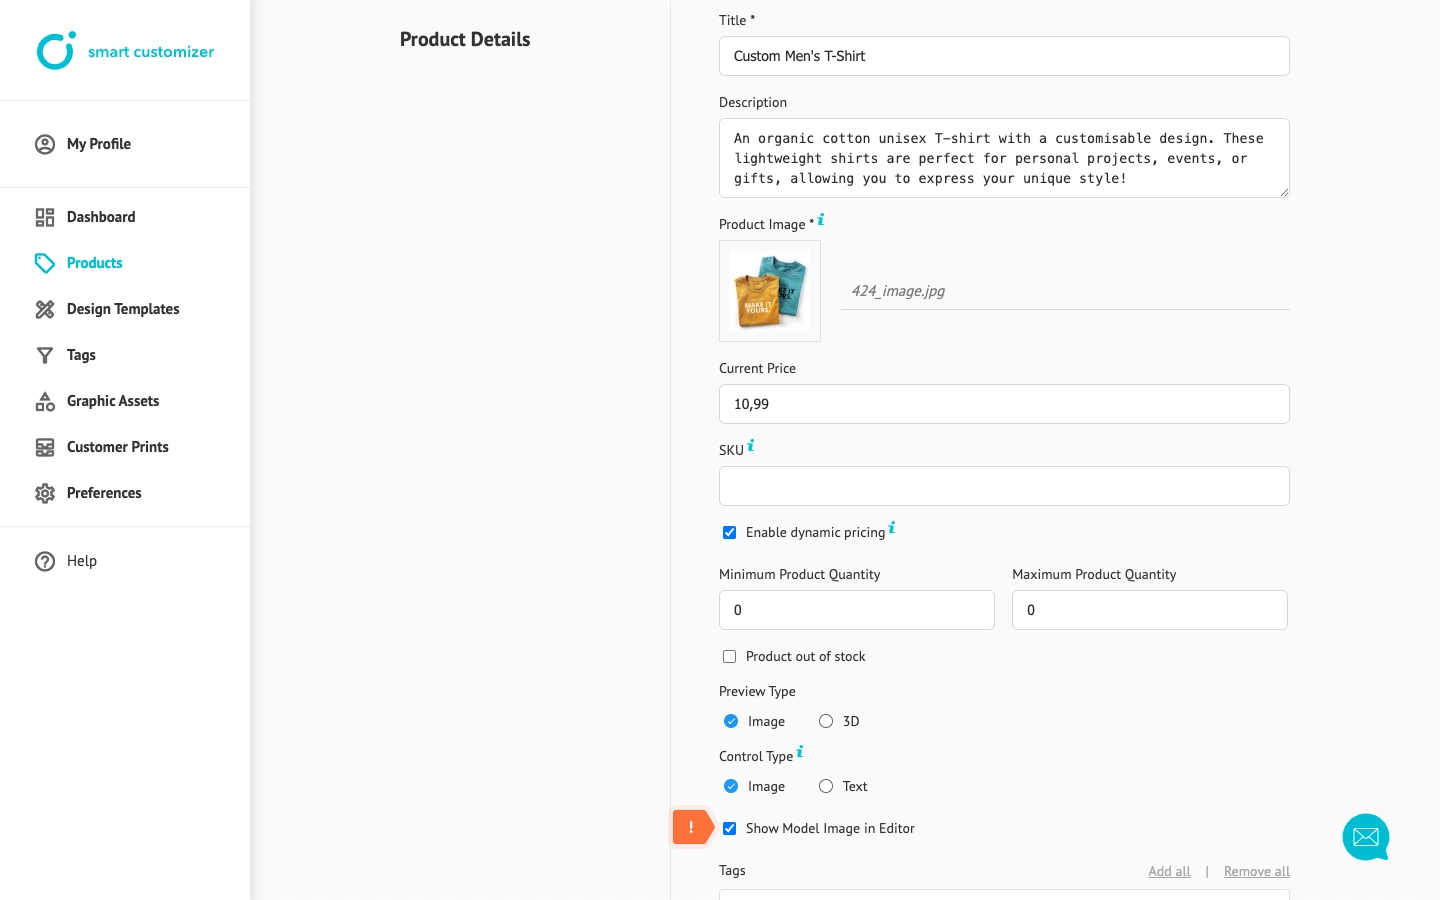
For 2D products, you can enable Model image in Editor display through the Product Details section.
For 3D products, the artwork in the editor is automatically colored based on the added color variant.
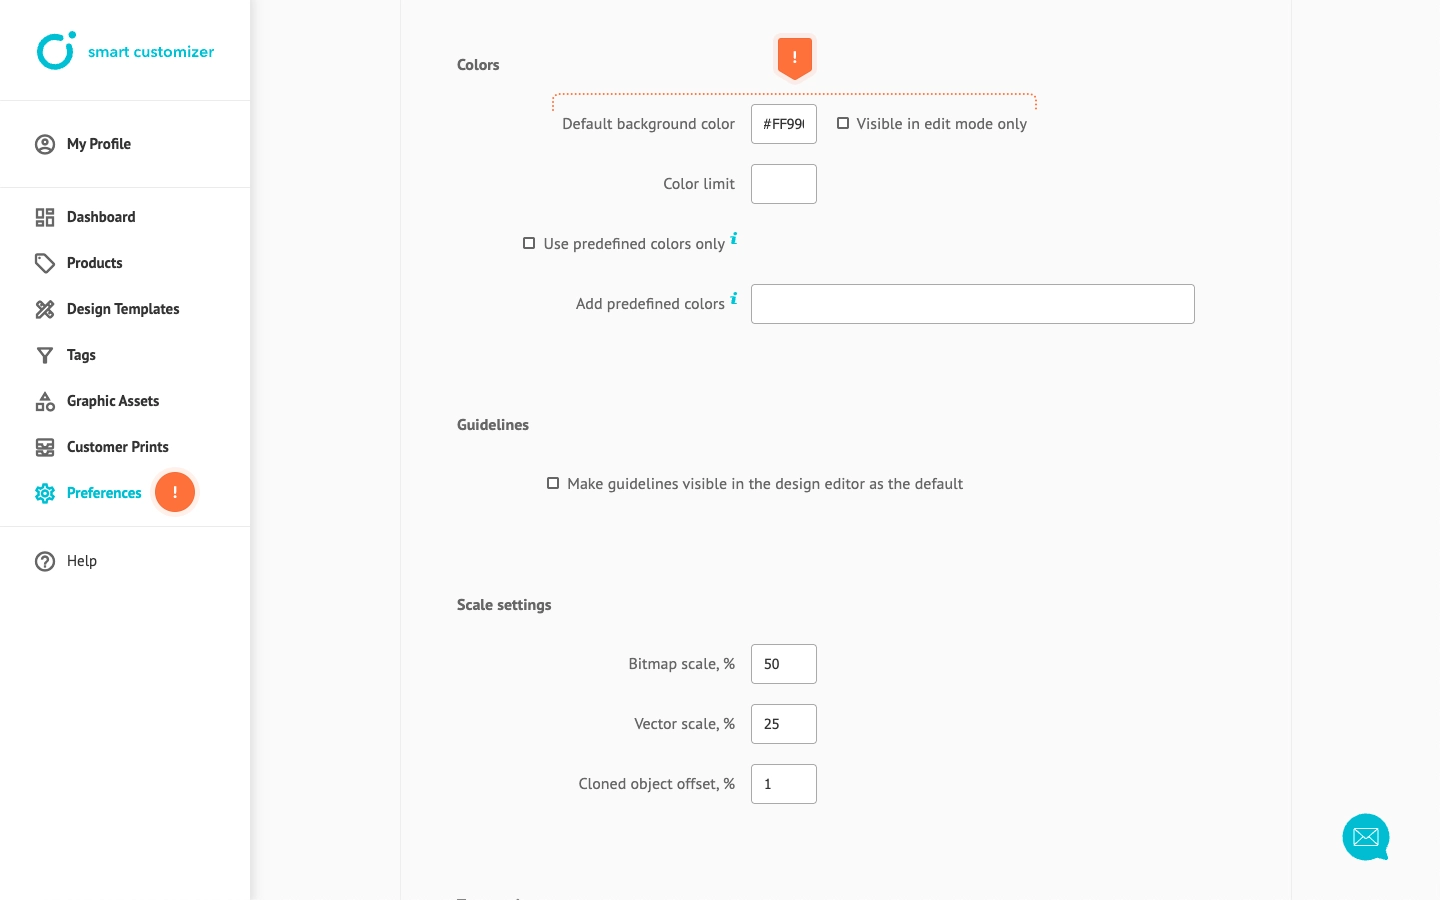
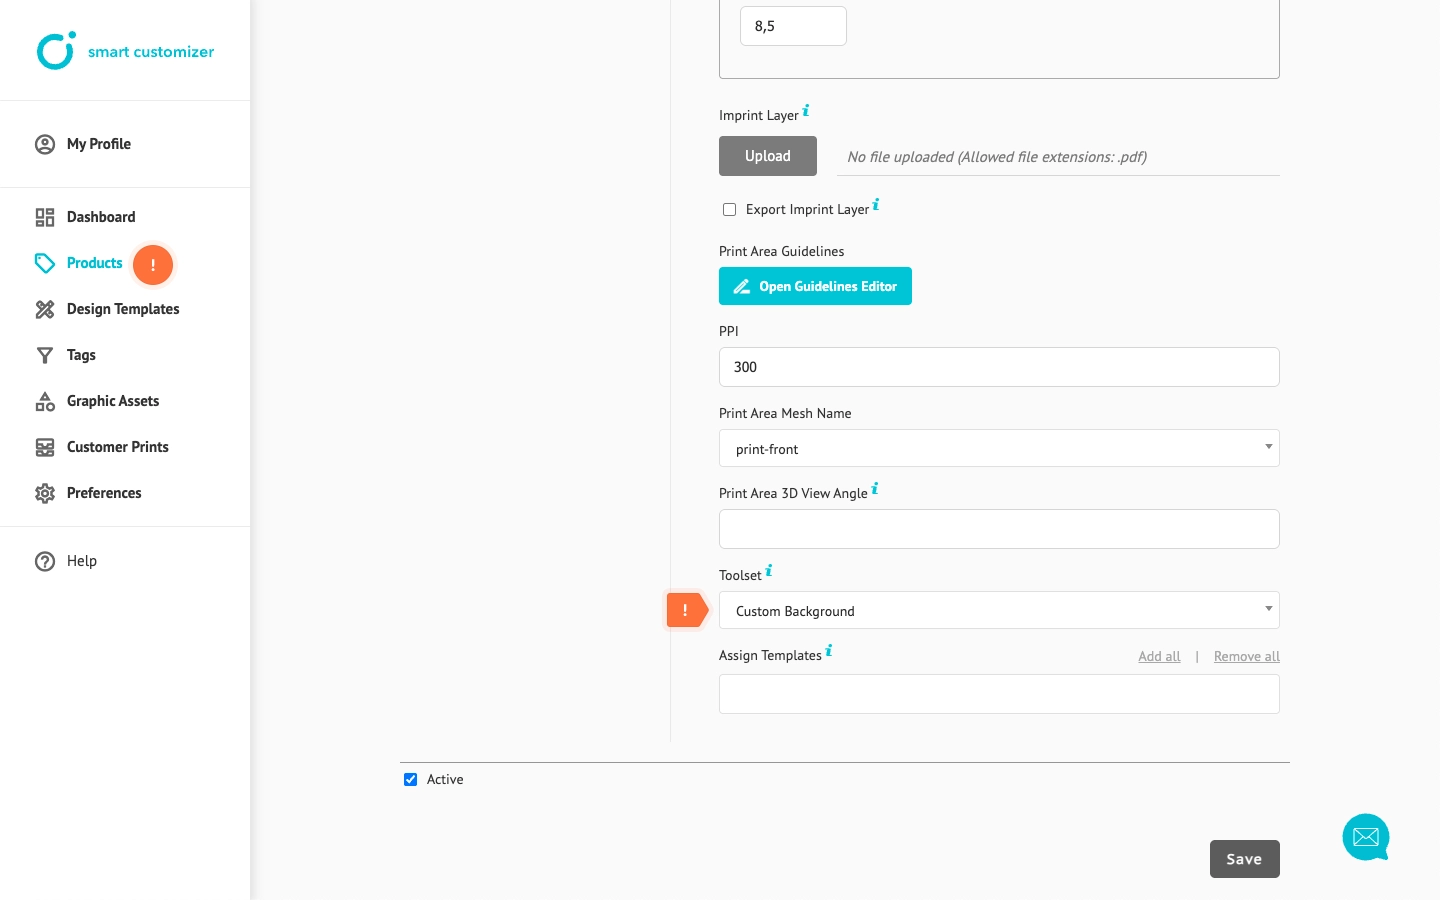
In both cases, if a specific color is needed for the artwork in the editor, you can create a custom toolset with the desired color and assign it to your product’s print area settings. For more information about toolsets, check this article: Creating toolsets.
