Setting up a customizable product (3D)
This article refers to Smart Customizer Web to Print App Version 2Explore the Version 1.0 article here
About 3D product templates
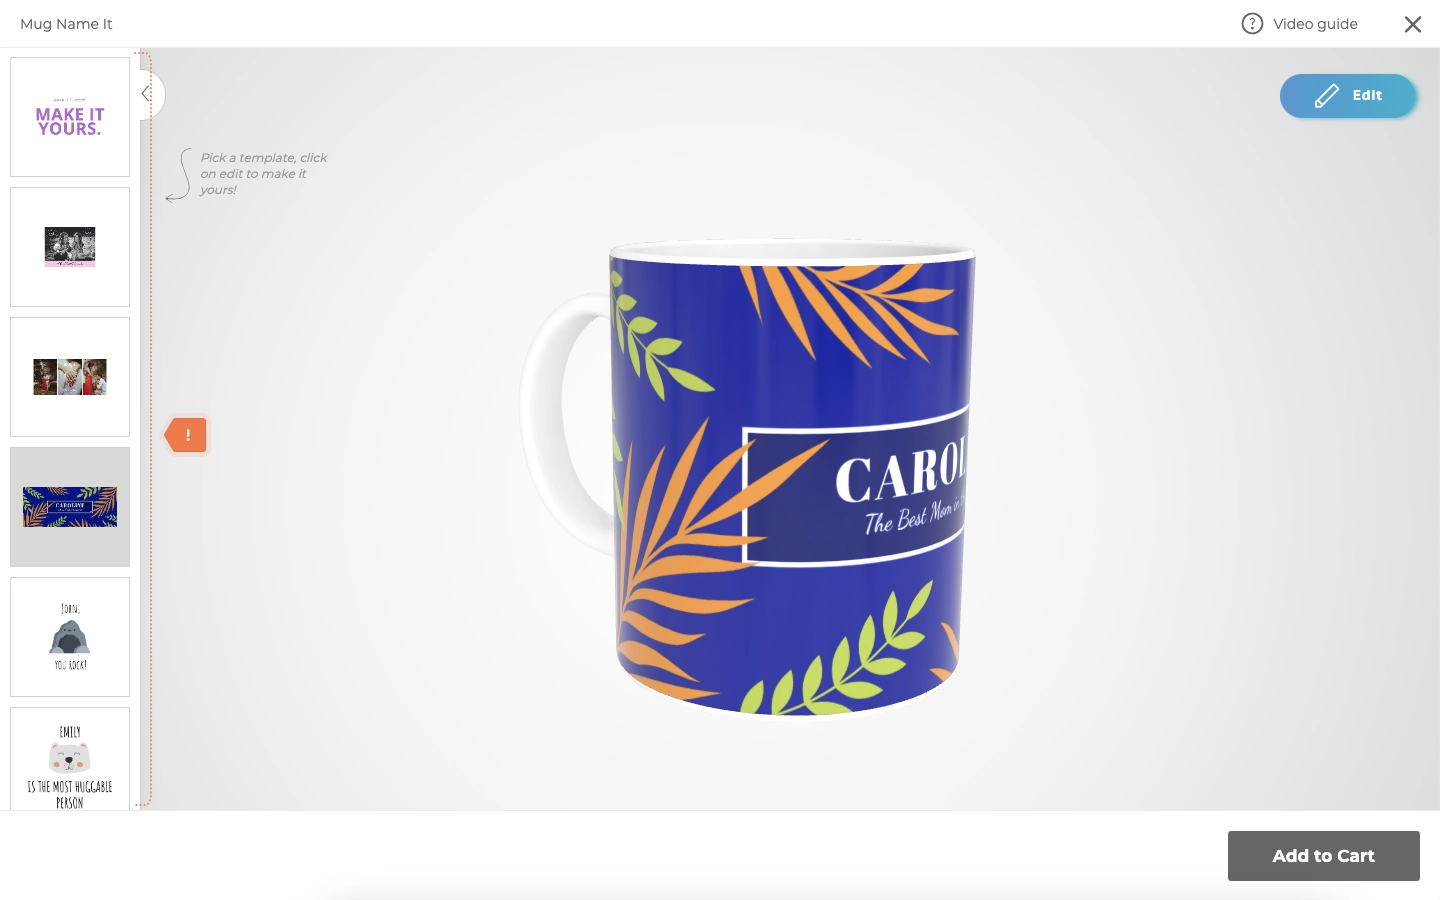
- 3D product templates are an excellent option for showcasing items that require three dimensions to realistically display the print.
- They allow customers to view products from every angle, making the entire shopping experience more realistic and engaging
- Shop owners have several options for obtaining a 3D model: they can install our presets, create the model themselves, purchase it from 3D asset websites, hire freelancers, or contact our support team for additional services.
Before we get started
- Before you begin the product setup, ensure that your 3D model is prepared according to our requirements outlined here: 3D model requirements.
- Additionally, make sure you have all the necessary product details ready, including the product presentative image (Product image), title, description, pricing and print information.
Adding new product
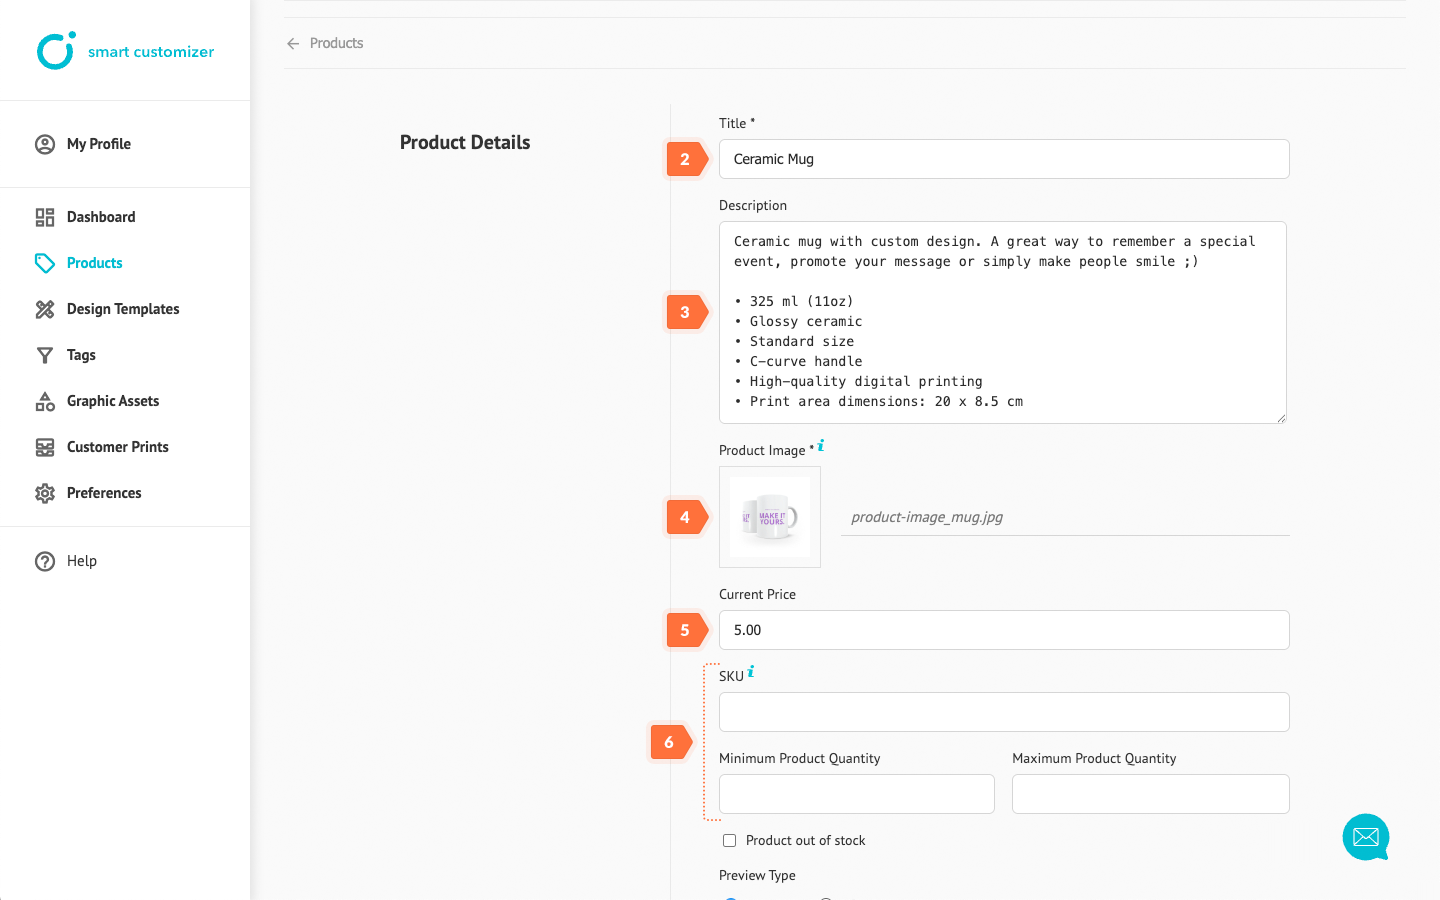
- Go to Products > Add New Product.
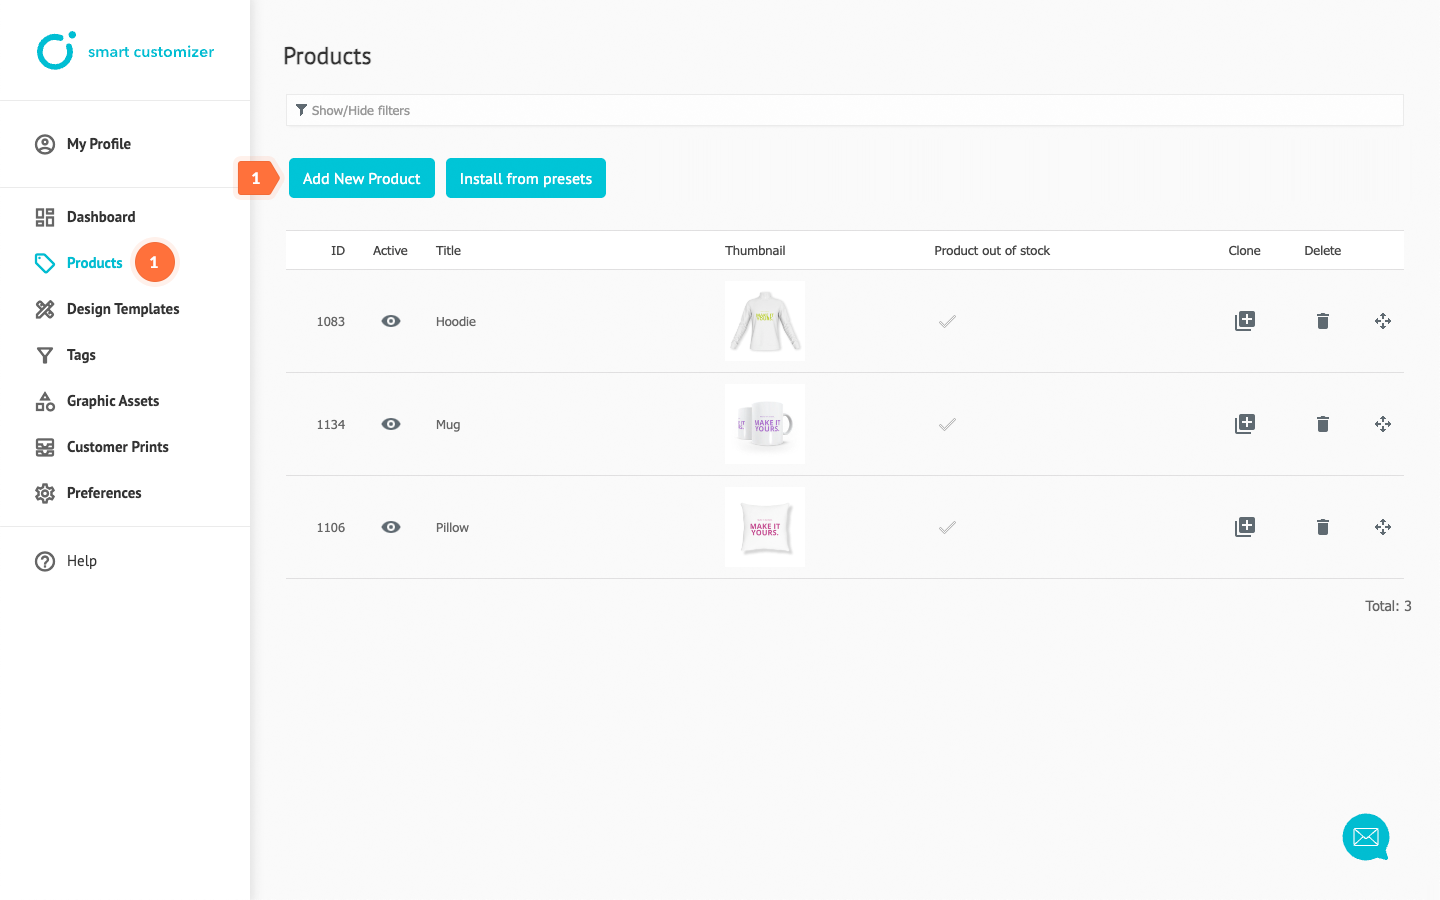
- Enter the Title.
- Add a clear and detailed Description of your product. Include key information such as the product's material, size, and printing details.
- Upload the Product image.
- Enter the Current price.
- The SKU (product variation identifier made up of product options codes) and Quantity fields are optional; fill them in if necessary.
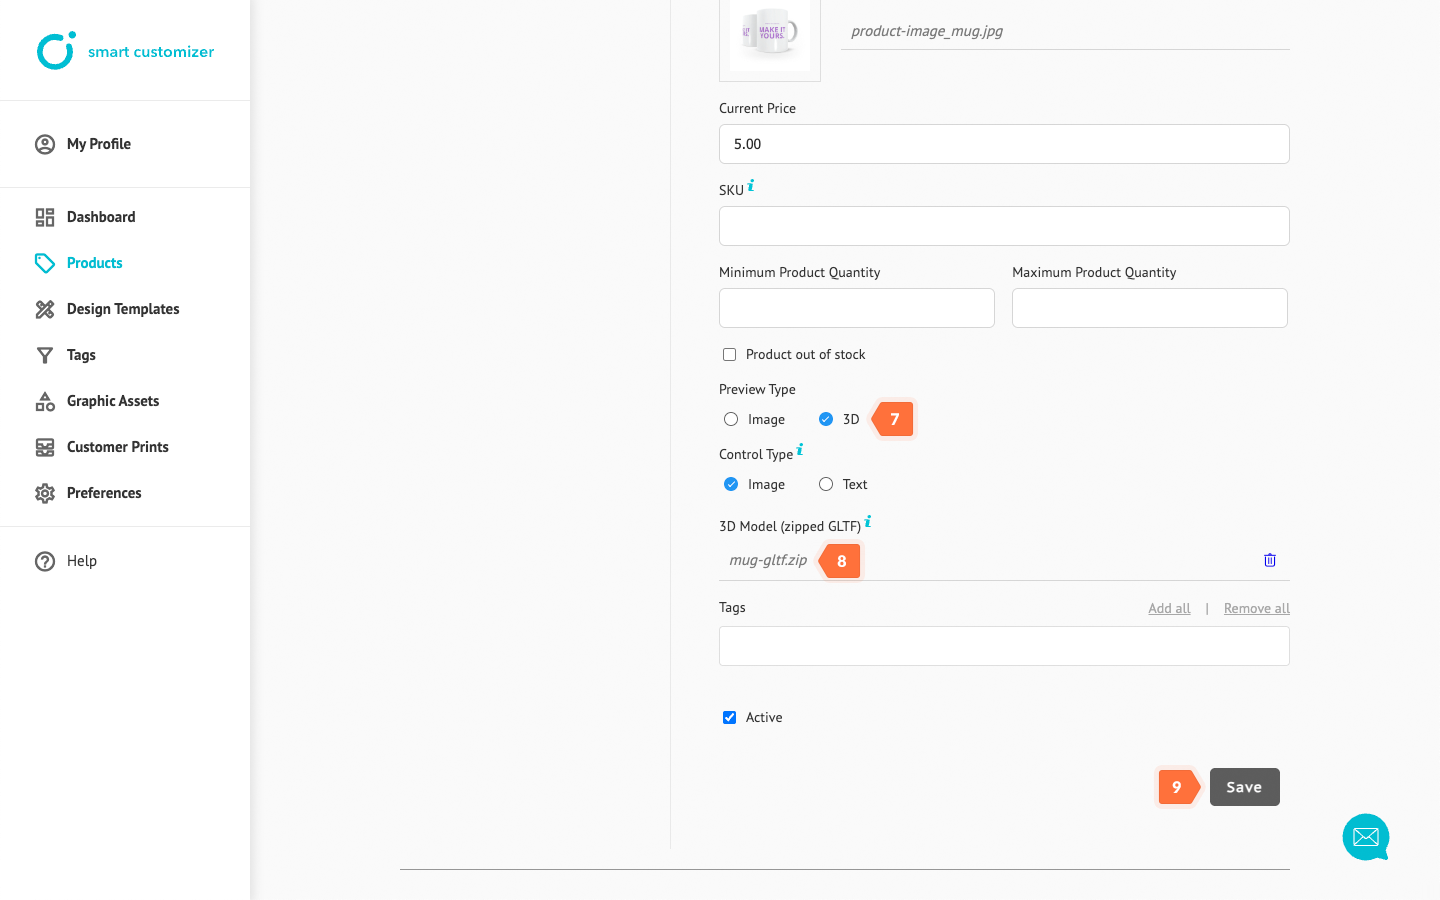
- Make sure the Preview Type is set to 3D, as this is required for the 3D product template setup.
- Upload a zipped GLTF file of your 3D model.
- Click Save to continue.
Print area settings
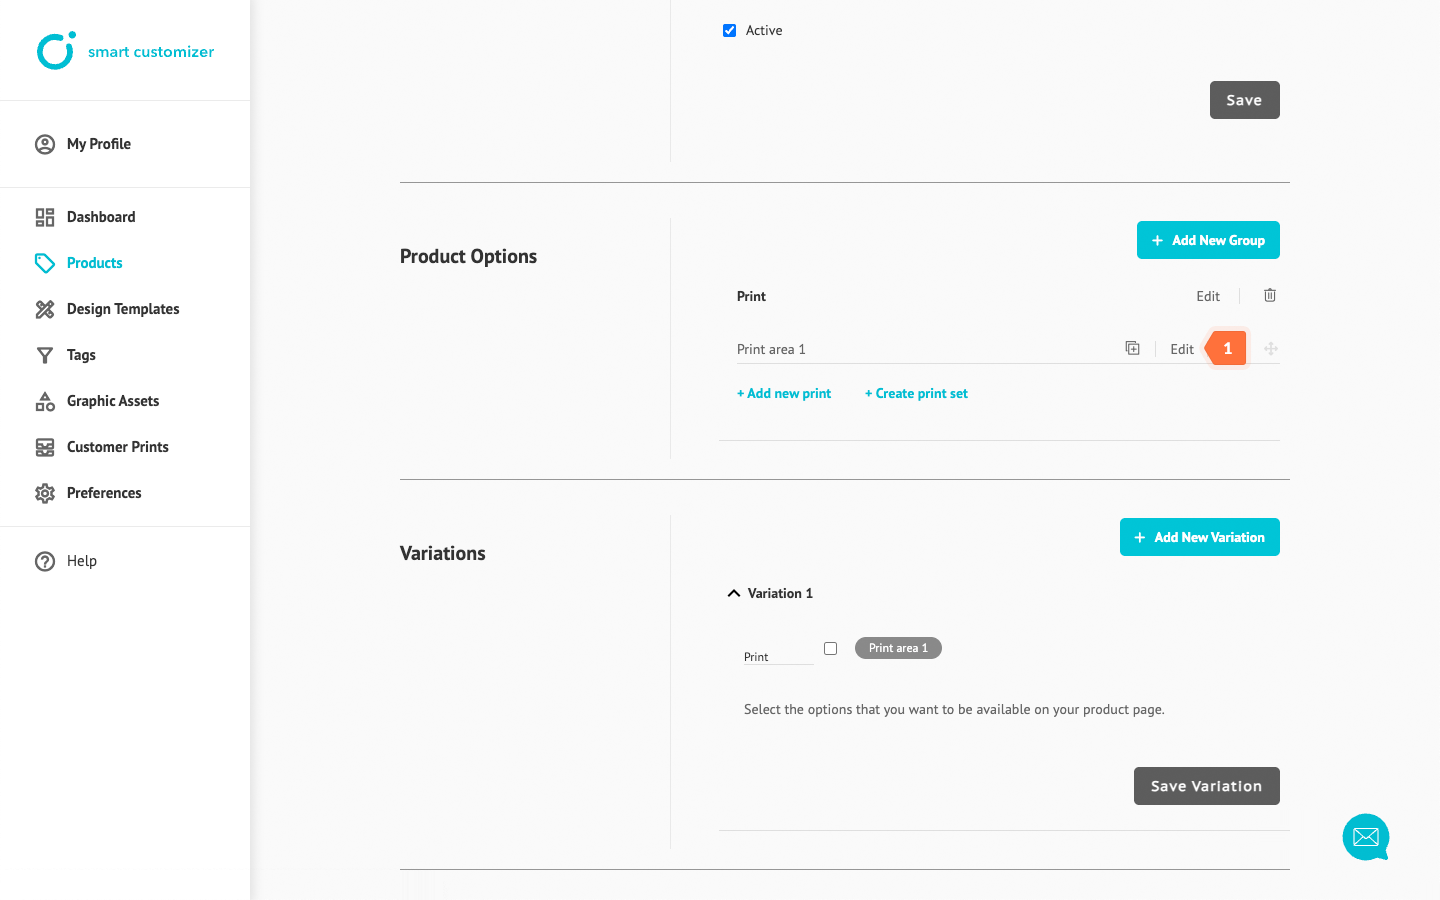
After saving the product details, the print area option is automatically created. To customize it:
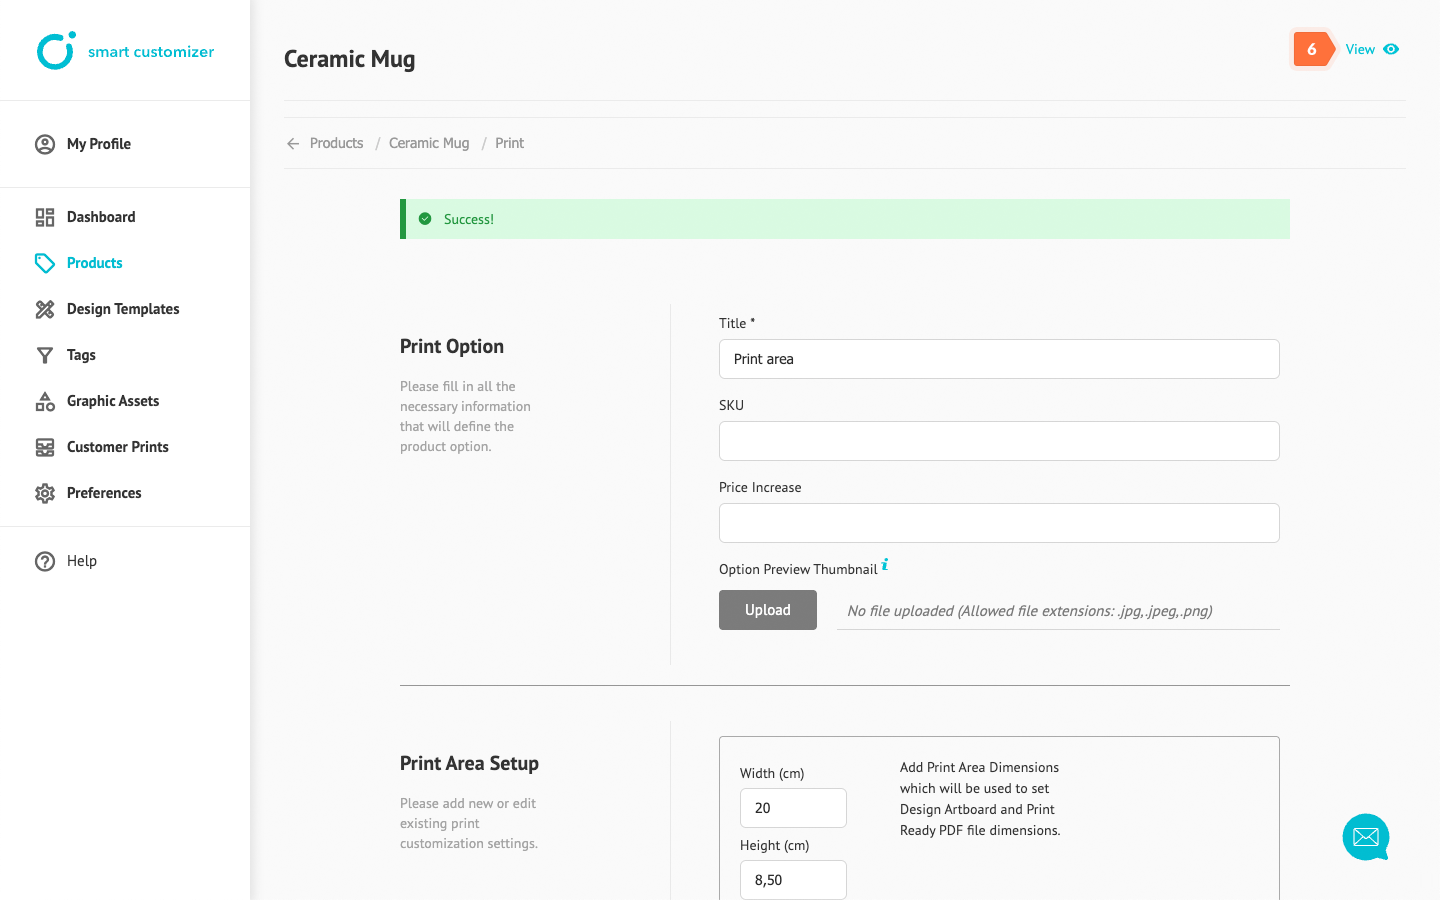
- Click on Edit.
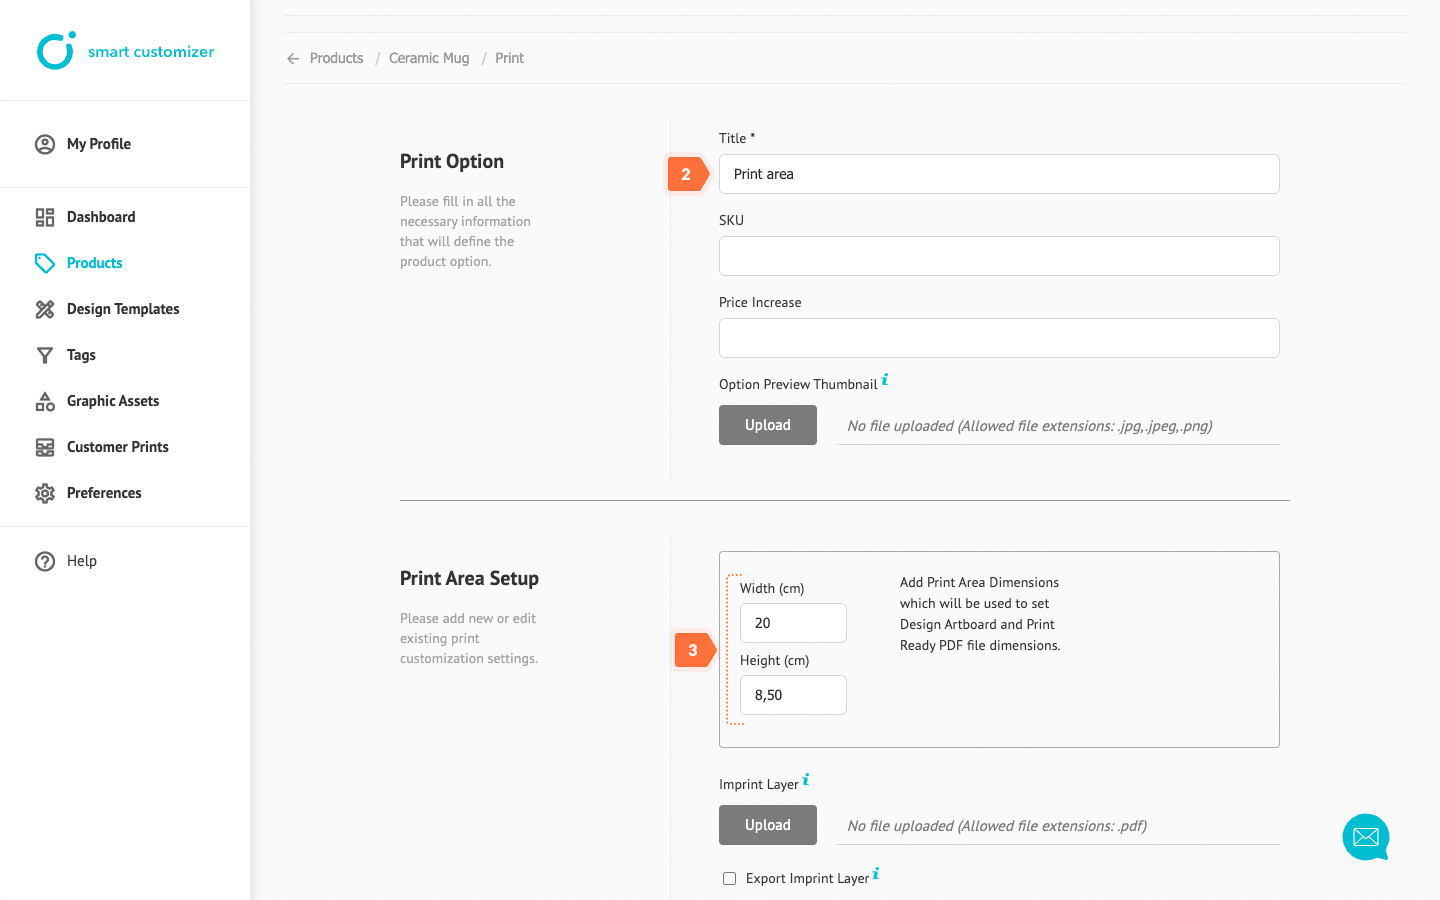
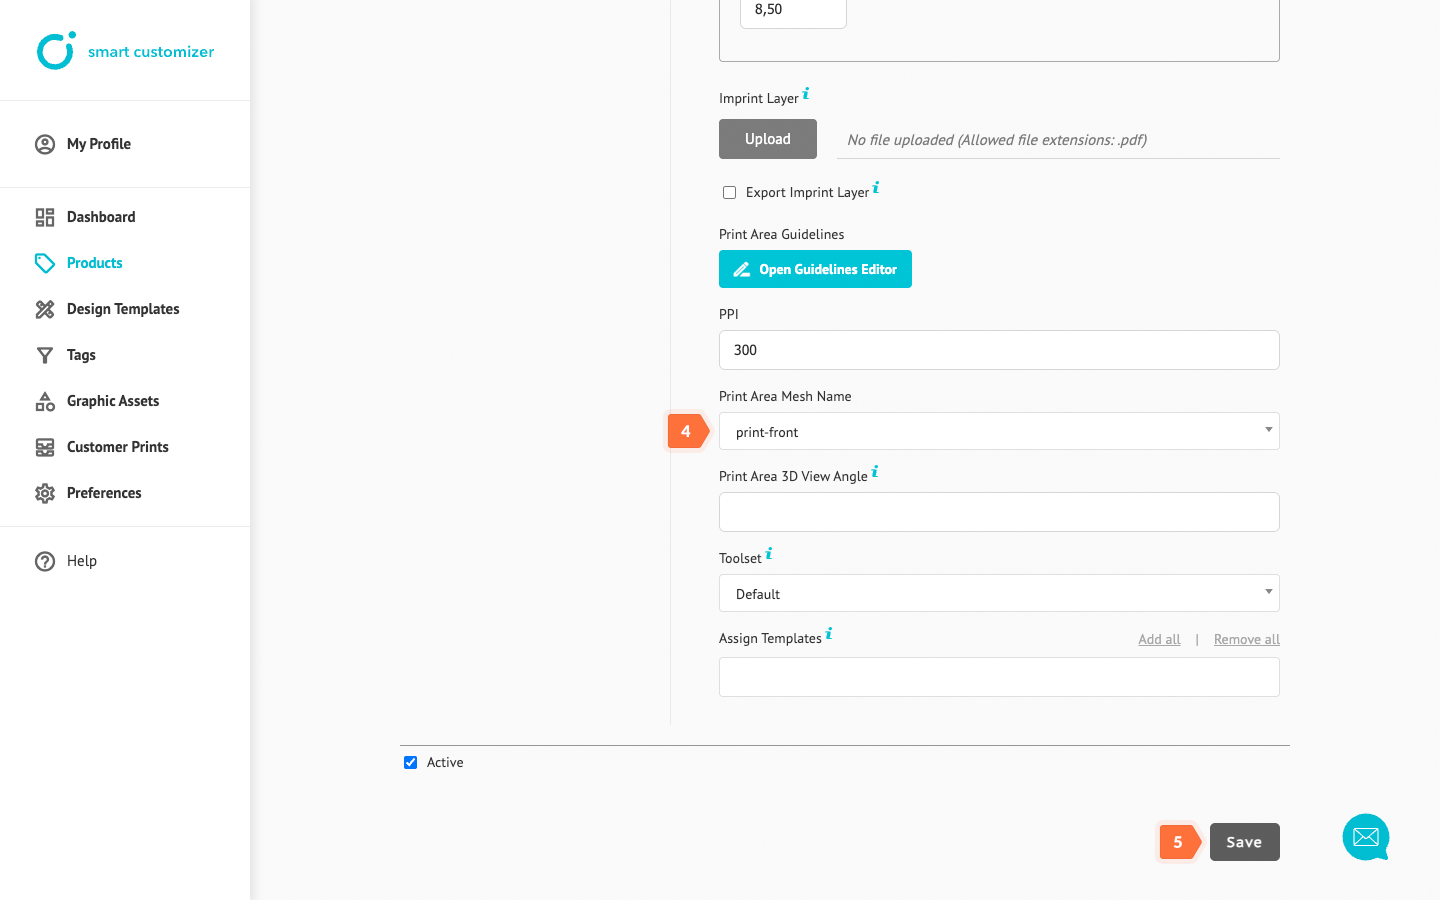
- Enter a name for the print area. It should be a simple and clear Title that describes the print, such as its location, size, or other relevant details.
- Enter the width and length of the print area, which will be used to set the Design Artboard and Print Ready file dimensions. This should either match the dimensions in your 3D model or be scaled accordingly.
- Select which 3D model mesh you want to use for customization. This mesh should be prepared in advance within the 3D model and organized as a separate layer.
Save the changes.
- Your product is finished! Click View to test it.
Design templates
After completing the basic product setup, we recommend creating and assigning Design templates. Design templates are predefined mockups of text and visuals that help customers start the customization process quickly.
Learn how to do it here: here.
Advanced tips
- If you want to have multiple print options for a product, refer to this article for instructions.
- If you’d like to add color variations for your product, check out this article: Adding color variants
