Setting up a customizable product (3D)
This article refers to Smart Customizer Web to Print App Version 1 Explore the Version 2 (Stand Alone) article here
3D model preparation for product setup
- Optimize your 3D model to the maximum .
- Try to keep the file size no bigger than 2MB in order to make the web load speed as quick as possible.
- Name all layers in the file neatly without (spaces "," ".") left behind.
- Separate print layer / layers from the main body of the 3D model.
- If you are using more than one print area, make sure all print layers in your 3D file are named differently.
- Export your 3D model in .glTF file format. and zip the whole folder.
- For a detailed guide, refer to the 3D Model Preparation for Setup guide.
3D product setup steps
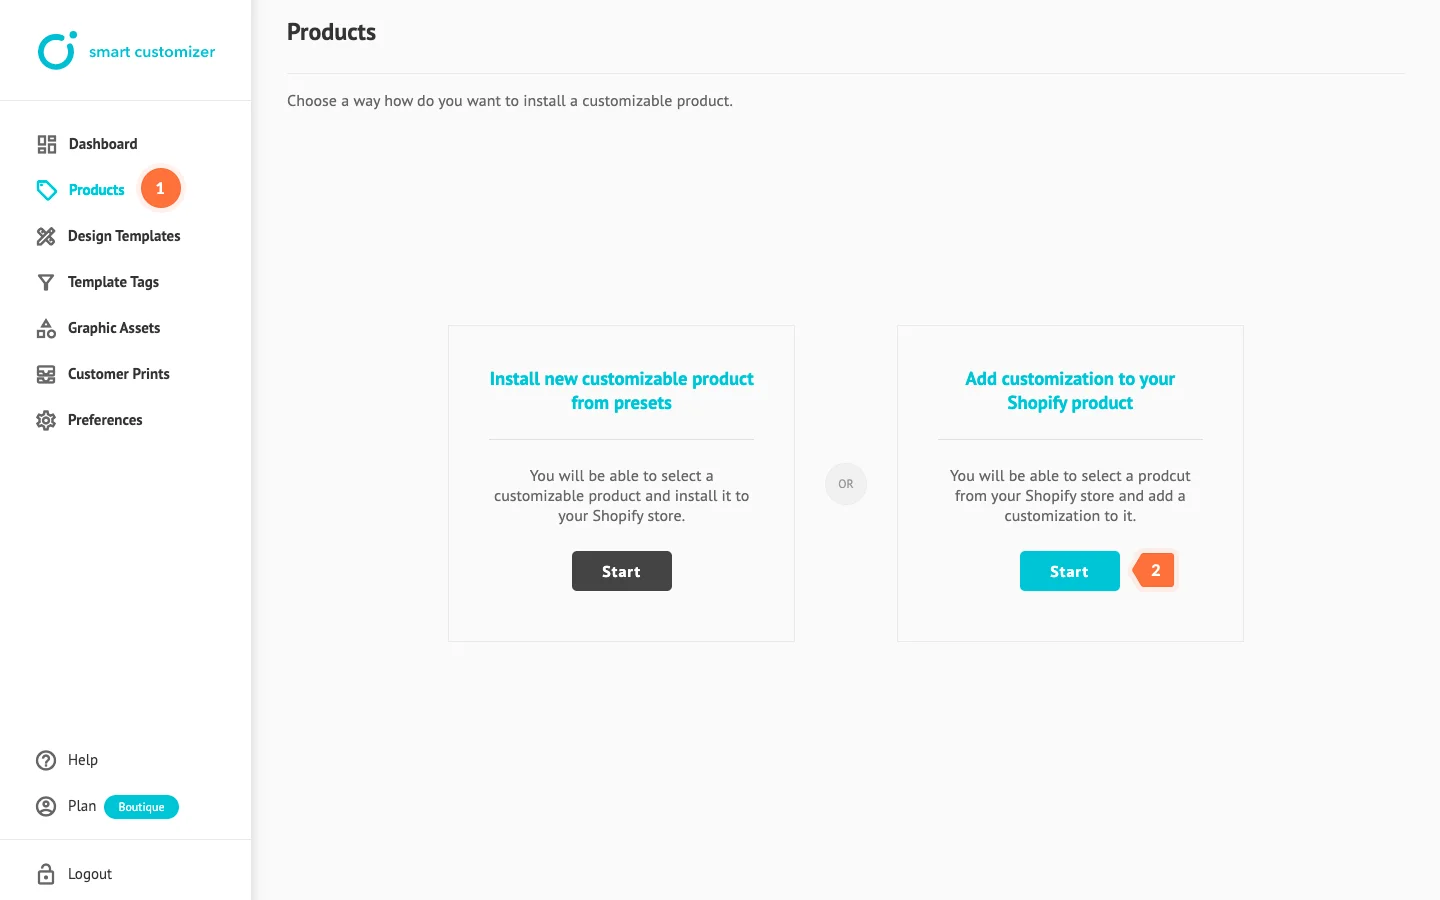
- Go to Products and click Add New Product.
- Select to Add customization to your Shopify product and click Start.
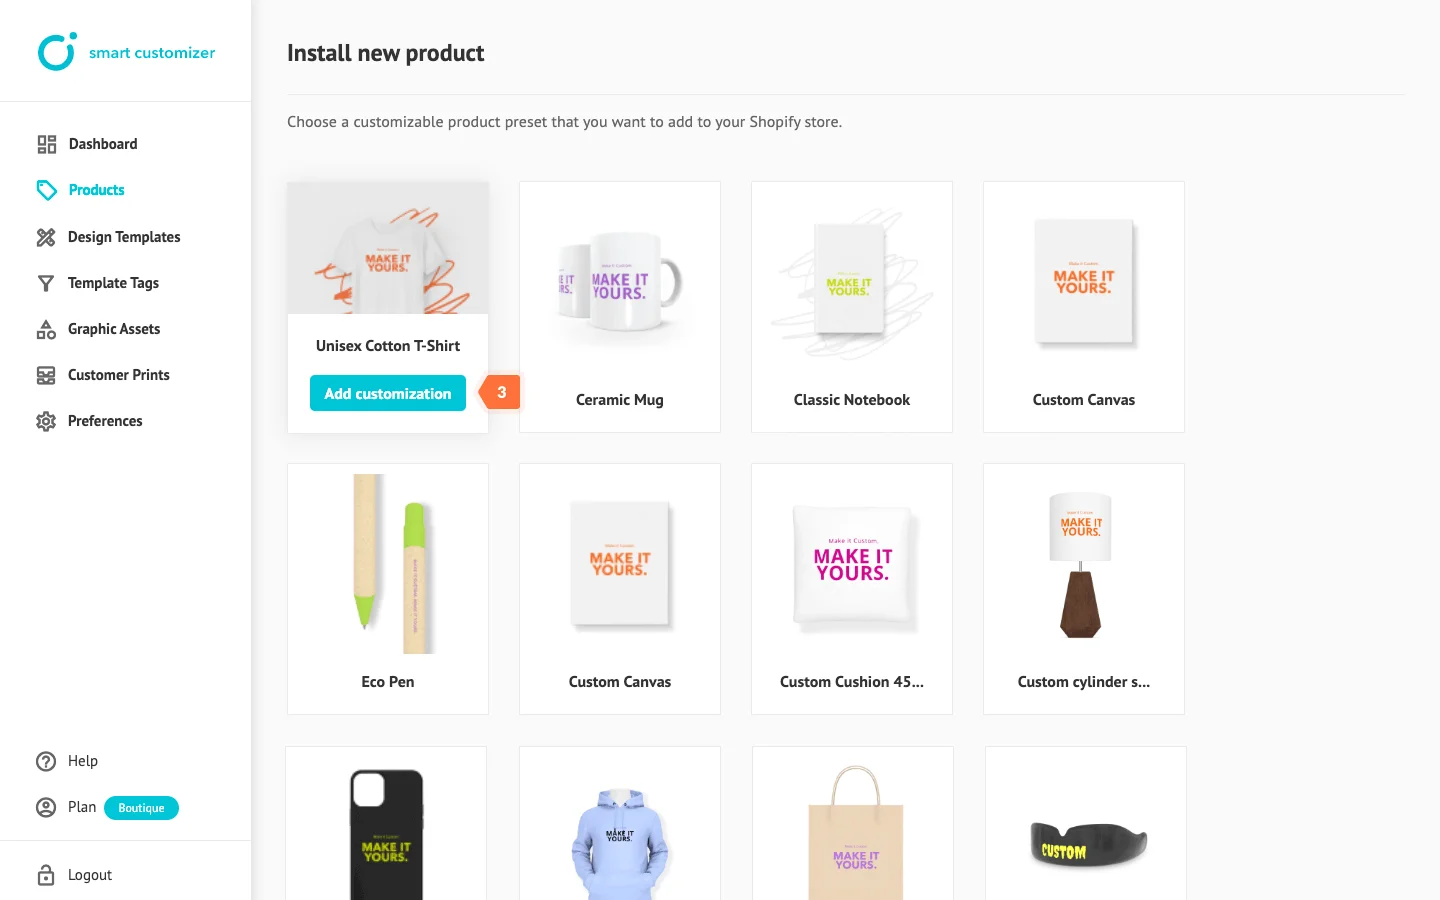
- Select the Shopify product you want to assign customization to and click Add customization.
- Name your customization using the Title field (only for internal use).
- Choose a 3D preview type.
- Upload your zipped .glTF file.
- Press Save.
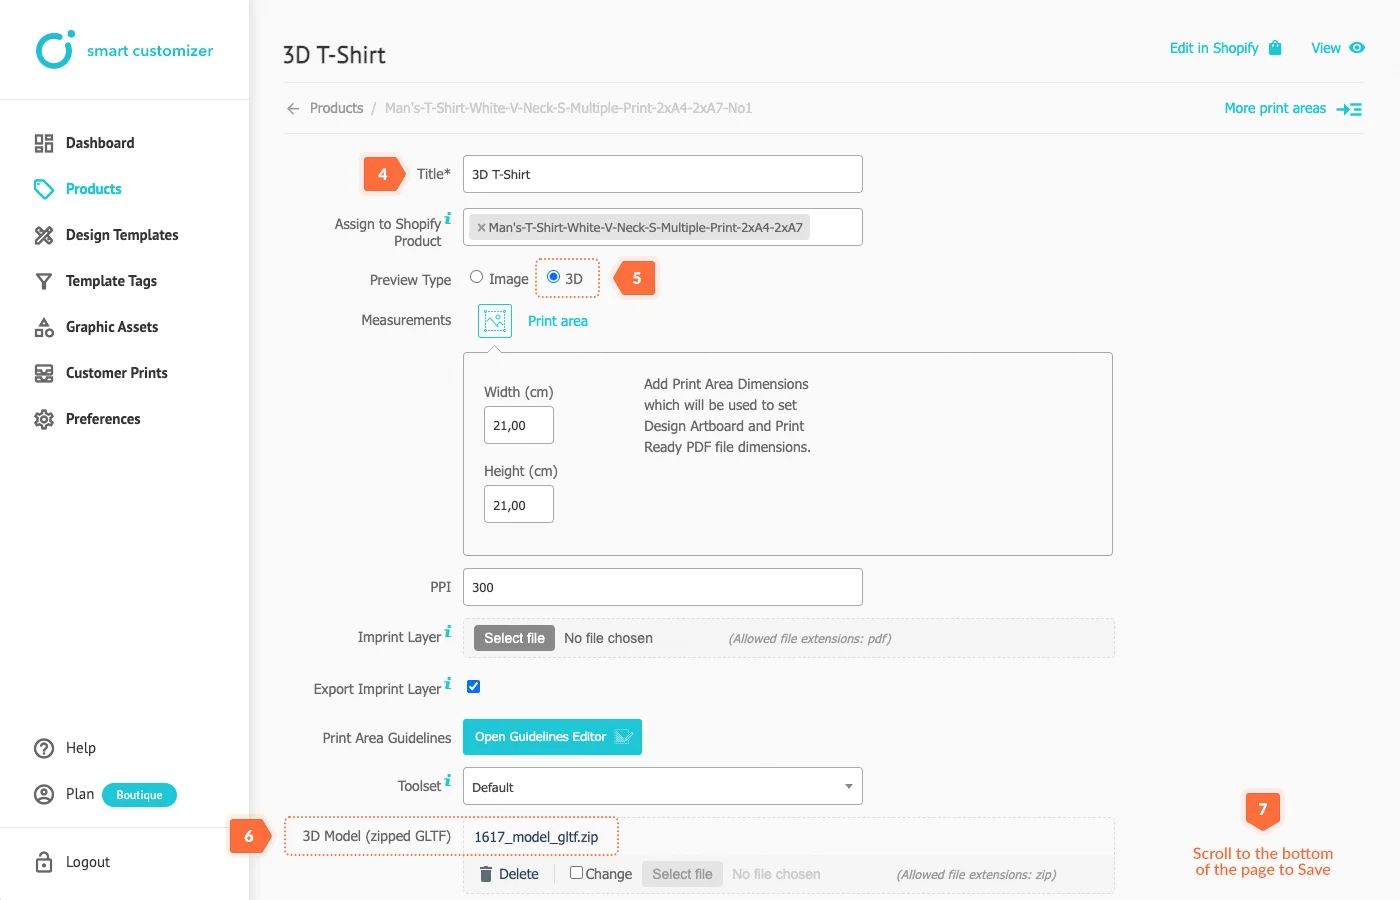
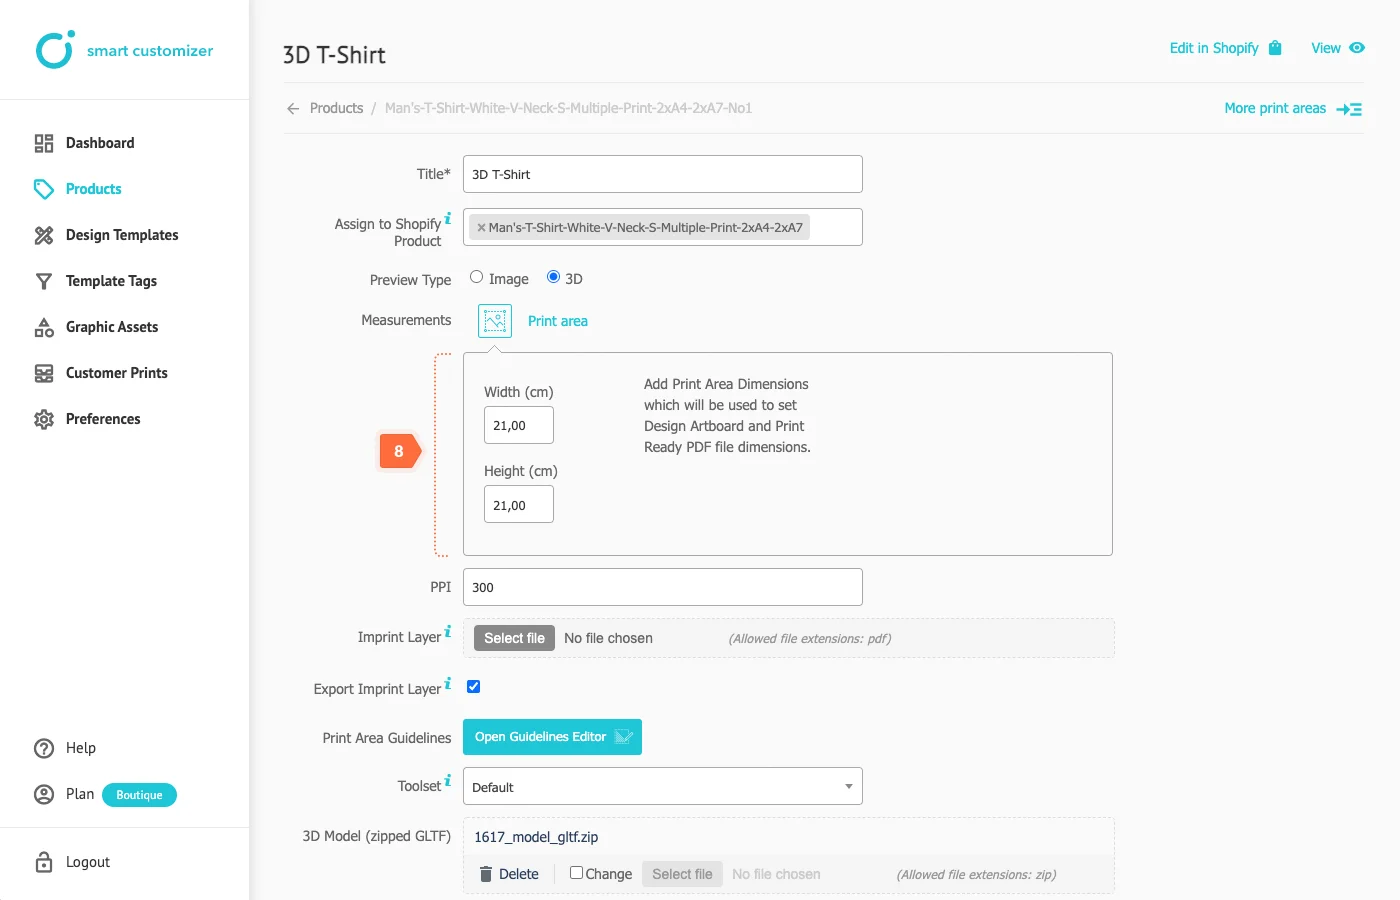
- Enter the real-world scale measurements of the print area.
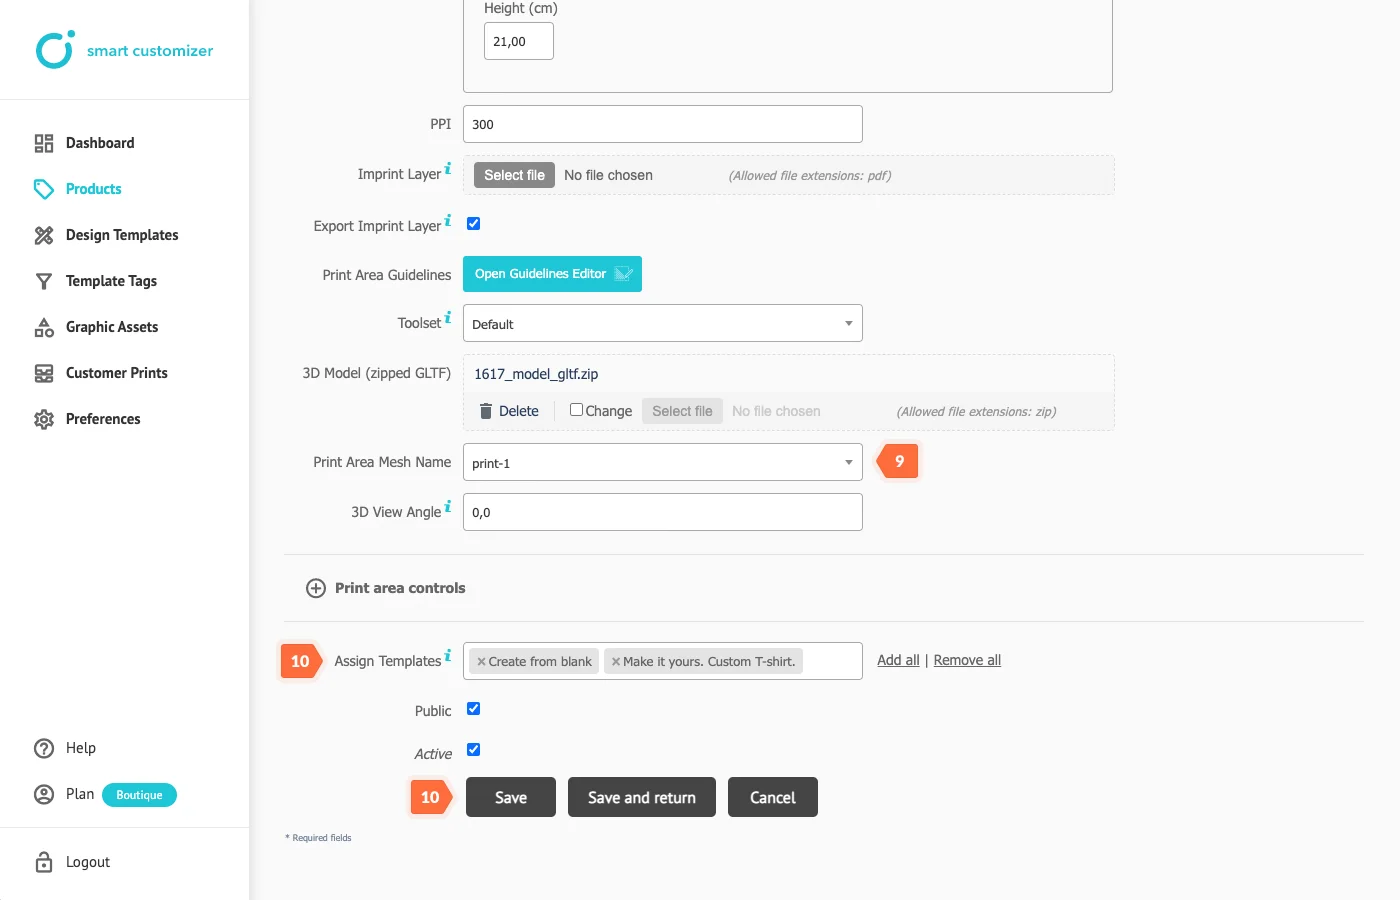
- Choose the Print Area Mesh Name from the dropdown.
- Assign at least one design template and click Save.
- If you want to add more print areas, click on More print areas.
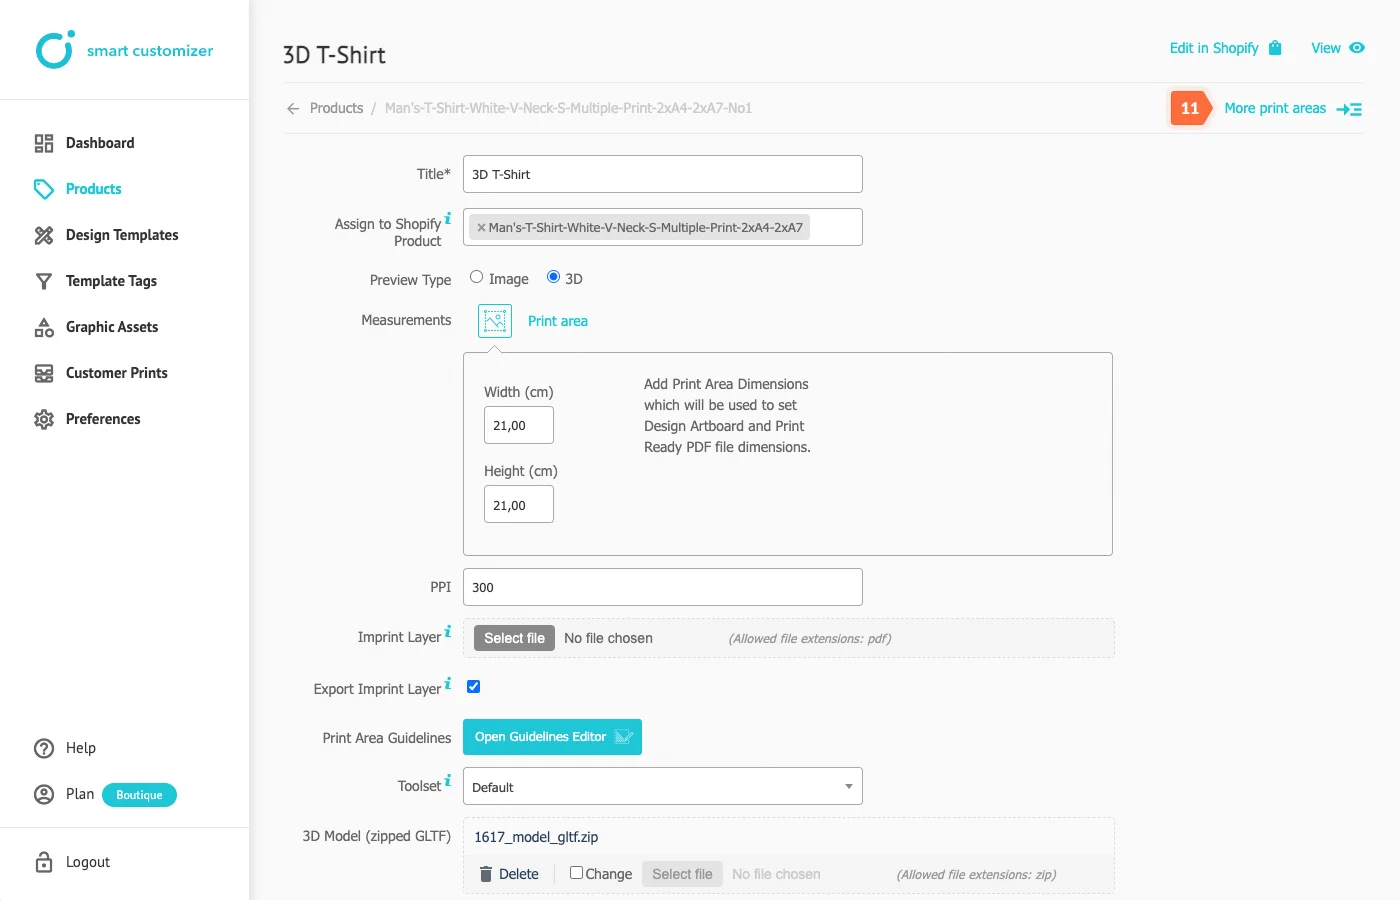
- Add new print area.
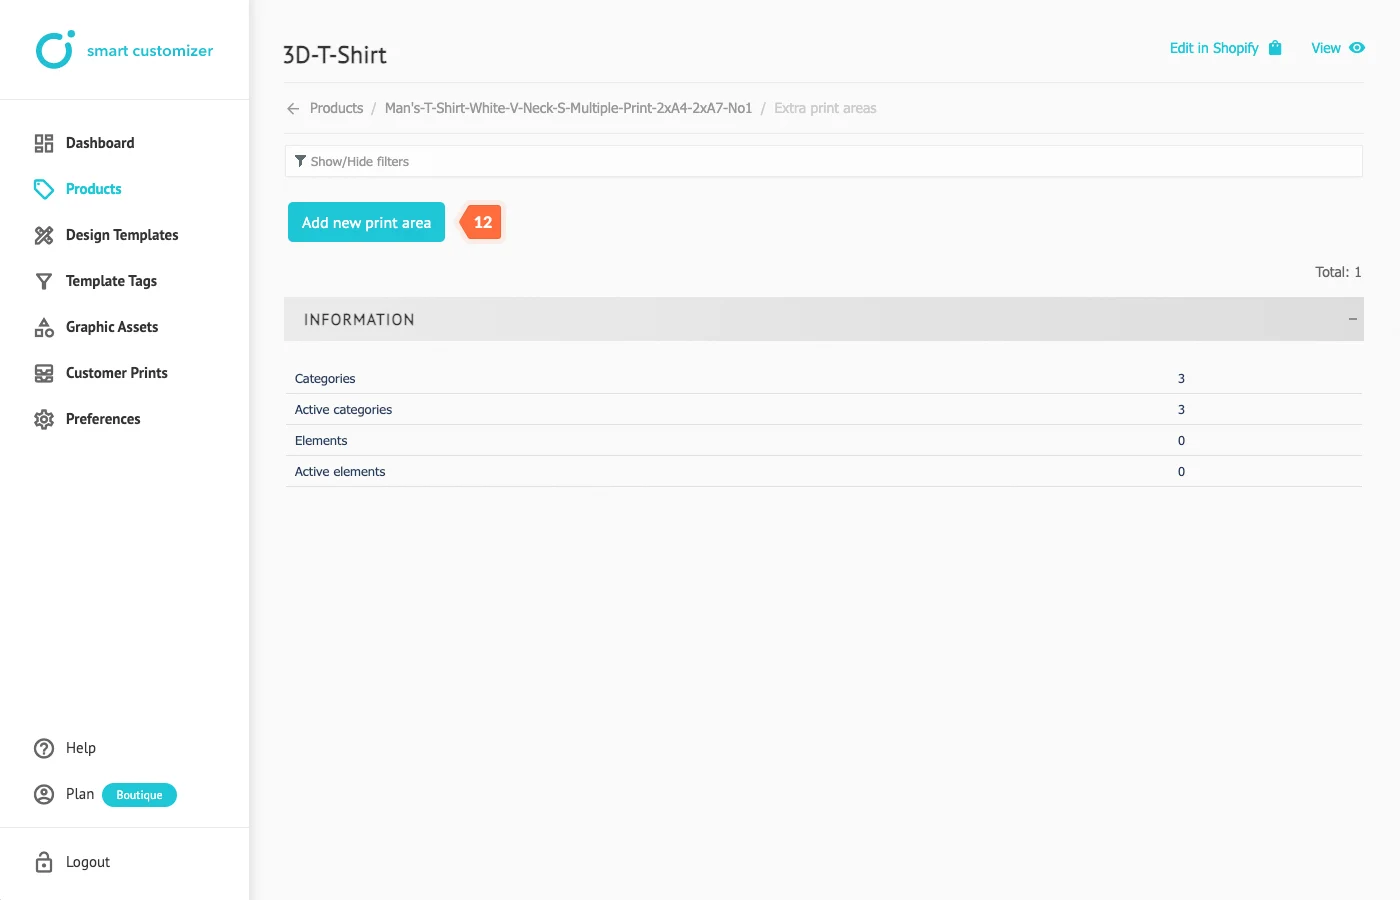
- Repeat the same setup sequence and Save the changes.
Advanced tips
- Add 3D product preview angles to make your product's preview more impressive. Learn more how to make a setup for a 3D model preview angles.
- Make a setup for your print area controls if you have more than one print area. Learn more about print area control settings.
