Setting up multiple-print areas for customizable product (3D)
This article refers to Smart Customizer Web to Print App Version 2.0
Before we get started
- You can add as many print areas as your product requires, create sets of prints, and apply different pricing to each option.
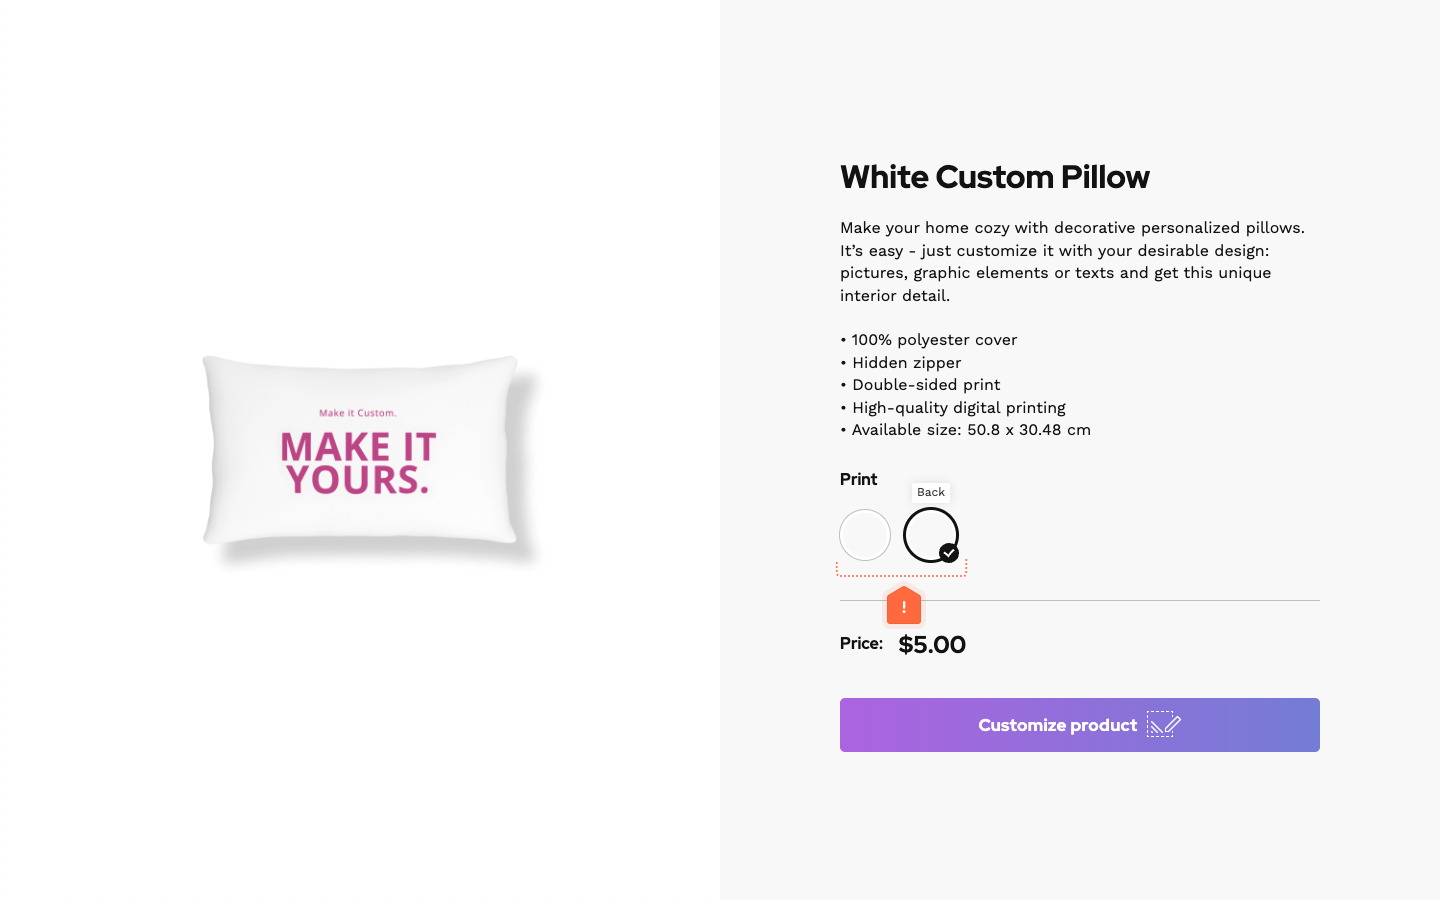
- On the product page, customers can easily switch between different print options, and you can customize how the switchers look by choosing from preset design styles.
How to add a second print area?
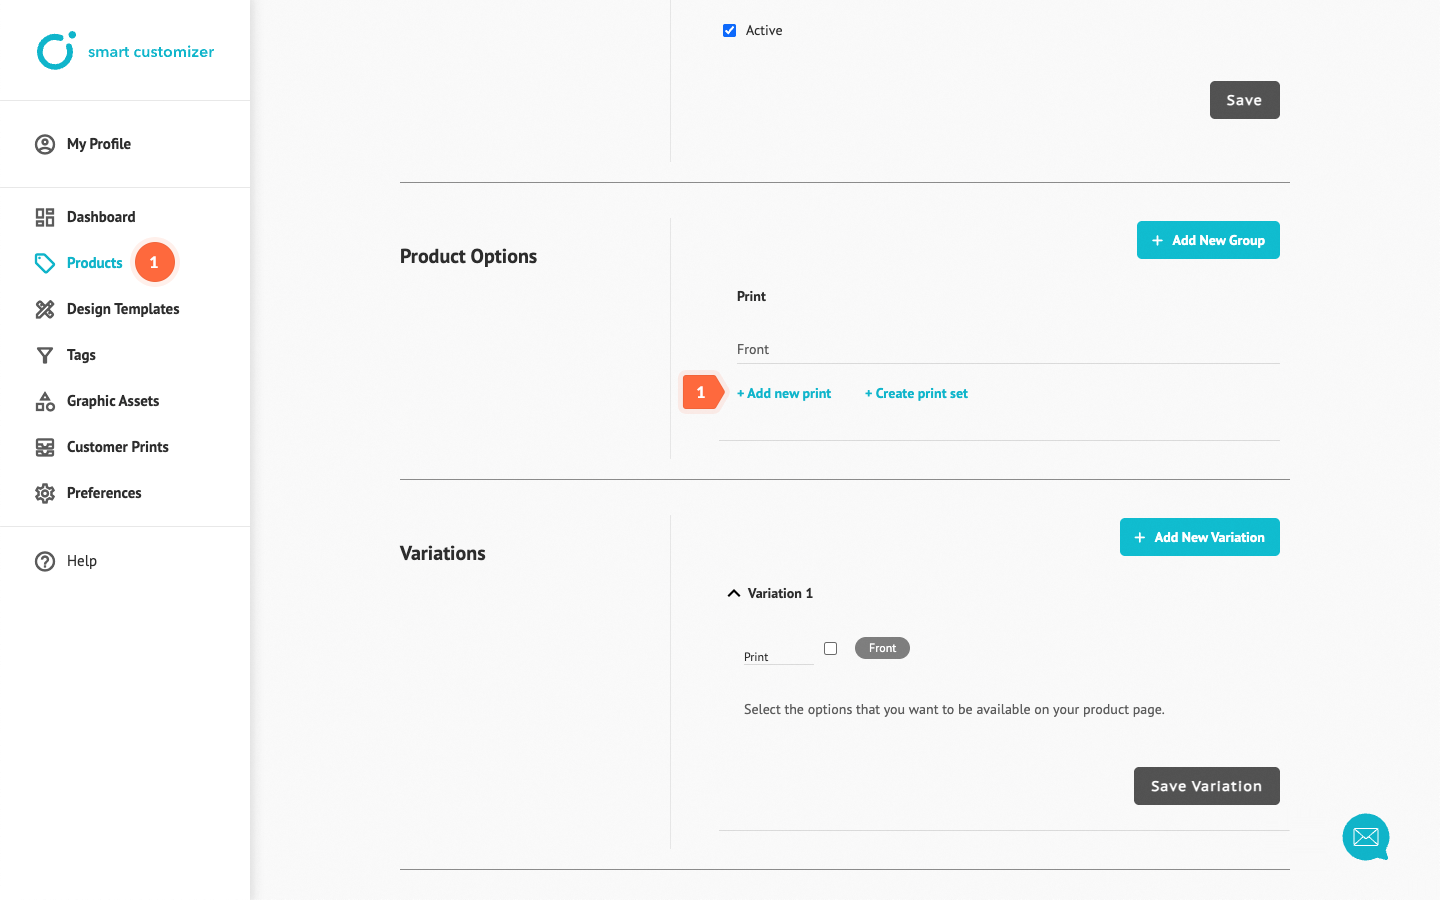
- In your Product > Product options > Print click Add new print.
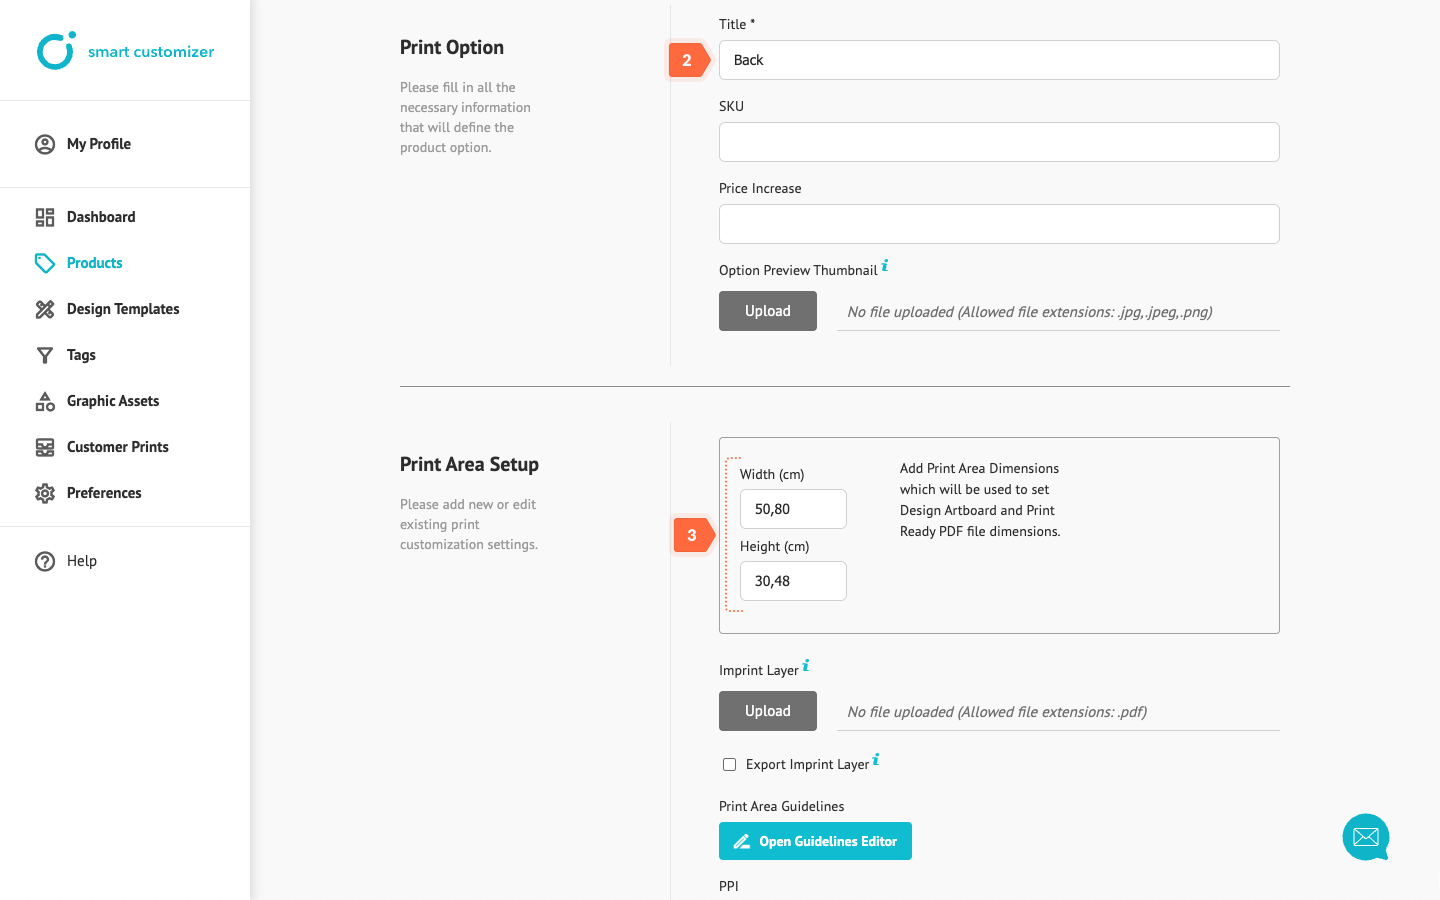
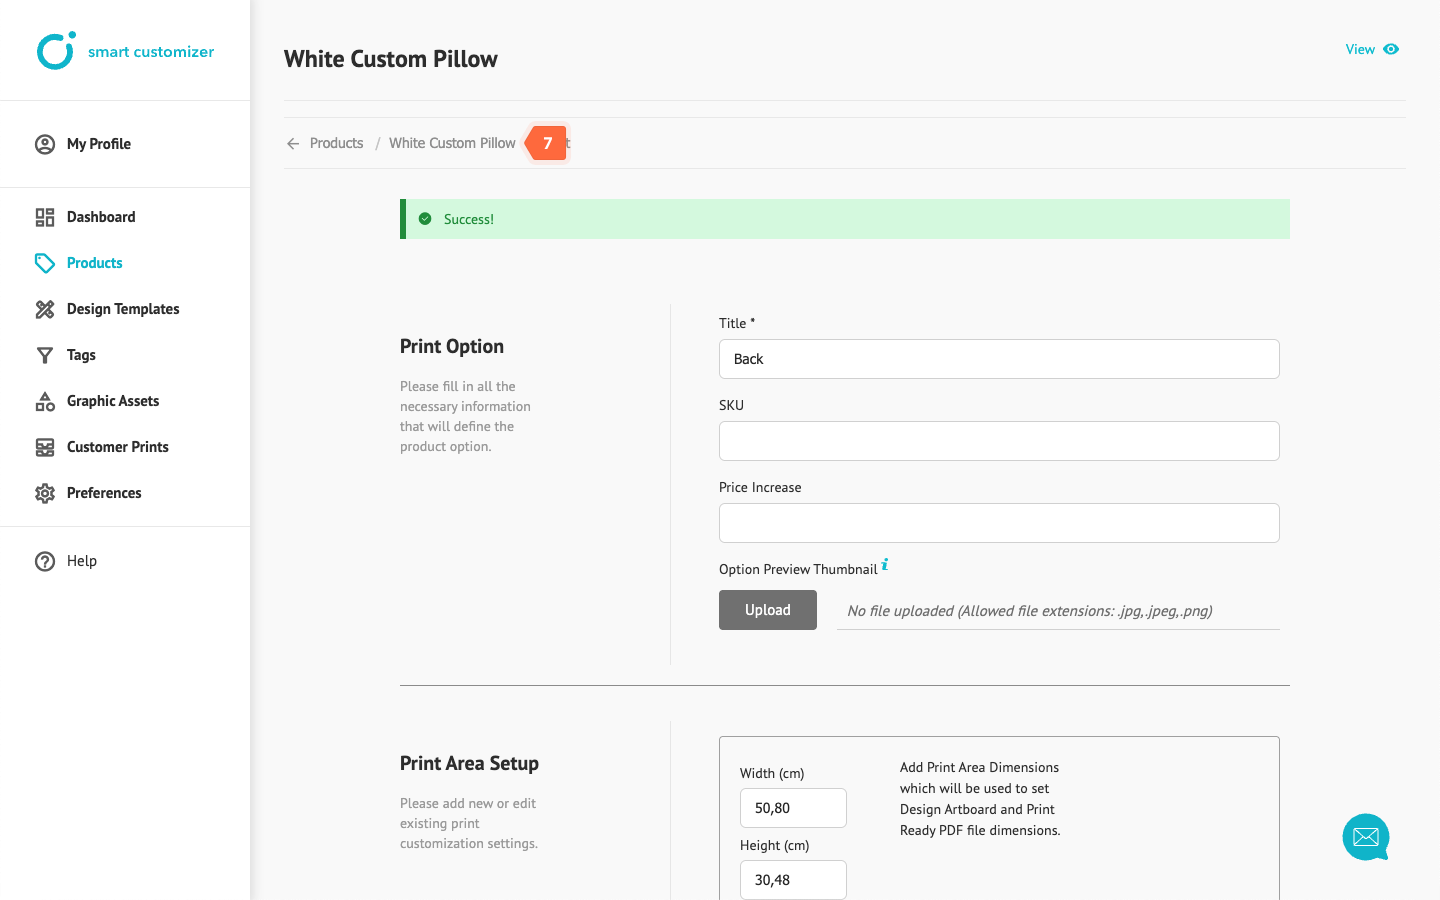
- Add a clear and simple Title.
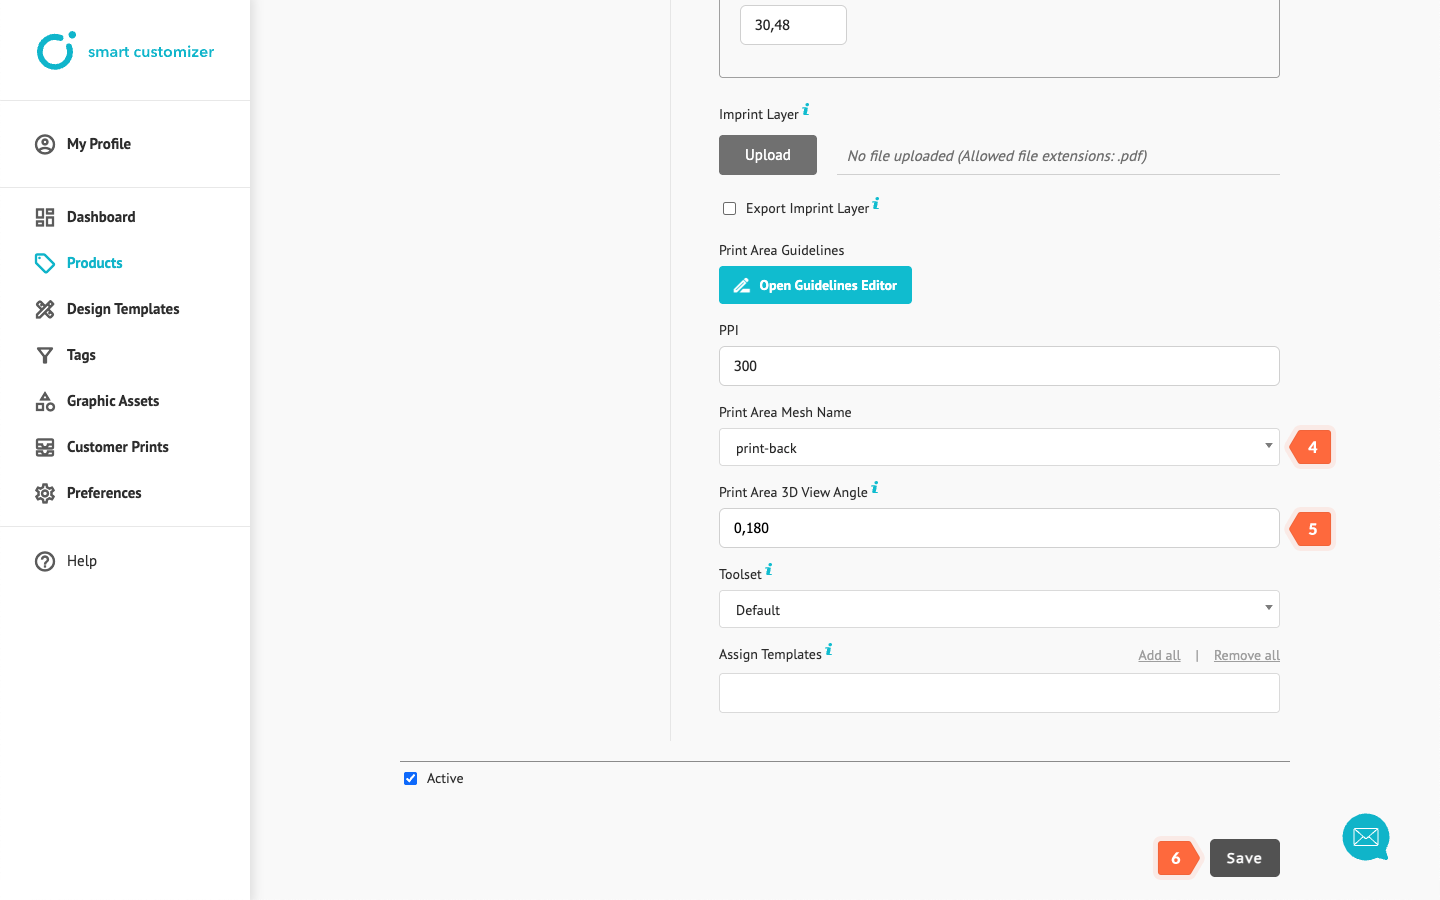
- Enter the width and length of the print area, which will be used to set the Design Artboard and Print Ready file dimensions. This should either match the dimensions in your 3D model or be scaled accordingly.
- Select which 3D model mesh you want to use for customization. This mesh should be prepared in advance within the 3D model and organized as a separate layer.
- Enter the Print Area 3D View Angle. This parameter lets you rotate the product so the customizable side faces the customer.
Save the changes.
- Return to your Product editing page.
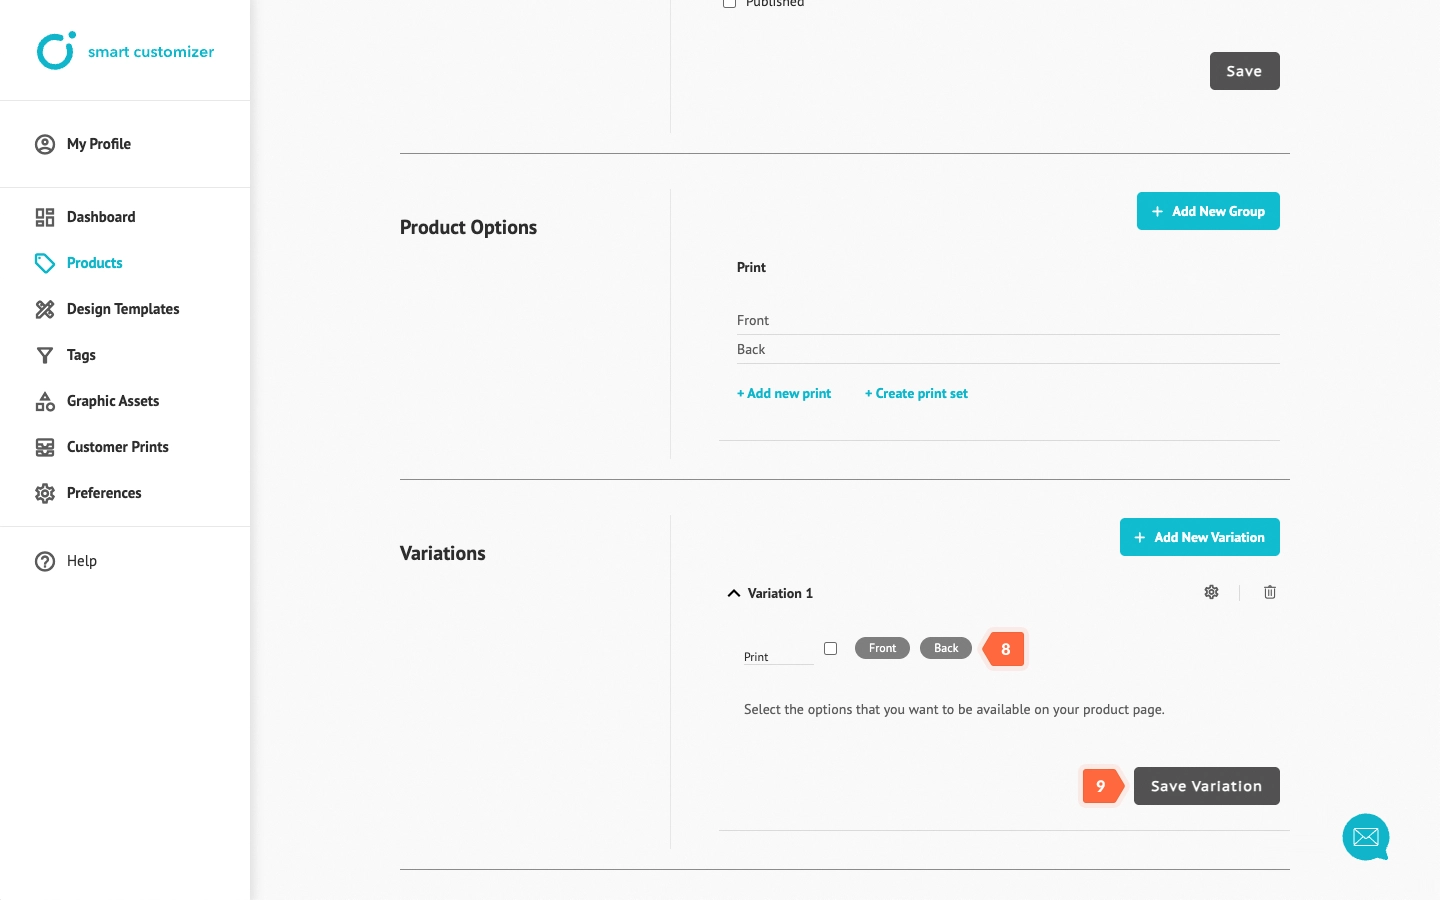
- In Variations > Variations 1, choose the newly created Back Print option. Selecting this will make it available as an option on the product page.
- Click Save variation to complete.
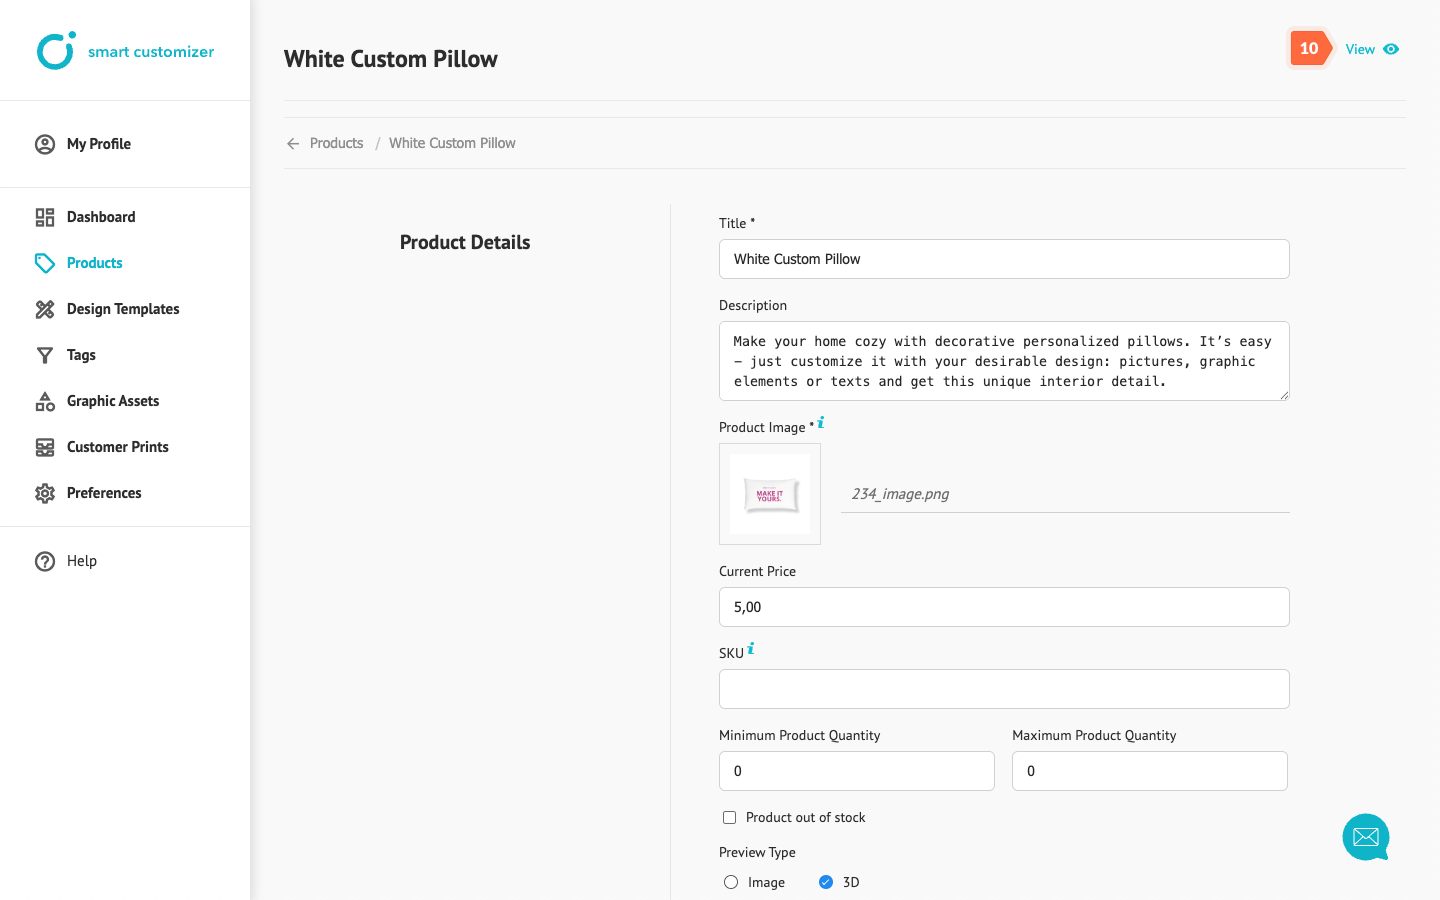
- Click View to preview and test the product customization.
- The print options will be displayed on the product page. You can upload preview thumbnails in the Print Options settings or choose a different style for them.
Advanced tips
- Learn how to create print sets: How to create a print set?
- Assign Design Templates to simplify customization: Design Templates
