Setting up customizable product view angles (3D)
This article refers to Smart Customizer Web to Print App Version 2.0Explore the Version 1.0 article here
About view angles
- View angle setup helps to create a sleek and interactive 3D product preview experience.
- This feature is particularly useful for products with multiple print areas, ensuring the selected print area rotates to face the viewer for a smooth experience.
- You can also customize the default zoom level and set a maximum zoom based on the size of your product.
Setting 3D product view angles
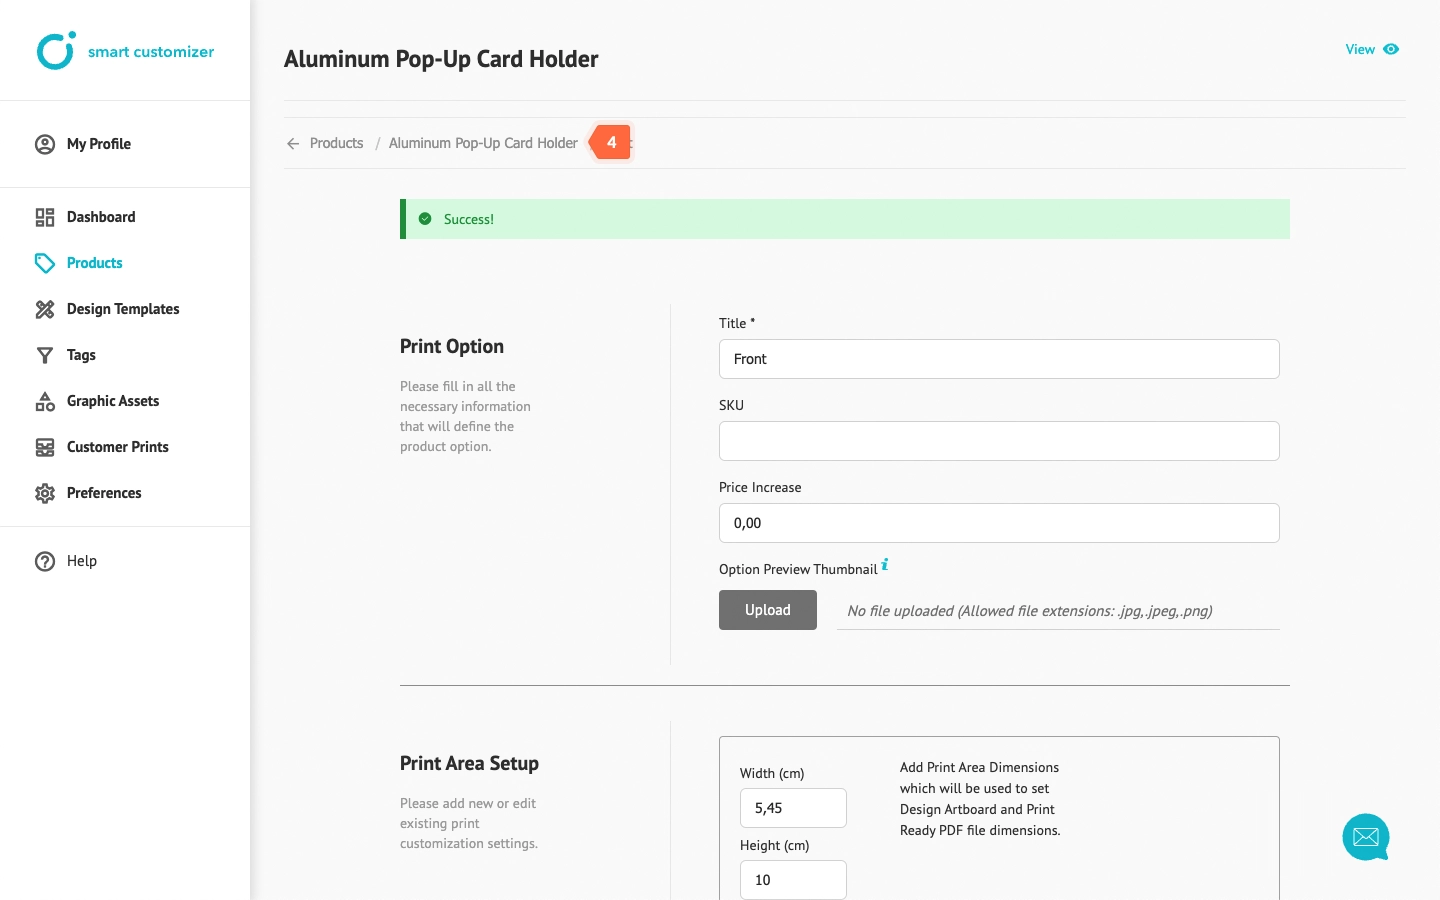
- Open your 3D Product template. Next, scroll down to the Product Options section and click Edit for any of your print areas.
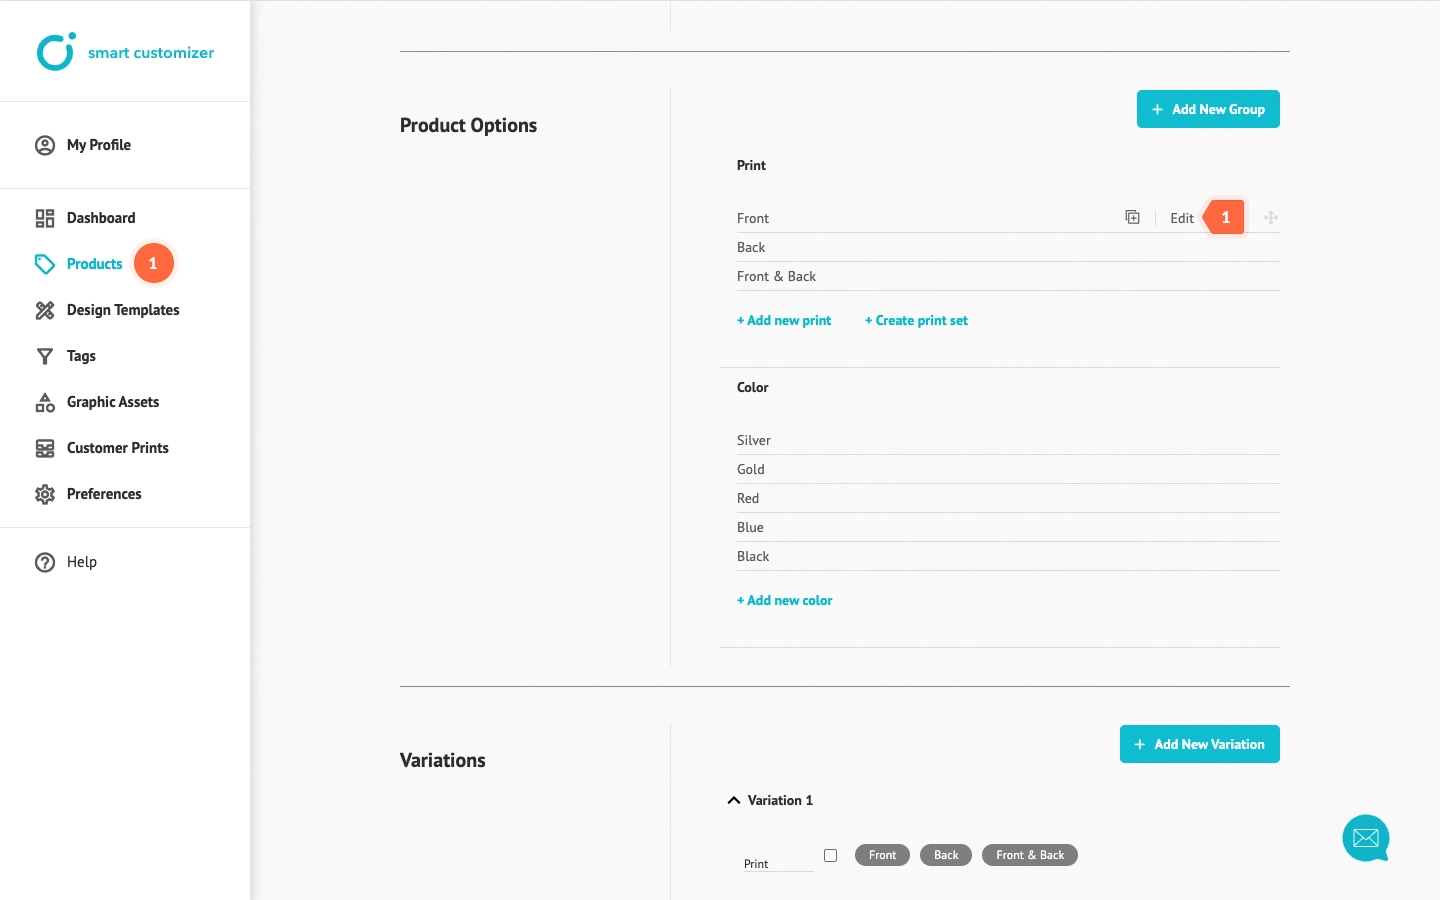
- Enter values in Print Area 3D View Angle field according to provided example "90,45,1,0.3":
- 90 stands for product rotation by 90° along the x-axis (if you do not want to use this value - enter 0).
- 45 stands for product rotation by 45° along the z-axis.
- 1 stands for zoomed view (this value is optional if you do not want to zoom in or zoom out the view - delete the value).
- 0.3 stands for a maximum zoom (this value is optional if you do not want to have zoom limitations - delete the value).
- Once done, click Save.
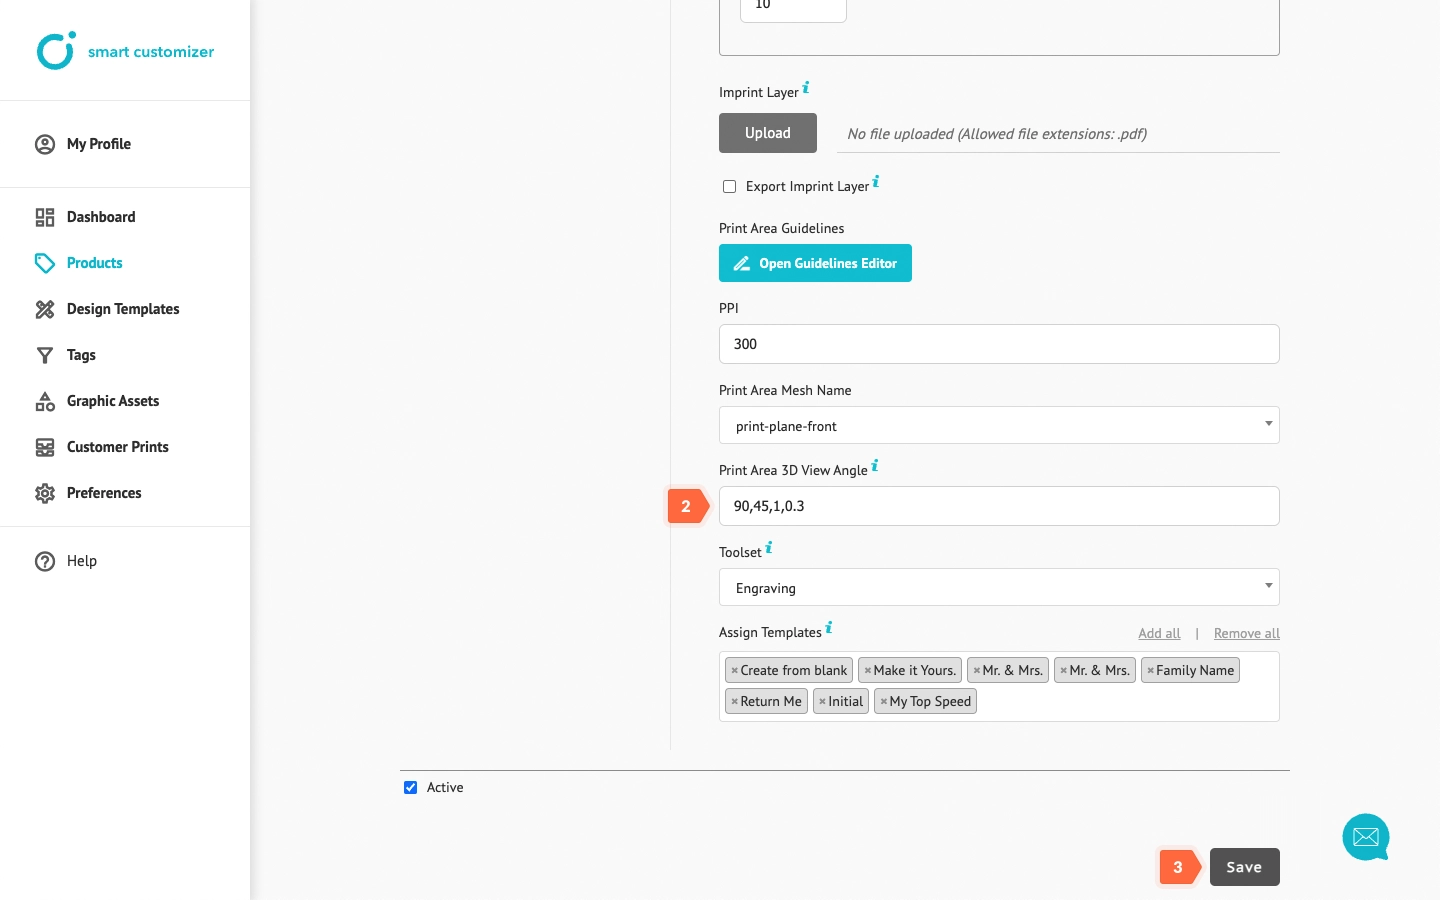
- Go back to the Product editing page.
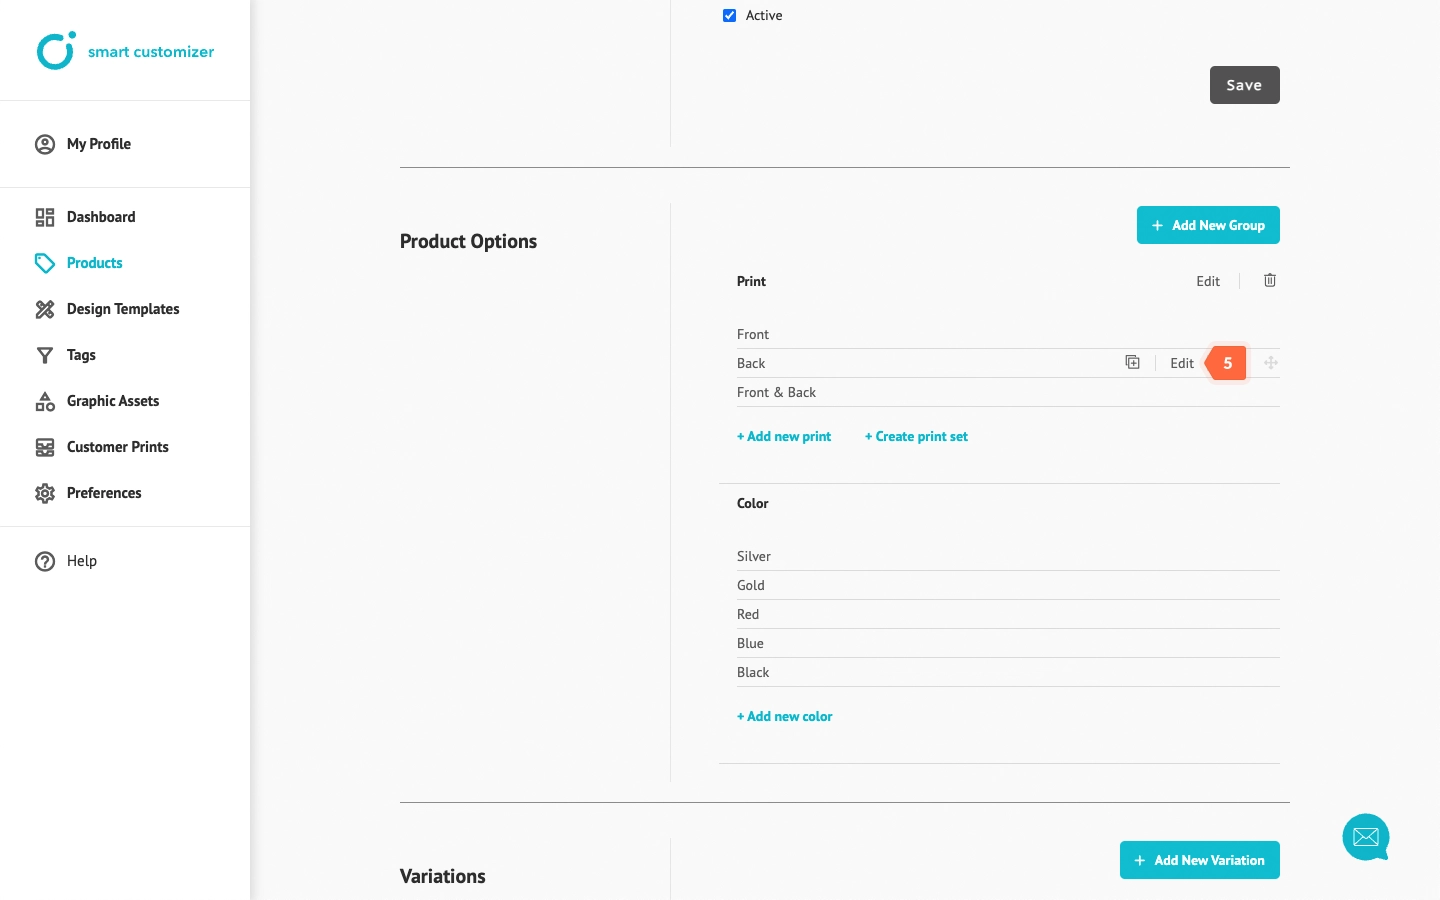
- Click Edit to open your second print area.
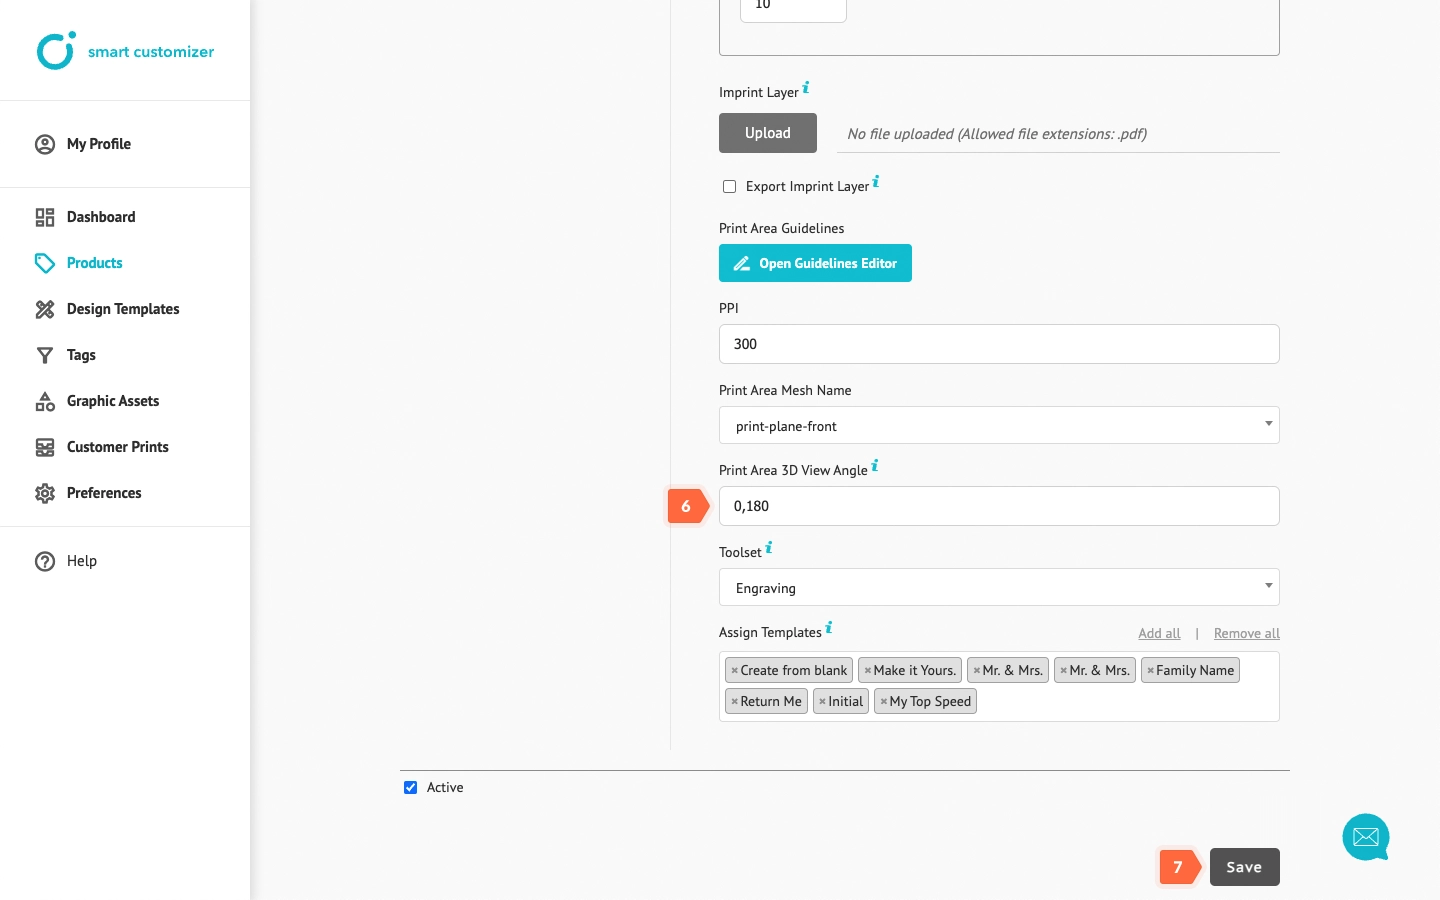
- Enter values in Print Area 3D View Angle field again. For instance, if it is the back of the product, you can use the value "0,180".
- Click Save.
- If you have more than two print areas - repeat the same setup steps and save your updates.
NOTE: Print area sets do not include these parameters; they are only applicable to individual print areas.
