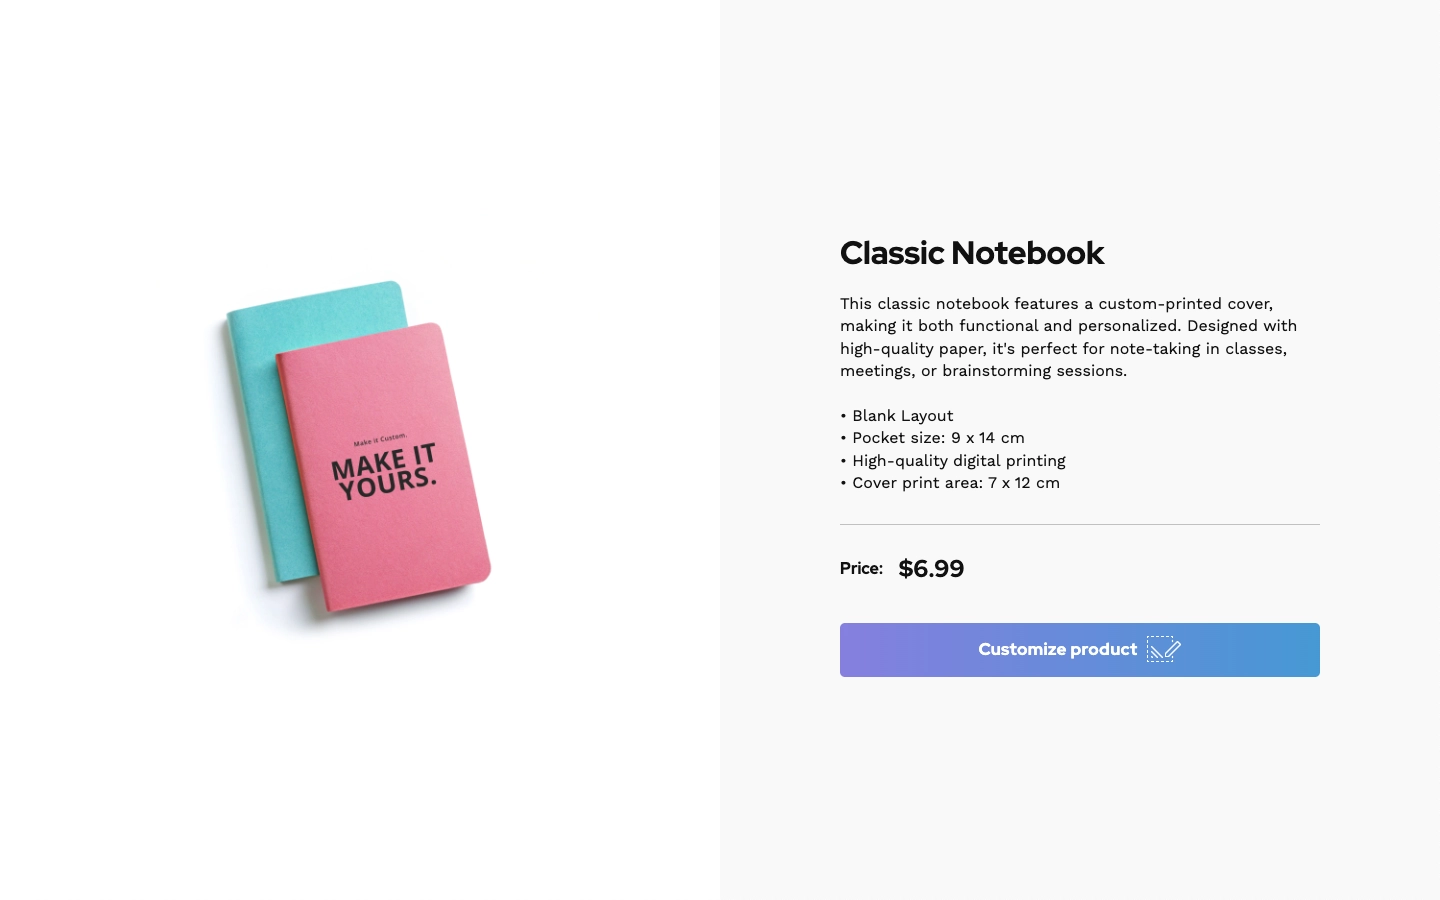
Embedding a product customization button into your web page
This article refers to Smart Customizer Web to Print App Version 2.0Explore the Version 1.0 article here
About the product customization button
- Product customization button embed is a type of installation in the Stand-Alone Smart Customizer version.
- It is an excellent choice when you want to add a customization option to an existing product's web page.
- This feature is versatile and can be seamlessly added to any page, functioning as an ordering form.
- You can easily tailor the ordering form to your needs, collecting all the necessary information for the order.
Before we get started
The first thing to do is to sign up for Stand-Alone SmartCustomizer and create your customizable product.
You can either install a product template from our presets or create your own 2D or 3D product.
Order form activation
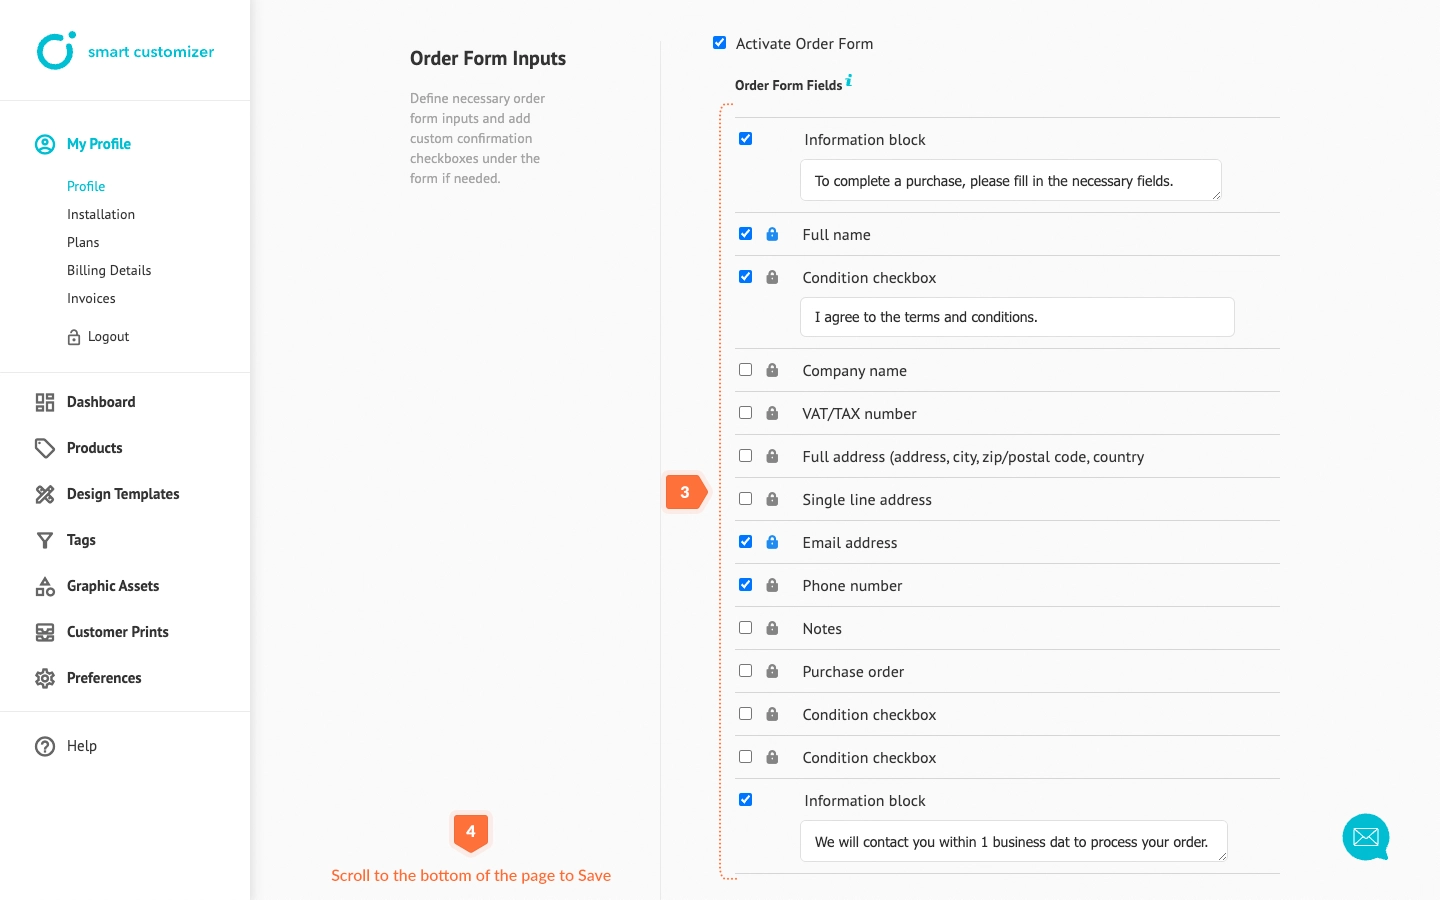
To use the embedded button, you need to enable Order form inputs. This order form will serve as the final step where the customer provides all the necessary information for placing an order after customization is complete. To do so, follow these steps:
- Go to My profile > Profile.
- Click Activate order form.

- Select your preferred Order form fields and add custom confirmation checkboxes under the form if needed. Learn more about how to create and order forms here: Order form settings.
- Scroll down to the bottom of the page and Save the changes.
How to embed a product customization button into your web page
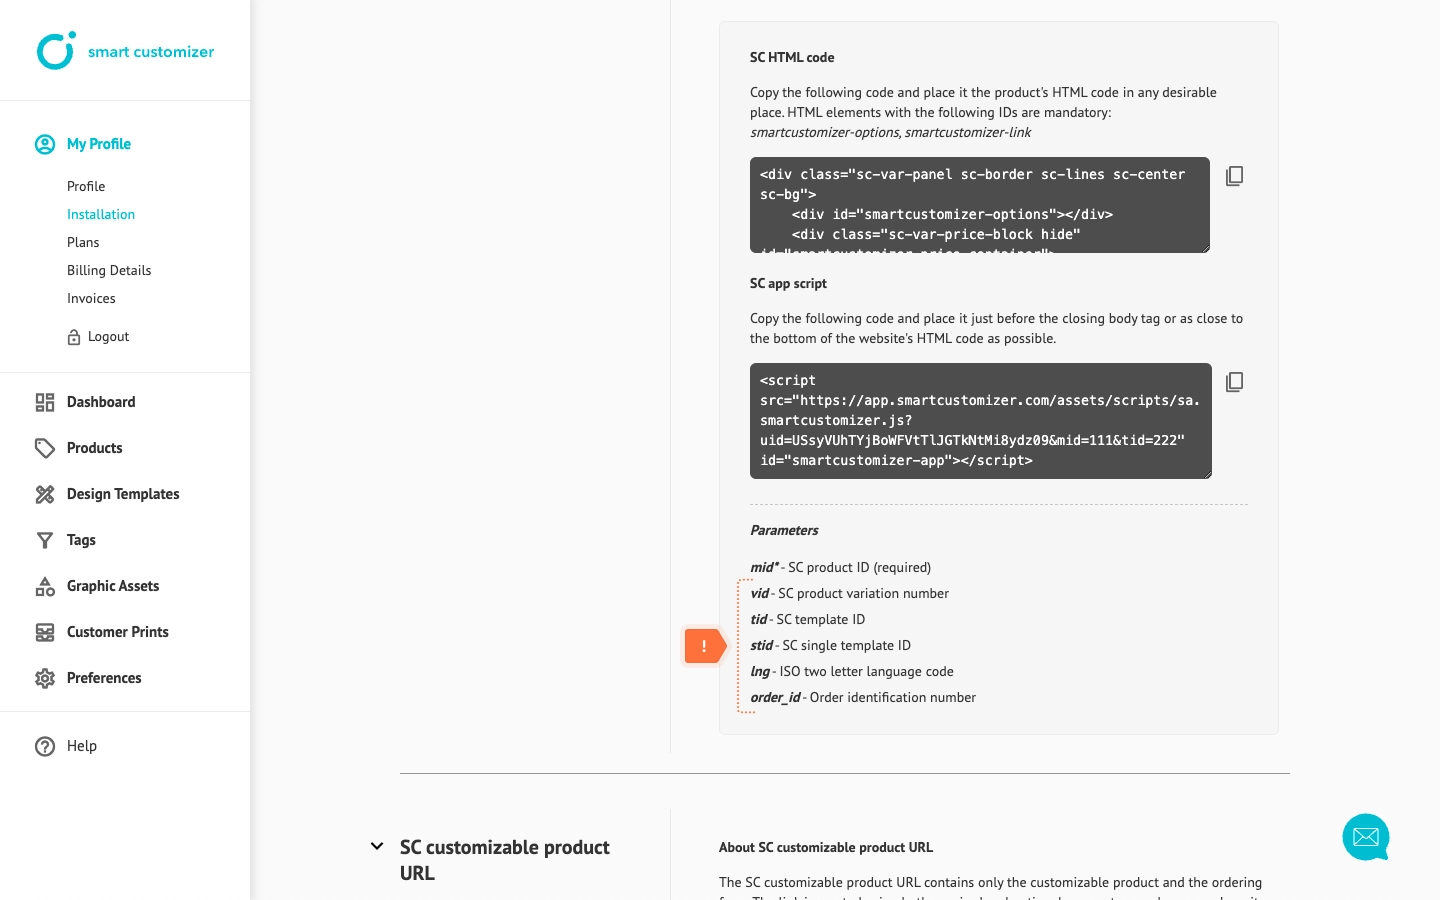
- Go to My profile > Installation.
- Click Embed.

- Copy SC HTML code. Please note that HTML elements marked with green ! are mandatory. We also recommend using CSS classes that impact the visualization of the product options panel which are marked with orange !.

- Insert the code in the website's HTML code in any desirable place.

- In SC app script update the mid (SC product ID) parameter with your customizable product ID. This parameter is mandatory as it specifies the product to be loaded. The tid parameter, which loads the product with a default design, is optional. You can choose to use it or remove it, add other optional parameters as needed.
- Copy SC app script code.
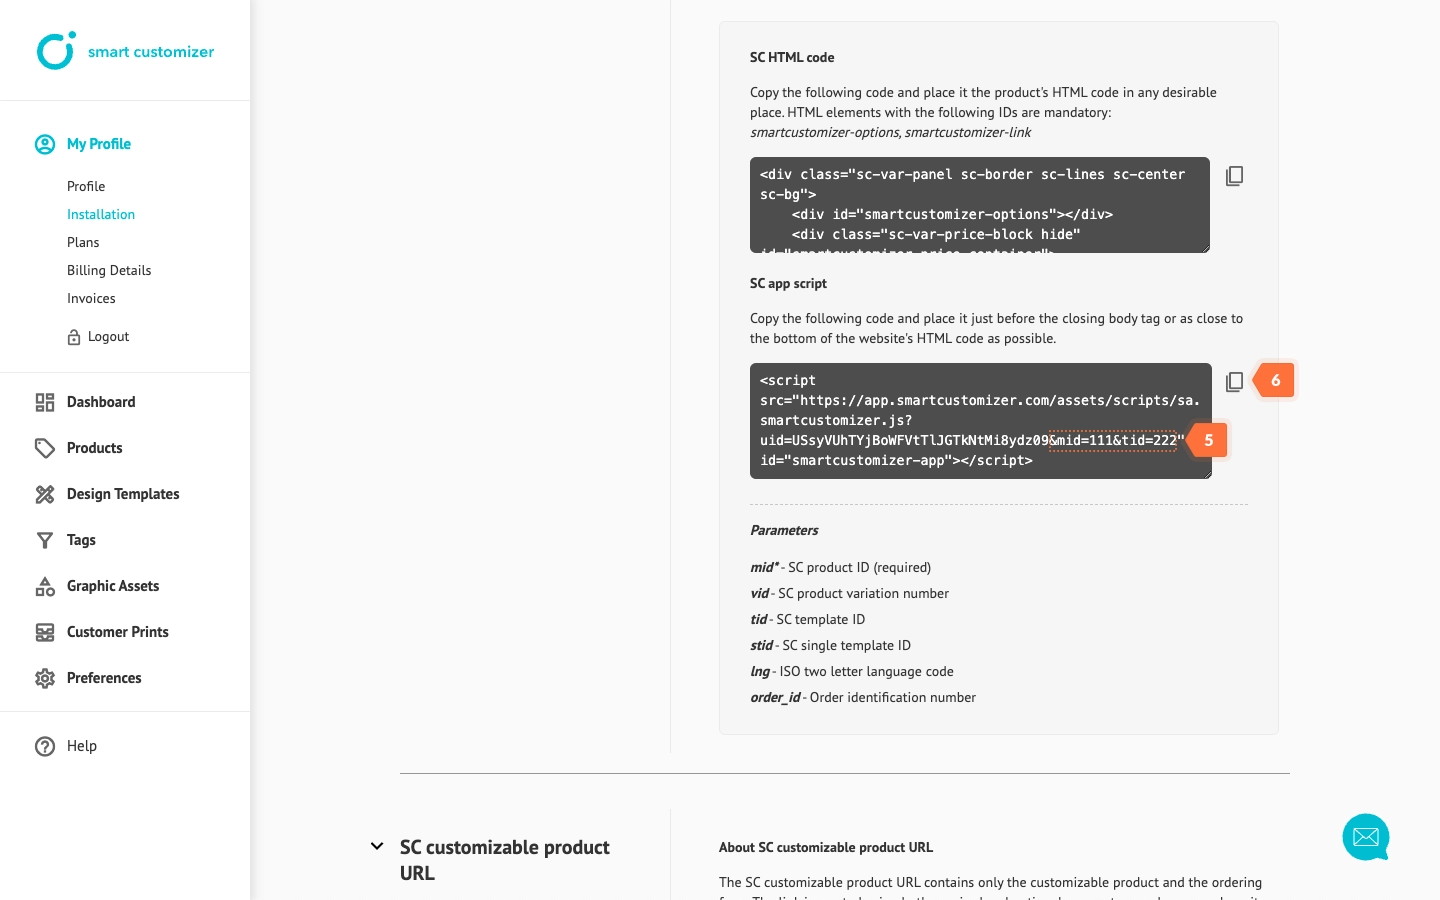
- Insert SC app script code into the product's HTML code just before the closing body tag or as close to the bottom of the website’s HTML code as possible.

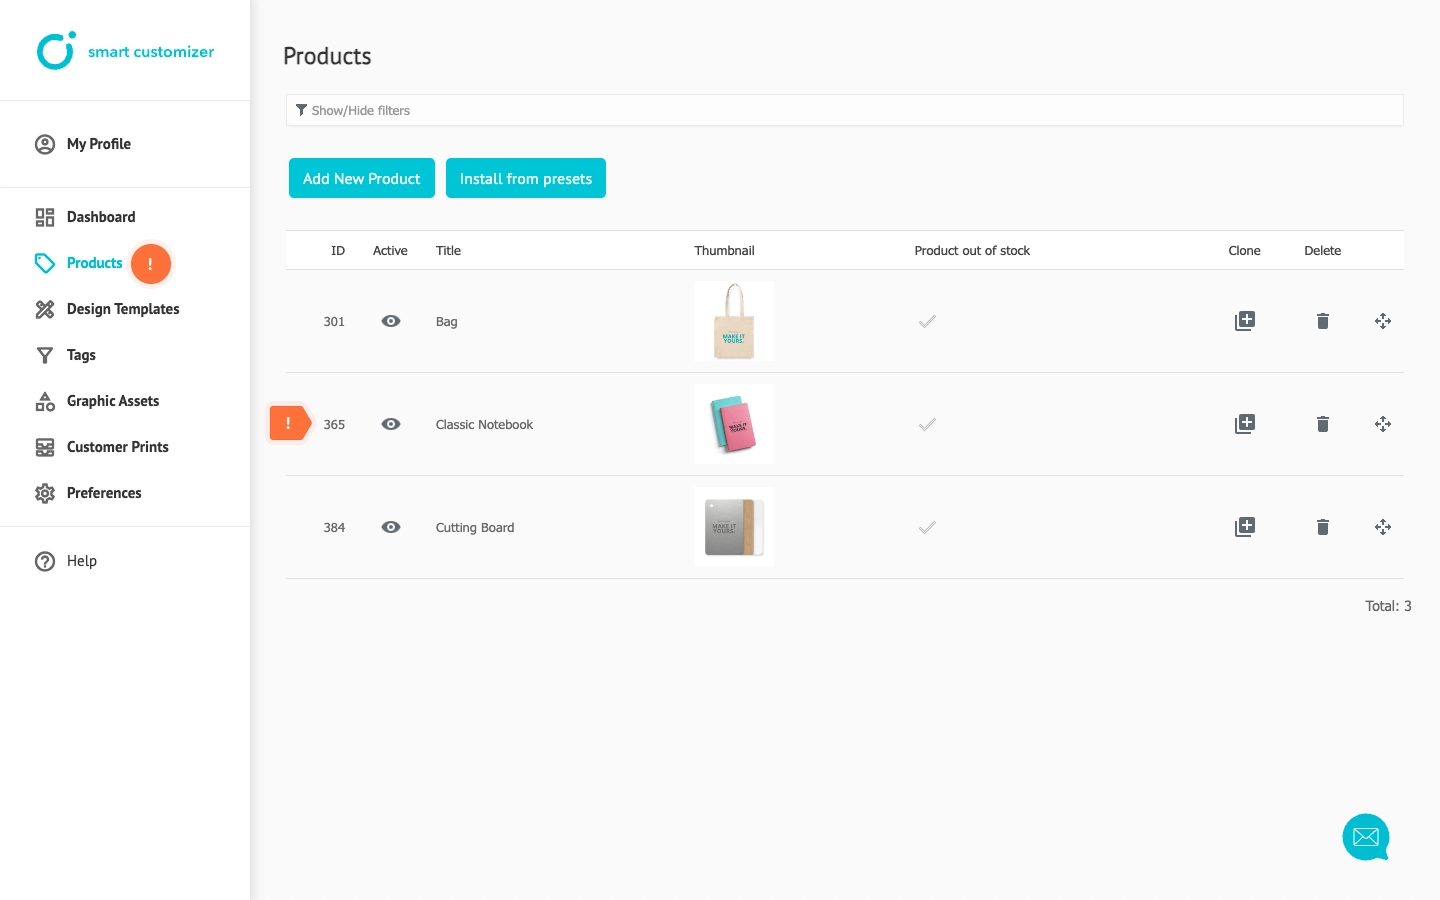
NOTE: To locate the mandatory mid parameter (SC product ID), navigate to your Product list and copy the ID of your desired product.
Optional parameters
As previously mentioned, there are optional Parameters available. These allow for customization of the customizer window's interface.
Examples of parameter usage:
- vid parameter is used to display a specific product variation. You can learn more about creating product variations here.
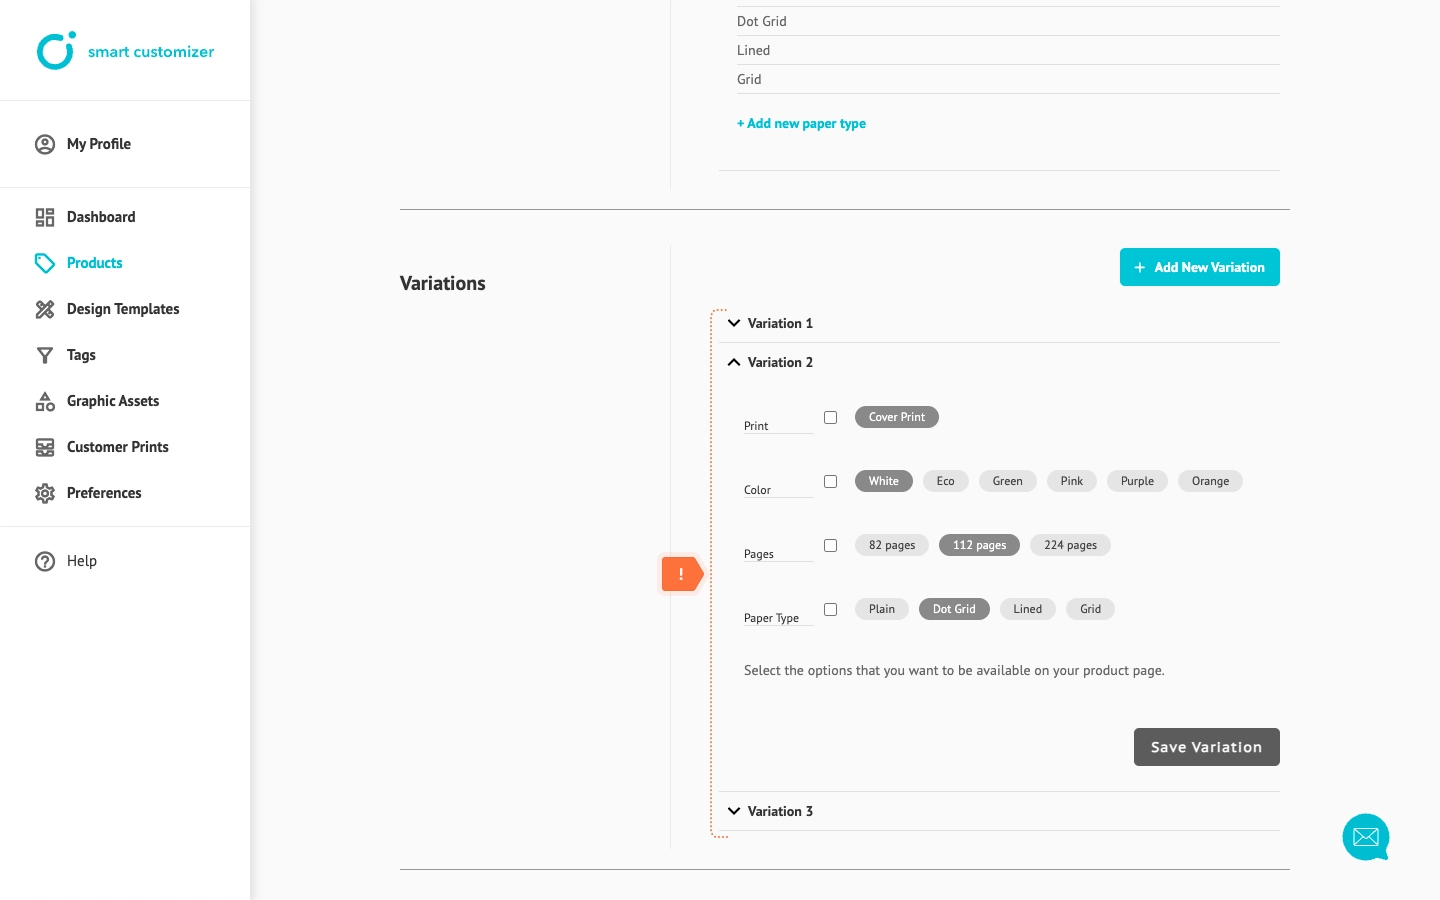
The parameters "&mid=365&vid=2" will open the second product variation:
- tid parameter is used to assign a default design from a list of predefined design templates. The parameter can be found by navigating to Design Templates and copying Design Template ID. (Note: The design template must be assigned in product settings as well)

After updating the parameters to "&mid=7252&tid=8057", here's how the preview looks:
- stid parameter is used to show a product with just one design template and no option to choose from other designs. This parameter also corresponds to the Design Template ID.
The Preview with parameters "&mid=7252&stid=8057” is:
- lng parameter can be used to display a translated interface. The translation must first be added in preferences and instructions for this process can be found here. The parameter’s ID will be locale short name.
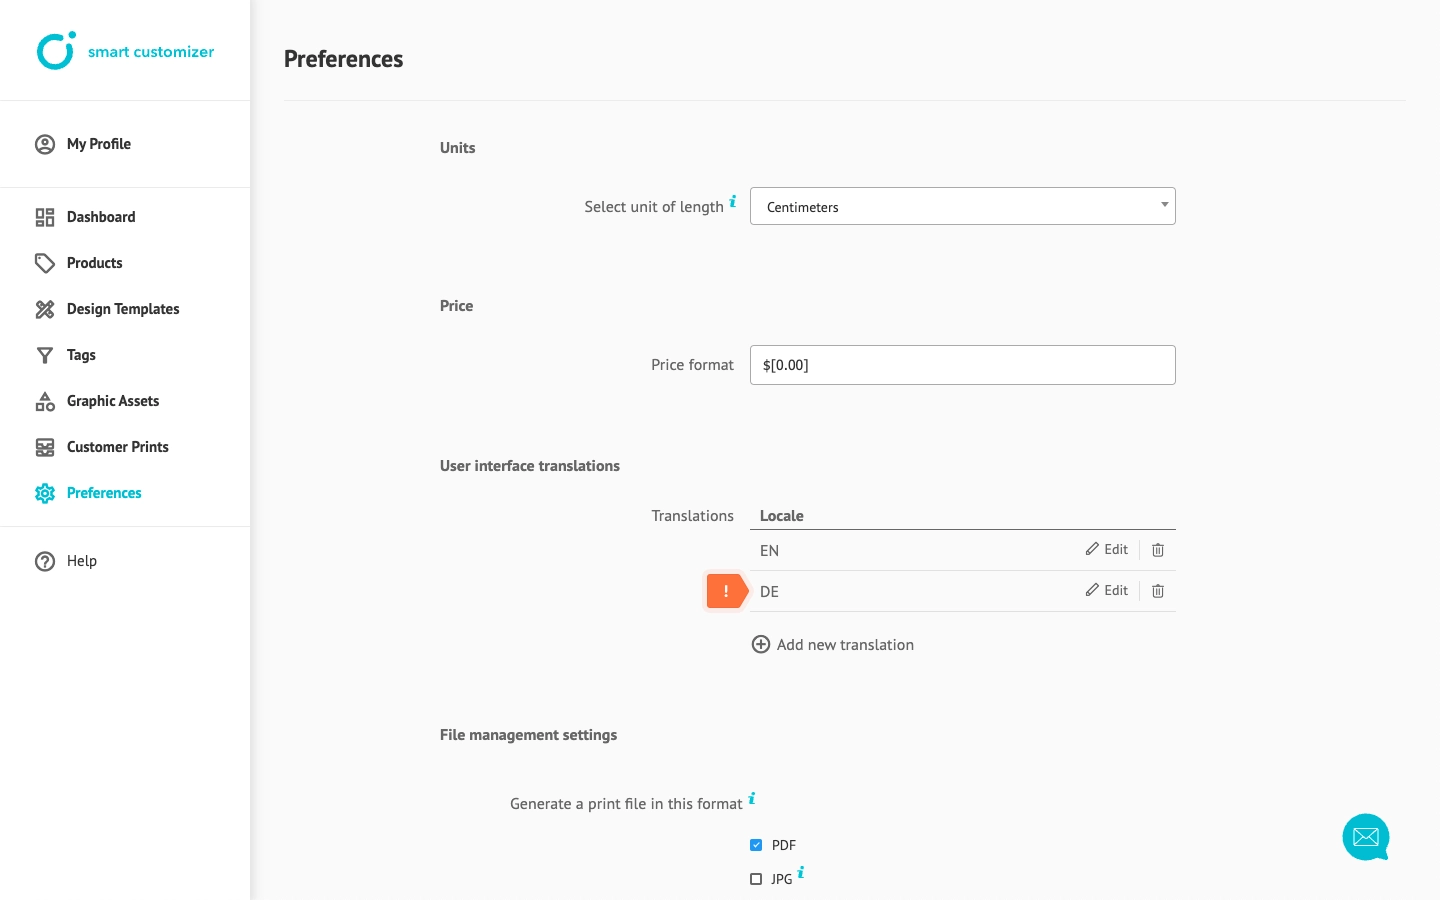
The Preview with parameters "&mid=7252&lng=de" is:
- order_id parameter is used only in the case of a Customizable Product URL.
Tips & Tricks
- Ensure you test your changes thoroughly. Even small mistakes can lead to the button not functioning correctly.
- When making extensive HTML modifications, it is essential to retain the 'id=,' 'data-params=,' 'class=' and 'style=' parameters. However, you can incorporate additional styles within the last 'style' section.
- If you want, you can include multiple 'Customize' buttons or change the name of the button and make other modifications to it.
NOTE: We understand that embedding the button can be challenging. If you have any questions or need assistance, don't hesitate to reach out to our support team.
