How to create a URL for a customizable product?
This article refers to Smart Customizer Web to Print App Version 2.0Explore the Version 1.0 article here
About SC customizable product URL
- SC customizable product URL is a type of installation in the Stand-Alone Smart Customizer version.
- It is a valuable tool for easily sharing a customizable product with a customer through a separate URL.
- A URL functions as an inquiry and contains all the essential information needed to place an order. It operates with an ordering form that does not have an integrated cart.
- You can have one product template but personalize it differently in custom links: assign different print designs, change the user interface language, etc.
Before we get started
The first thing to do is to sign up for Stand-Alone SmartCustomizer and create your customizable product.
You can either install product template from our presets or create your own 2D or 3D product.
Order form activation
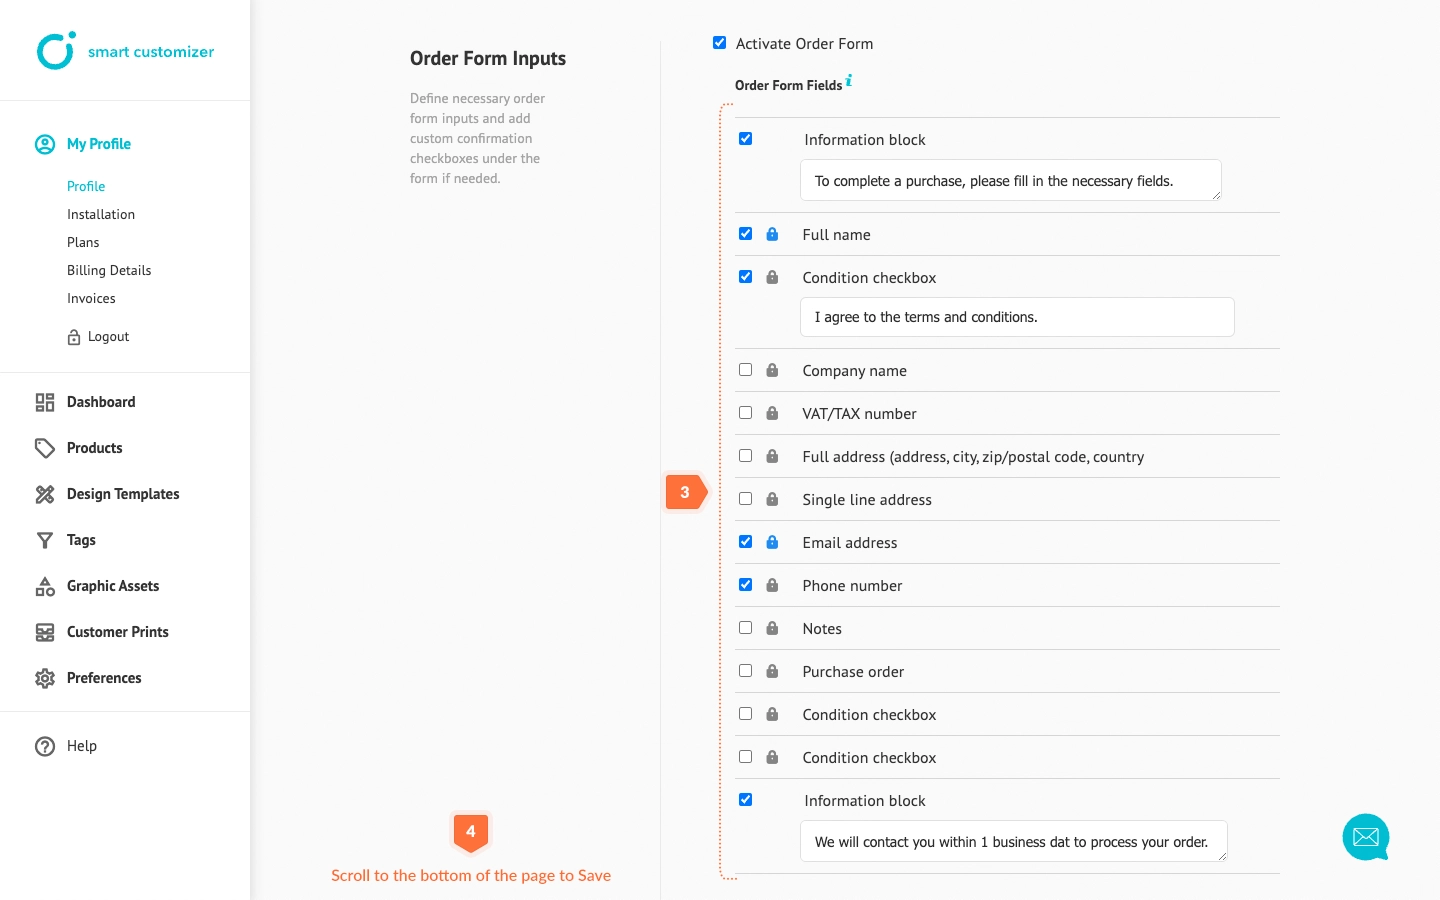
To use custom URLs, you need to enable Order form inputs. This order form will serve as the final step where the customer provides all the necessary information for placing an order after customization is complete. To do so, follow these steps:
- Go to My profile > Profile.
- Click Activate order form.

- Select your preferred Order form fields and add custom confirmation checkboxes under the form if needed. Learn more about how to create and order forms here: Order form settings.
- Scroll down to the bottom of the page and Save the changes.
How to create a customizable product URL
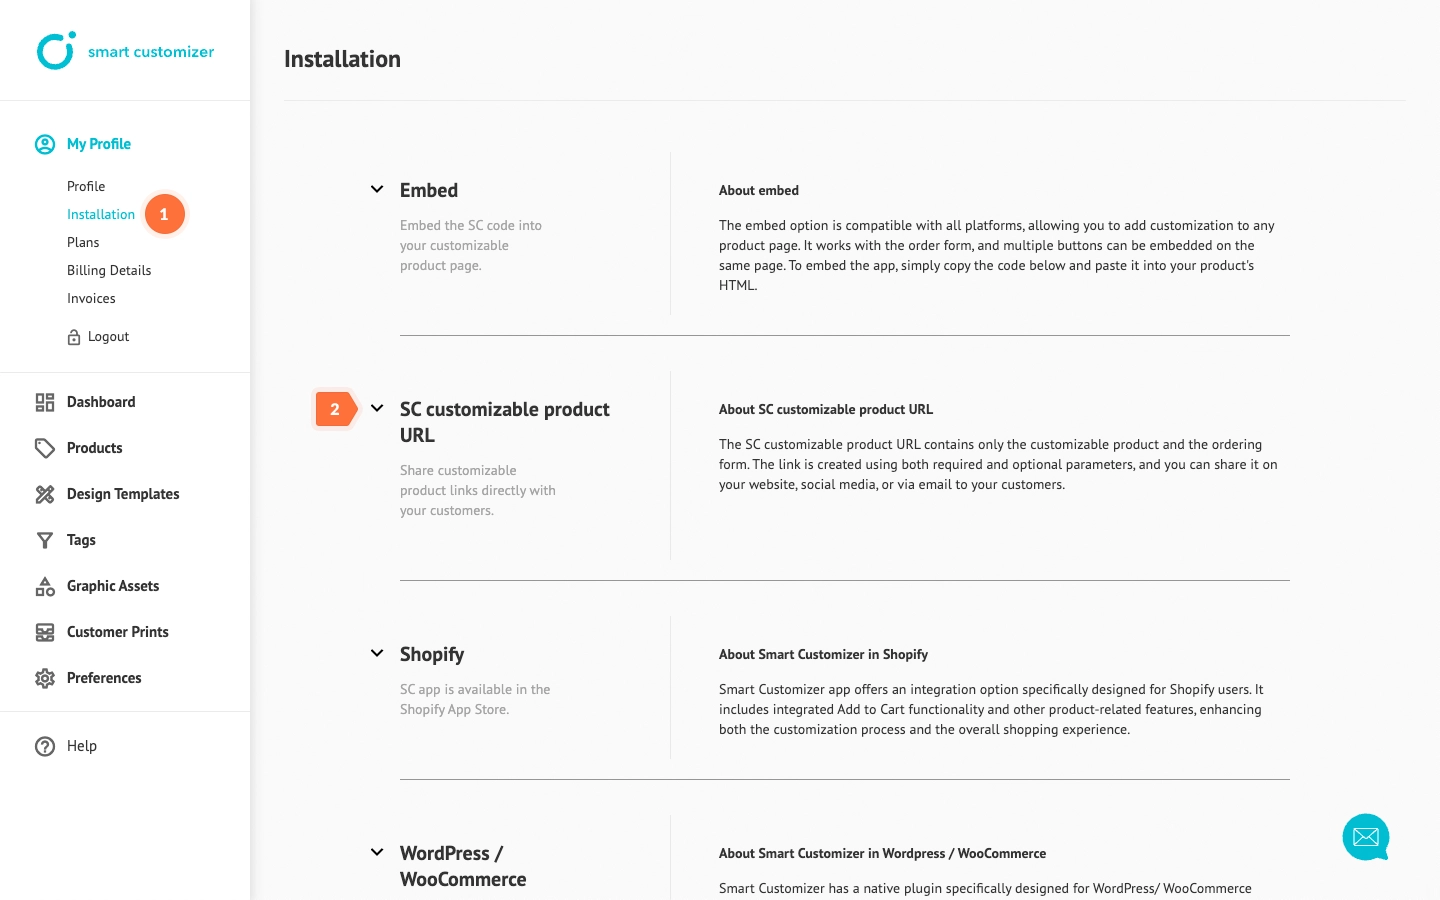
- Go to My profile > Installation.
- Click SC customizable product URL.
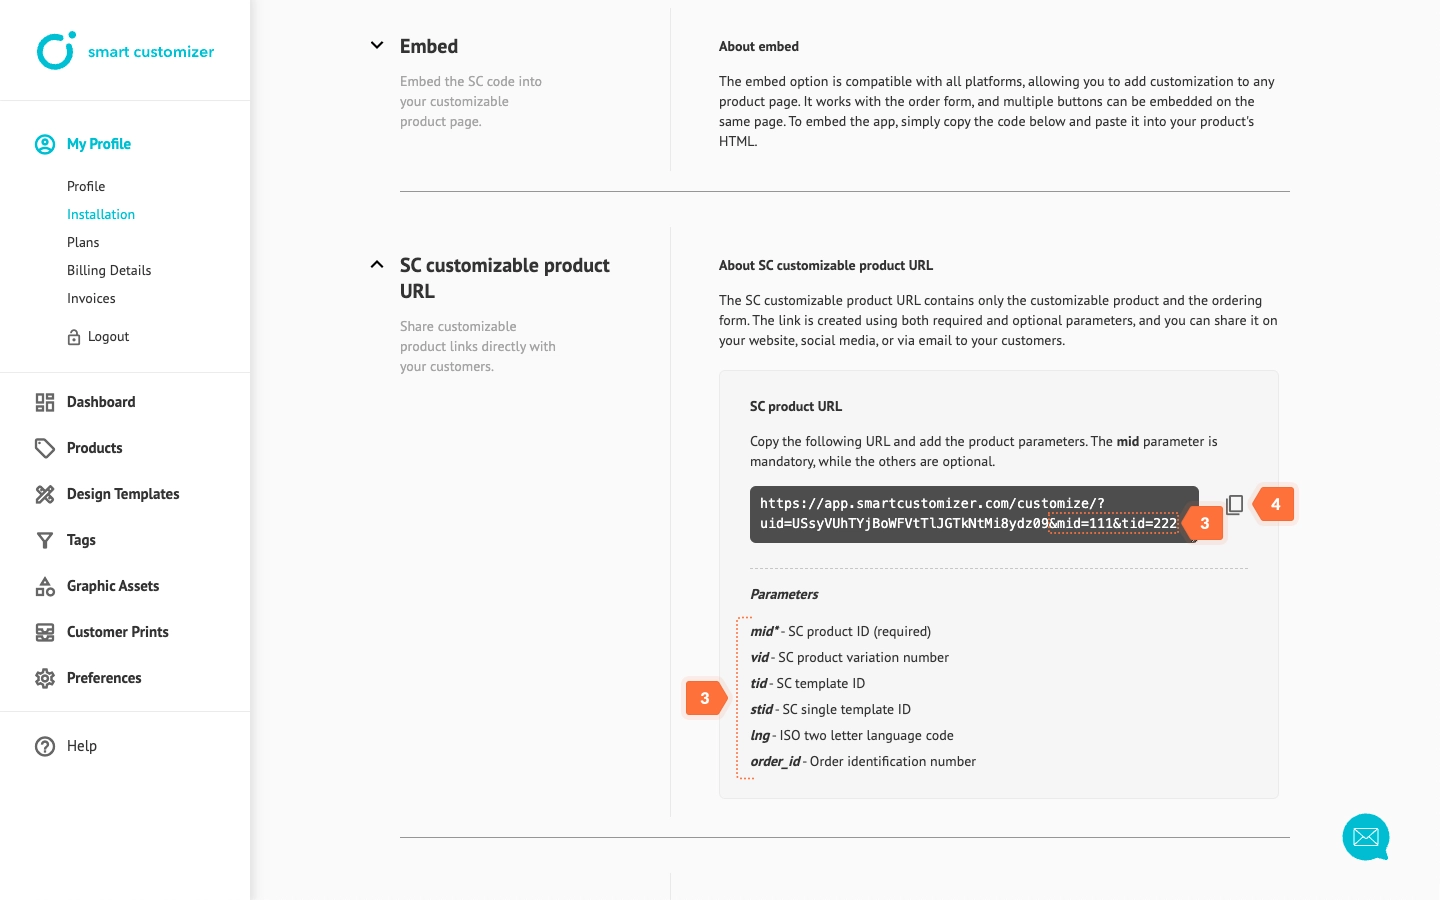
- Update SC product URL with your product Parameters. The mid parameter is mandatory, while the tid and others are optional.
- Copy the text.
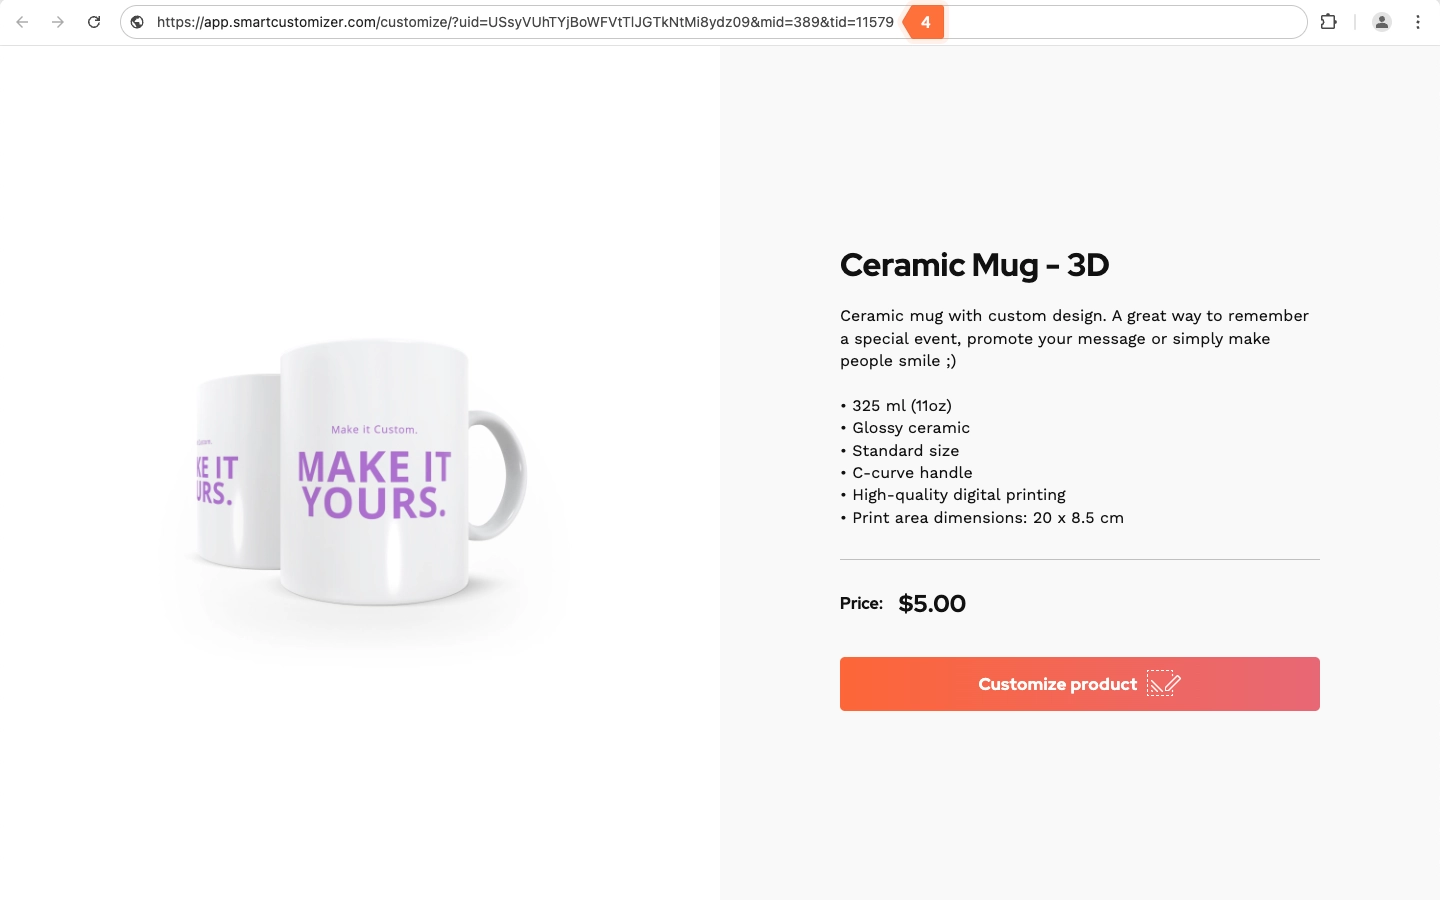
- Paste it to your browser. That's it! If you've added the parameters correctly, the URL should work without any issues.
Parameters
When using parameters, it's important to note that they can be either mandatory or optional. Here are explanations for each of them:
Mandatory:
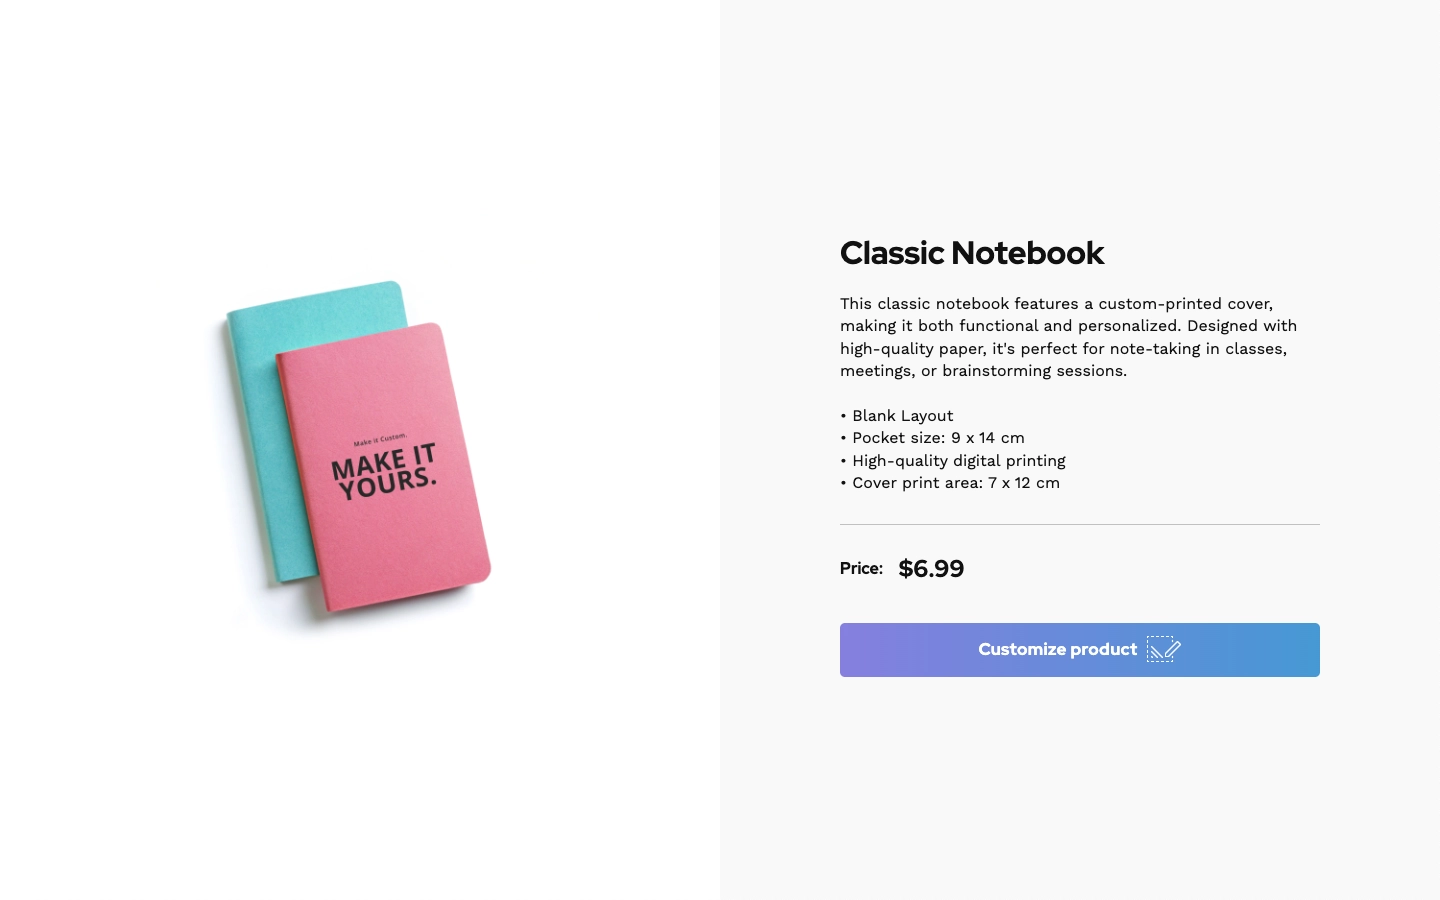
mid parameter is used to specify the product to be loaded.
Example: &mid=7313 (7313 is a product ID)
It can be found by navigating to Products and copying Product ID.
Optional:
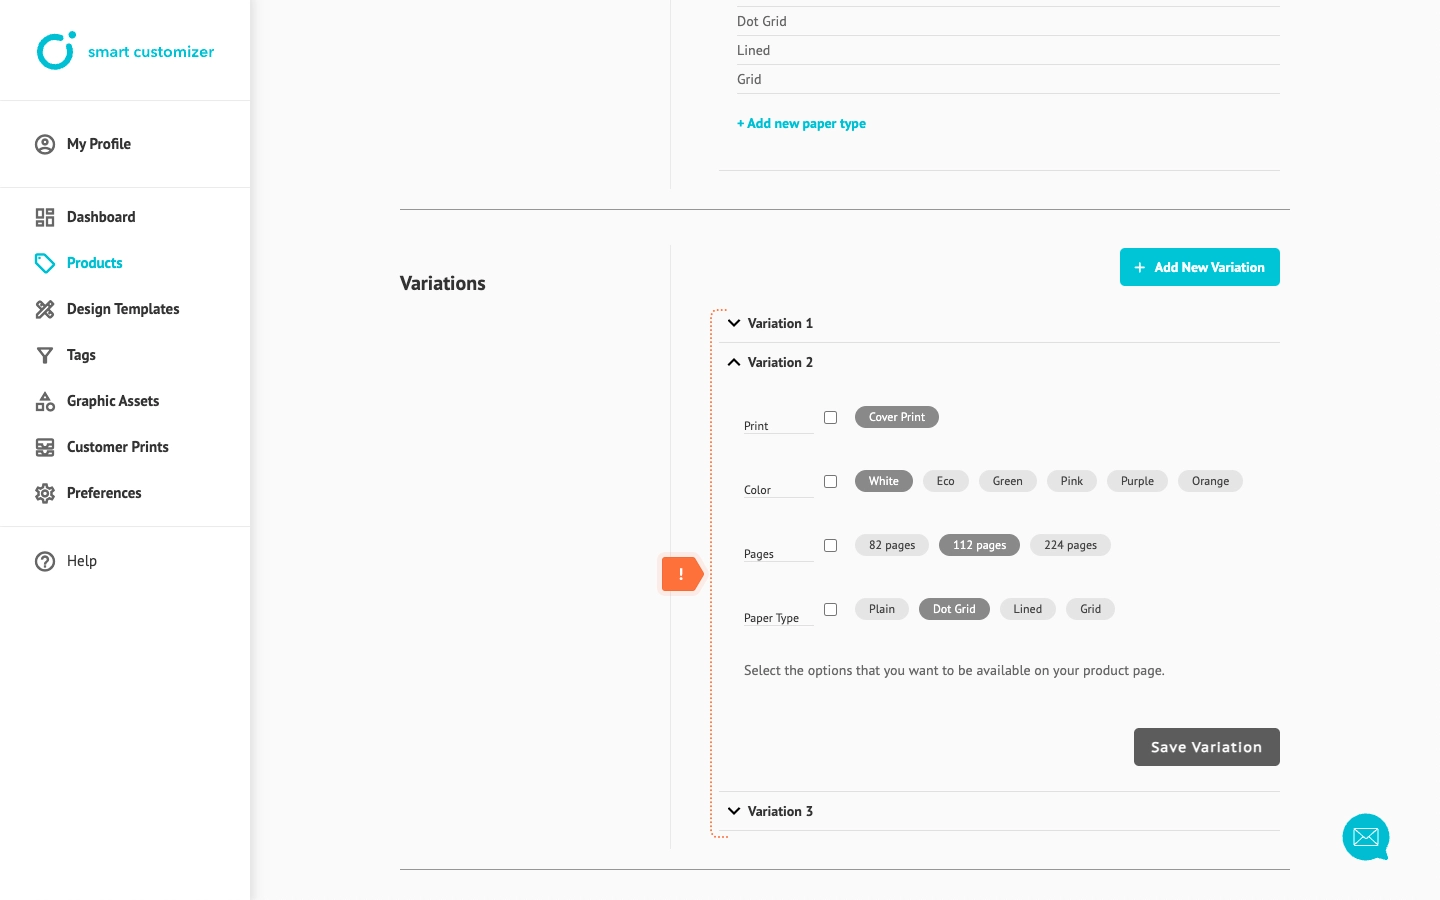
vid parameter is used to share a specific product variation. You can learn more about creating product variations here.
Example: &vid=2 (it will open the second product variation)
The preview:
tid parameter is used to assign a default design from a list of predefined design templates. Design templates serve as a quick starting point for customization and should be created and assigned beforehand.
Example: &tid=8913 (8913 is SC template ID)
It can be found by going to Design Templates and copying Design Template ID.
The Preview:
stid parameter is used to show a product with just one design template and no option to choose from other designs. Design Template ID is also used for this parameter.
Example: &stid=8913 (8913 is SC template ID)
The Preview:
lng - you can send a translated link by including a language parameter (Just make sure the translation has been added to preferences beforehand).
Example: &lng=de (de is the name of your translation)
The Preview:
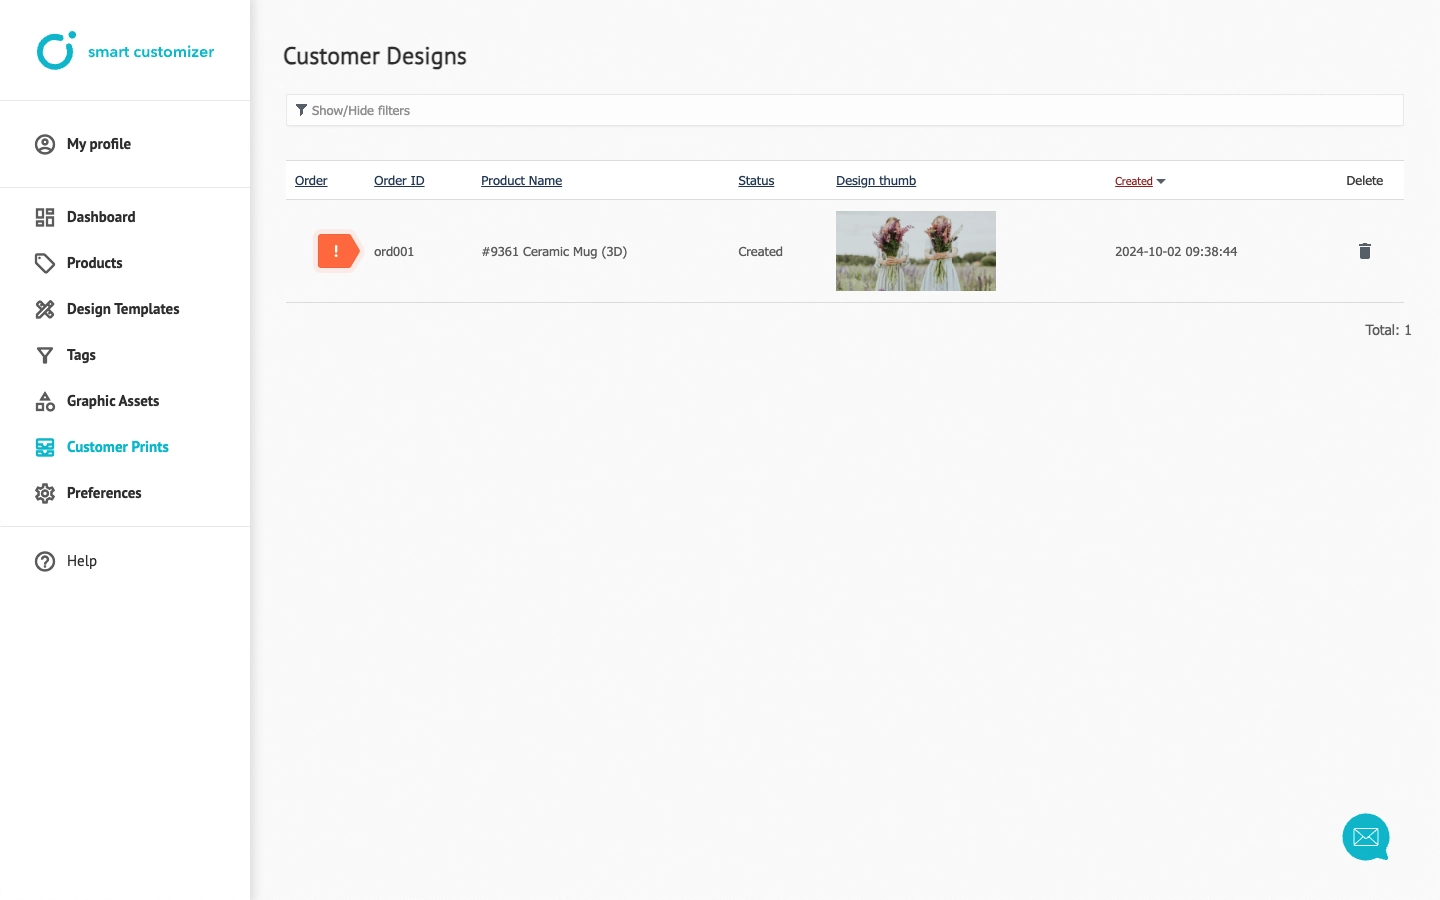
order_id - use this parameter when sending a link to a customer to later identify which client created a specific design. The order ID will appear in both the notification email and the 'Customer Prints' section.
Example: &order_id=ord001 (you can use any text or number of your choice)
The Preview:
Tips & Tricks
When testing a link multiple times, the browser may fill up with a cache, which can cause the link to not work properly. To ensure the link is functioning correctly, always use an Incognito or Private window.
