Print area controls
This article refers to Smart Customizer Web to Print App Version 2.0Explore the Version 1.0 article here
About print area controls
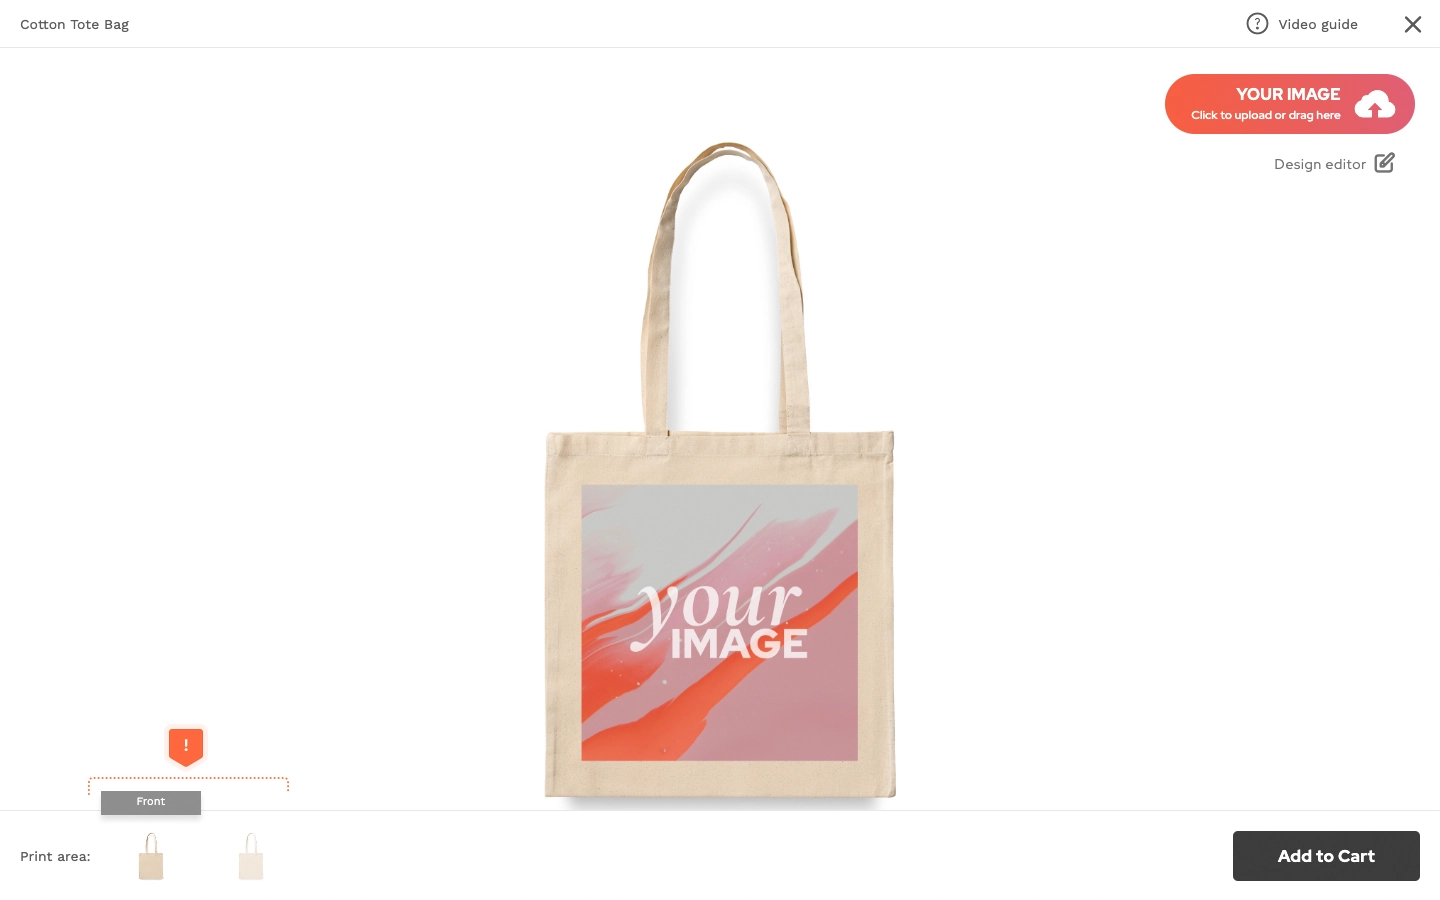
- The print area switcher in the product preview window is automatically enabled for Print area set options.
- This feature allows customers to easily toggle between different print areas.
- The switcher can be customized with a title or a custom thumbnail for a more personalized experience.
How to set print area controls
- Open your Product.
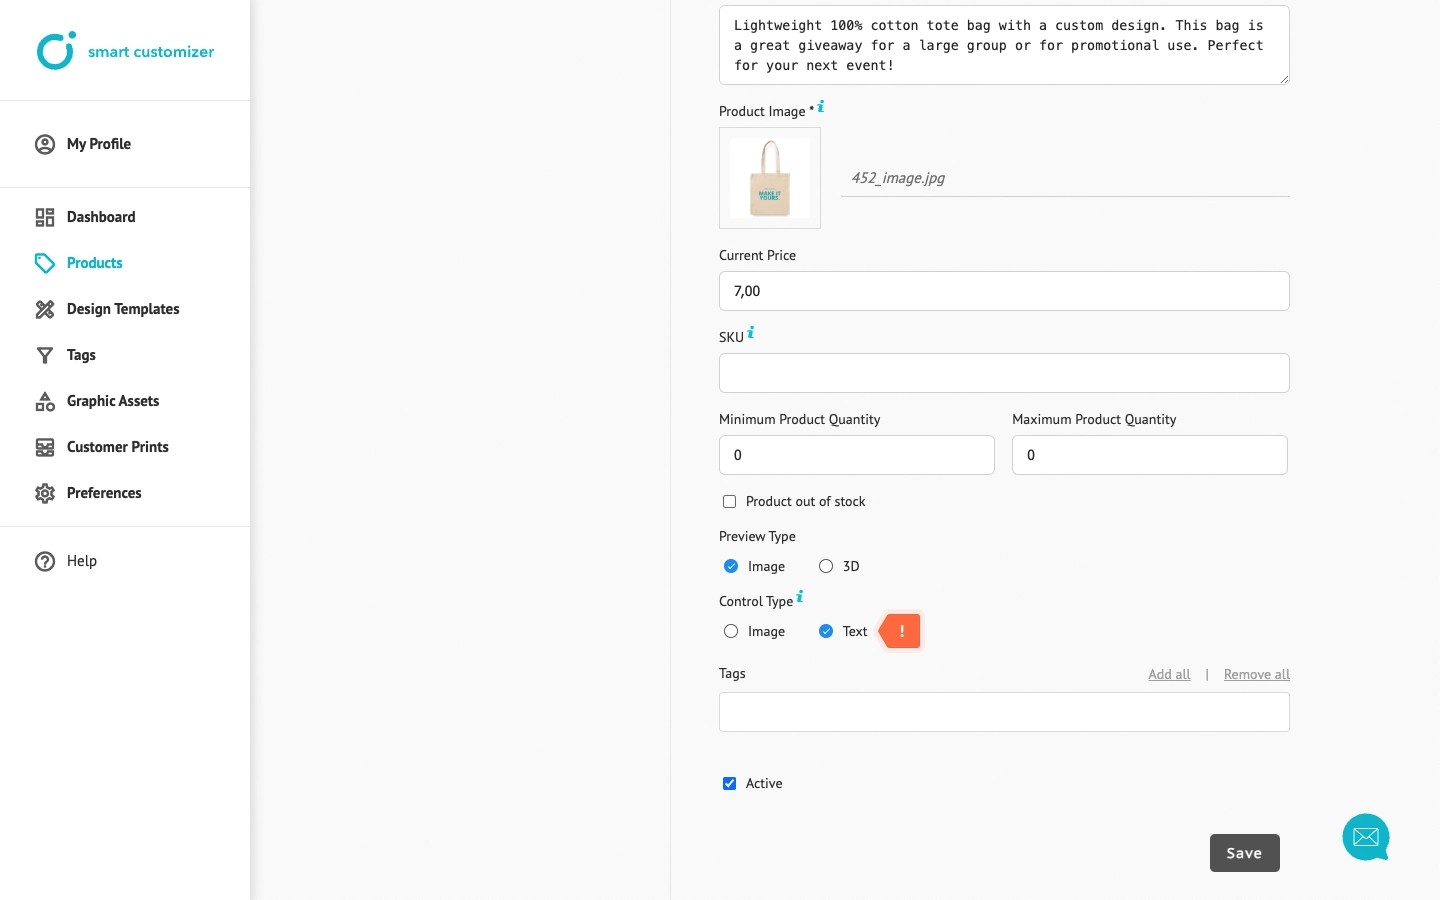
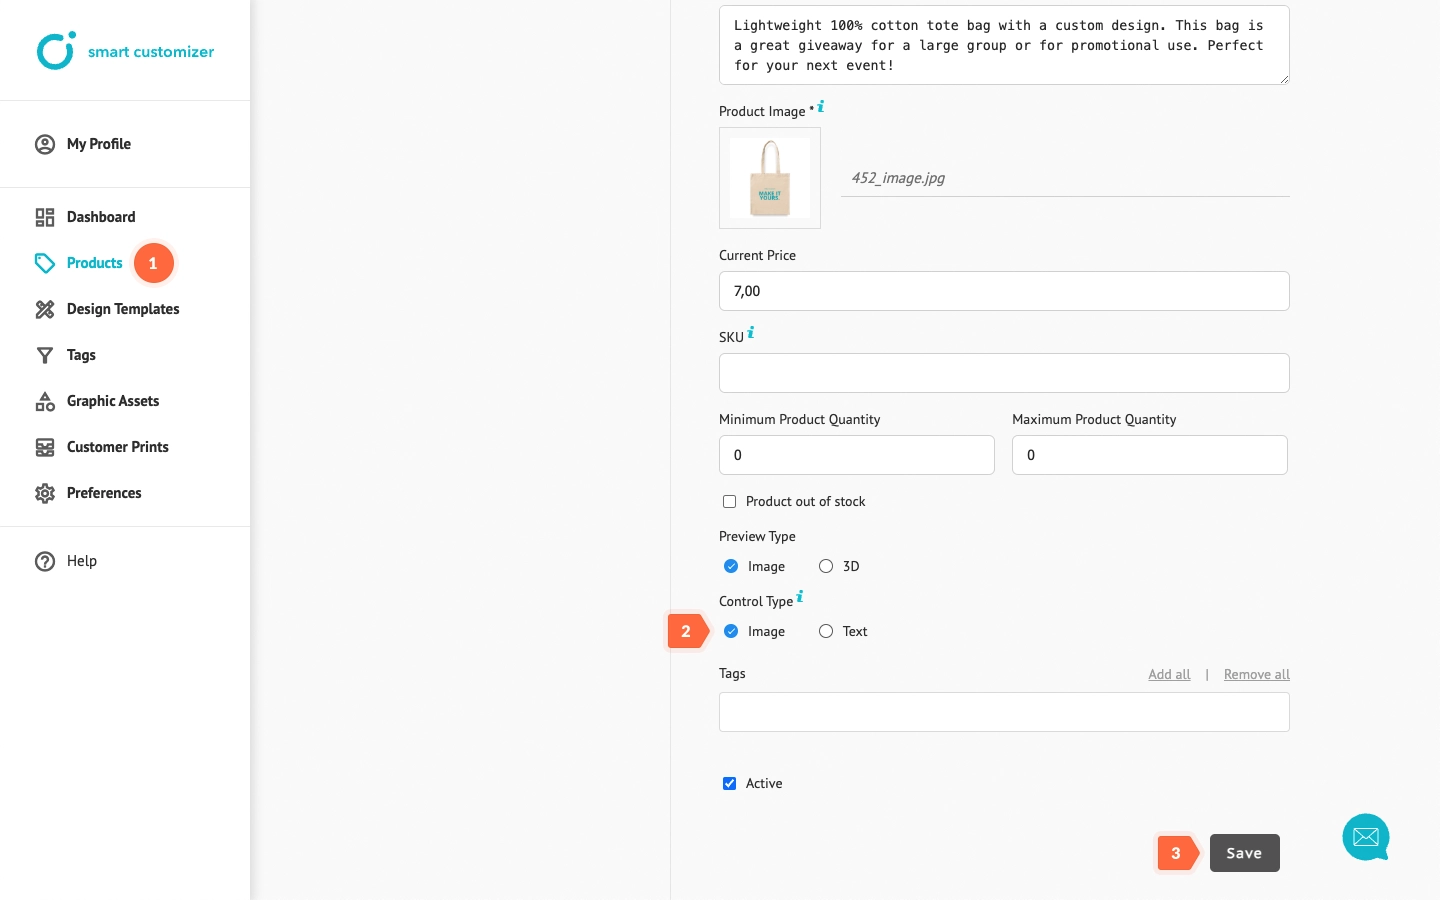
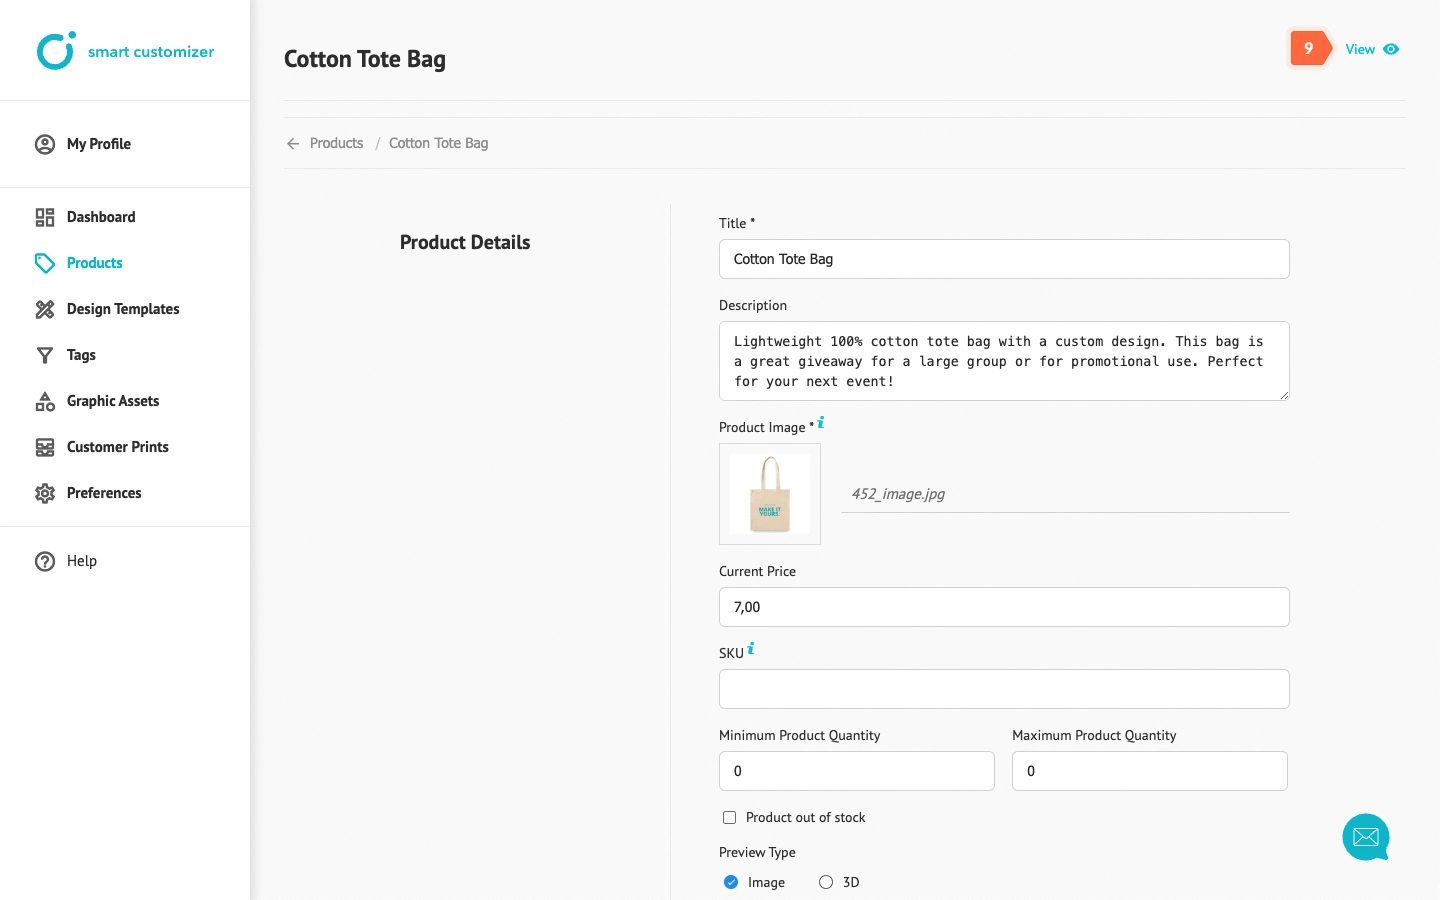
- In Product details you’ll find two options of Control Types: Image and Text. Let’s start by selecting Image type.
- Click Save to proceed.
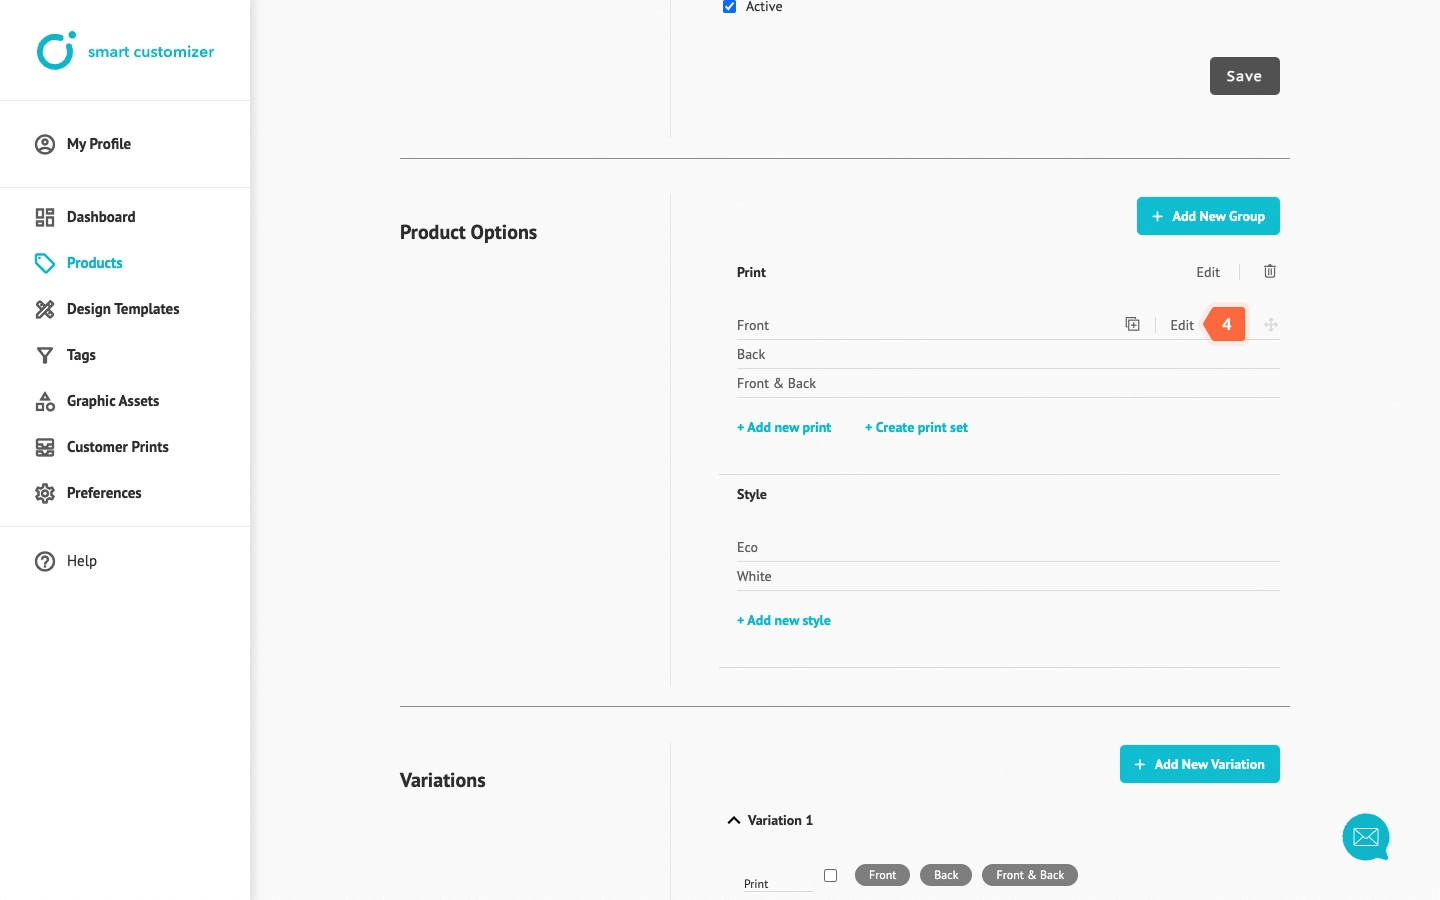
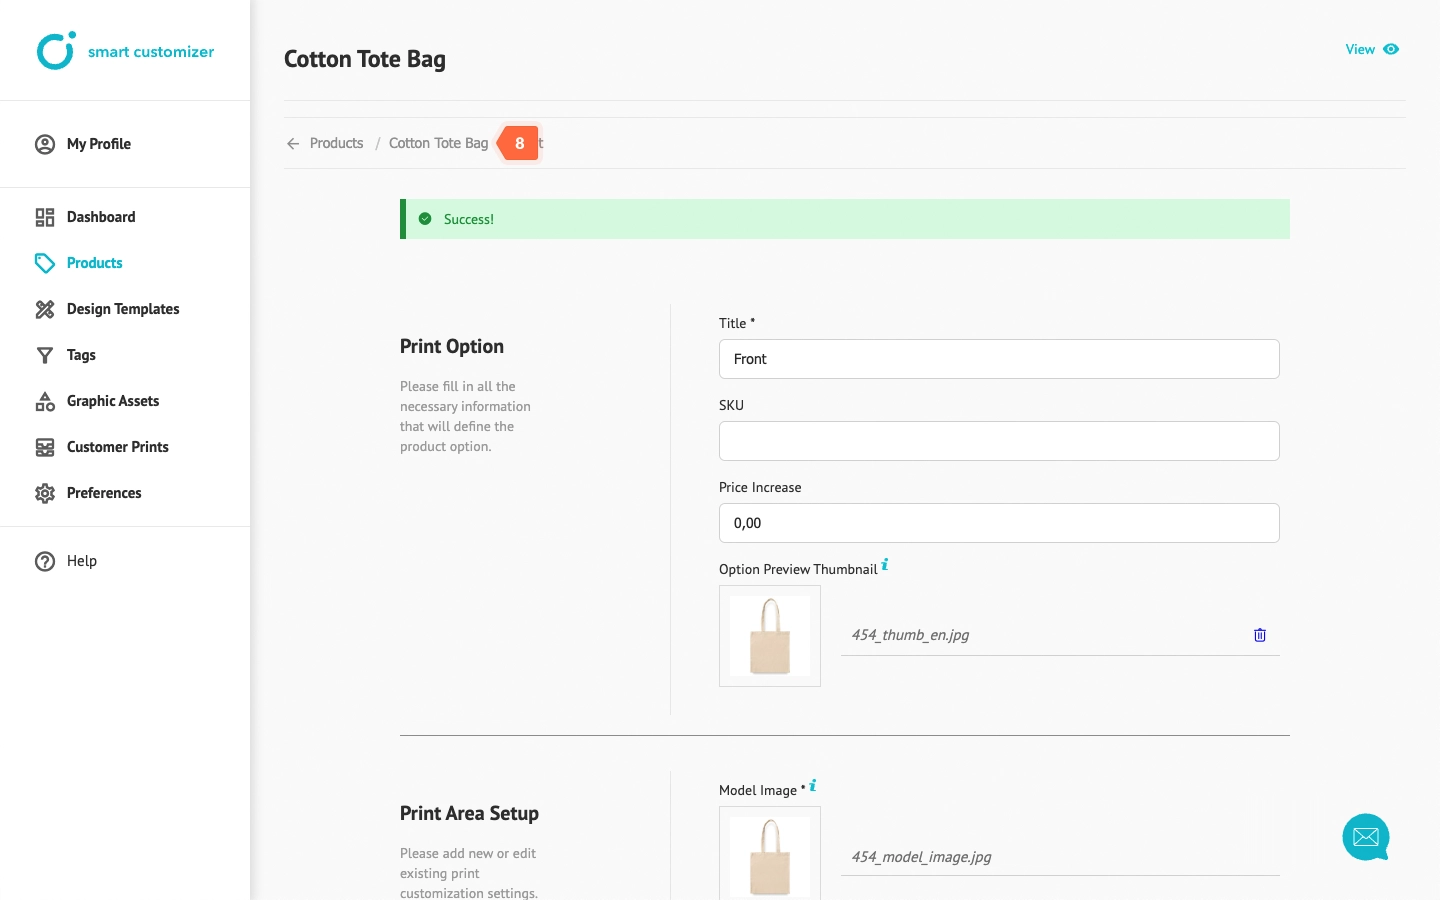
- For this control type, you’ll need to use thumbnail images. These thumbnails are set under Product Options > Print Options. To configure this, click, click Edit on one of your individual print areas.
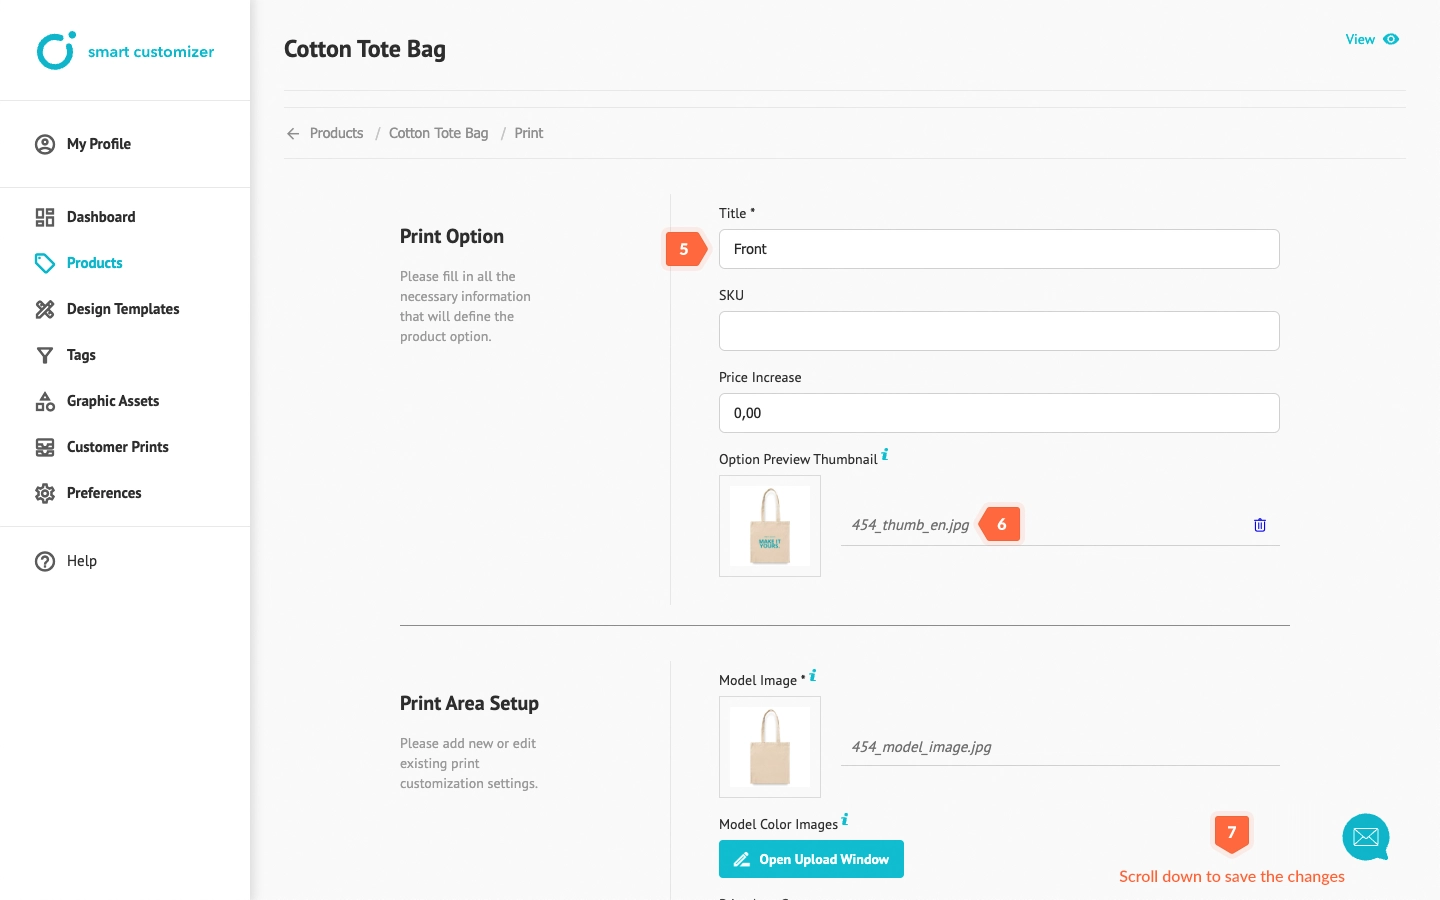
- In Print Option > Title make sure to provide a clear name for the print, such as a number, print side identifier, or another label. This title will be displayed alongside the thumbnail.
- Under Option Preview Thumbnail, a thumbnail image is automatically generated from your product image. You can keep the default thumbnail or upload a new one.
- Scroll down and Save the changes.
- Return to your Product editing page and repeat these steps for the other individual print area settings.
 NOTE: The print area sets do not include these settings.
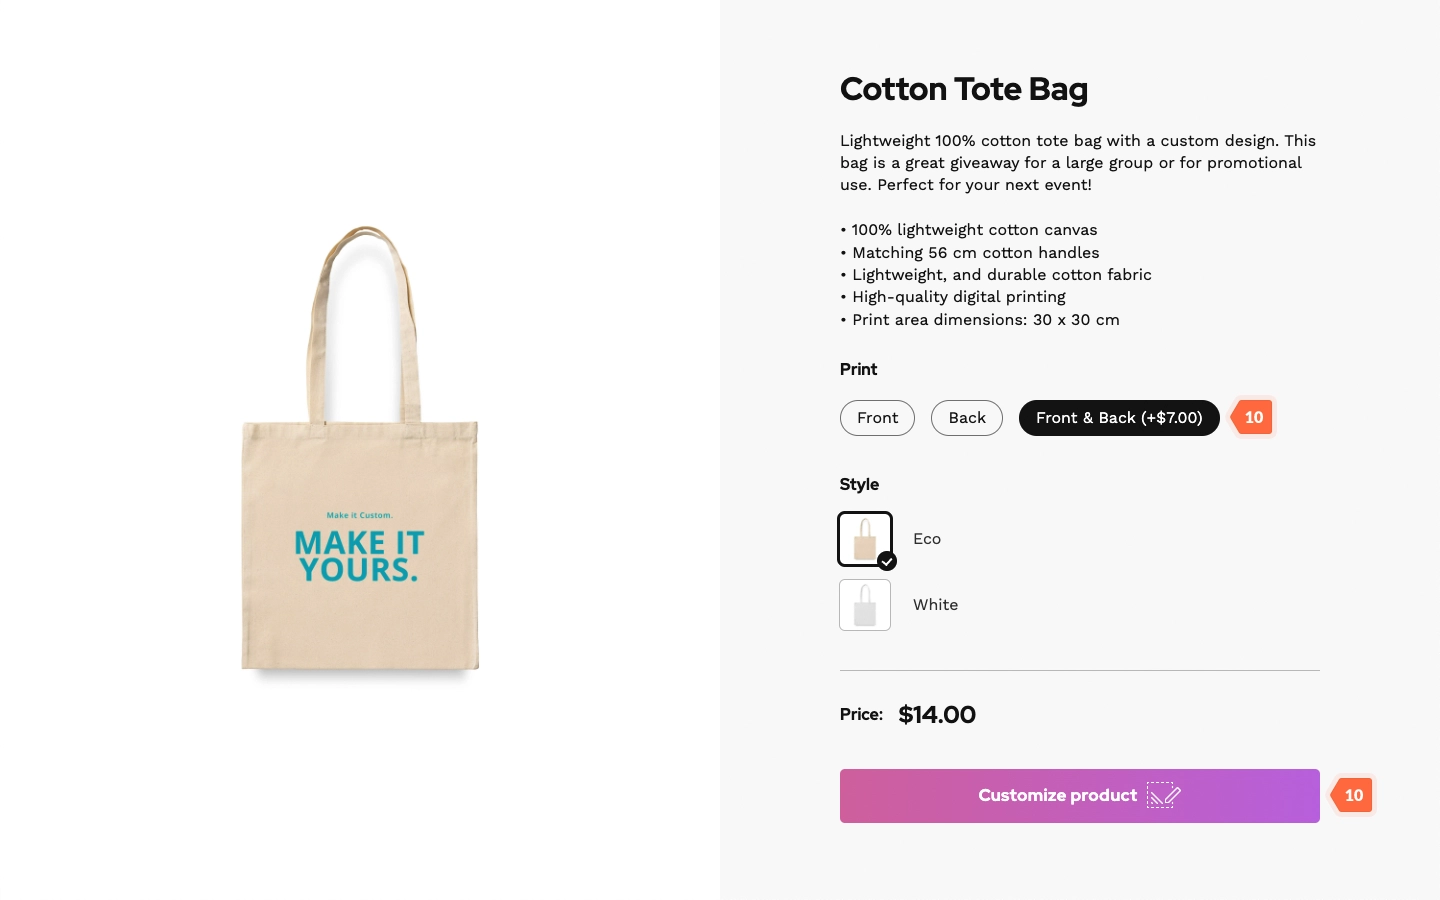
 - To see the controls, click View to open the product page.
- Select your Print set and click Customize product button.
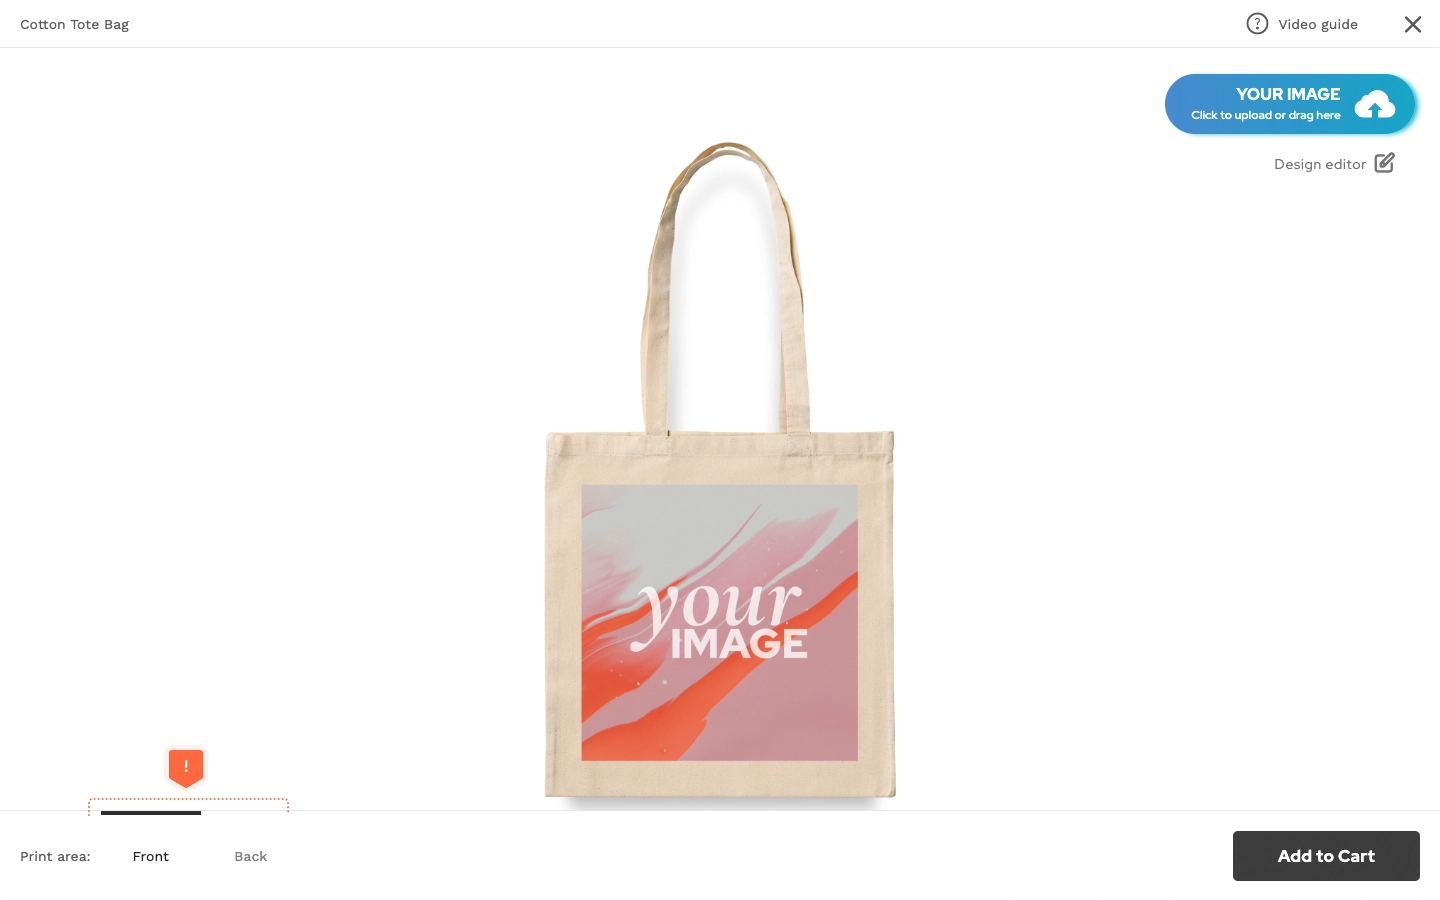
The print area switchers are located in the bottom-left corner. When you hover over a switcher thumbnail, the print area’s title will be displayed as well.
If you select the Text control type instead, only the print area titles will be displayed.
