Importing an Imprint layer
This article refers to Smart Customizer Web to Print App Version 2.0Explore the Version 1.0 article here
What is an imprint layer
The imprint layer (or simply "imprint") is a technical design layer primarily used for non-editable elements such as company logos, slogans, barcodes, and other graphics. While optional, adding an imprint layer can be valuable for maintaining consistent branding or including essential fixed printing details.
Technical requirements:
- The dimensions of the imprint layer must match the print area artwork dimensions set in the Smart Customizer app.
- Once uploaded, the imprint layer cannot be edited. Ensure the artboard dimensions and details are accurate before uploading your file.
- Only PDF files are accepted for the imprint layer. Note: PDFs exported from Canva are not supported.
- The imprint layer will be visible in both the design editor and the product preview.
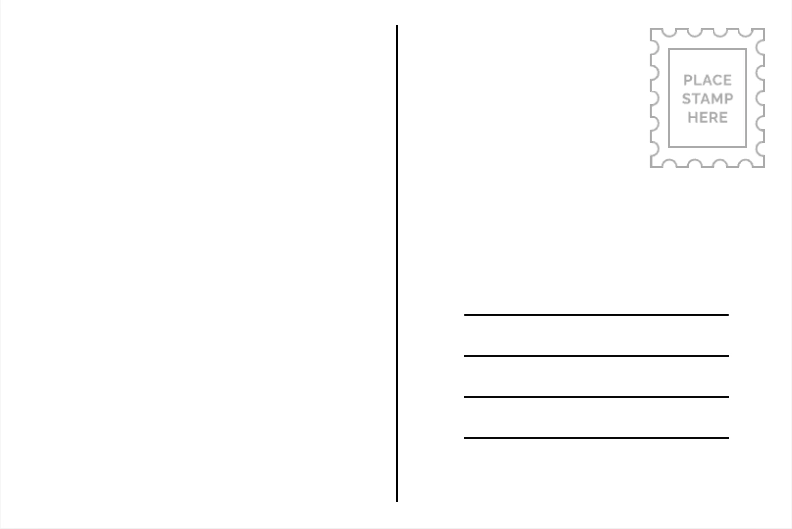
Imprint example used in the guide below:
Importing imprint layer
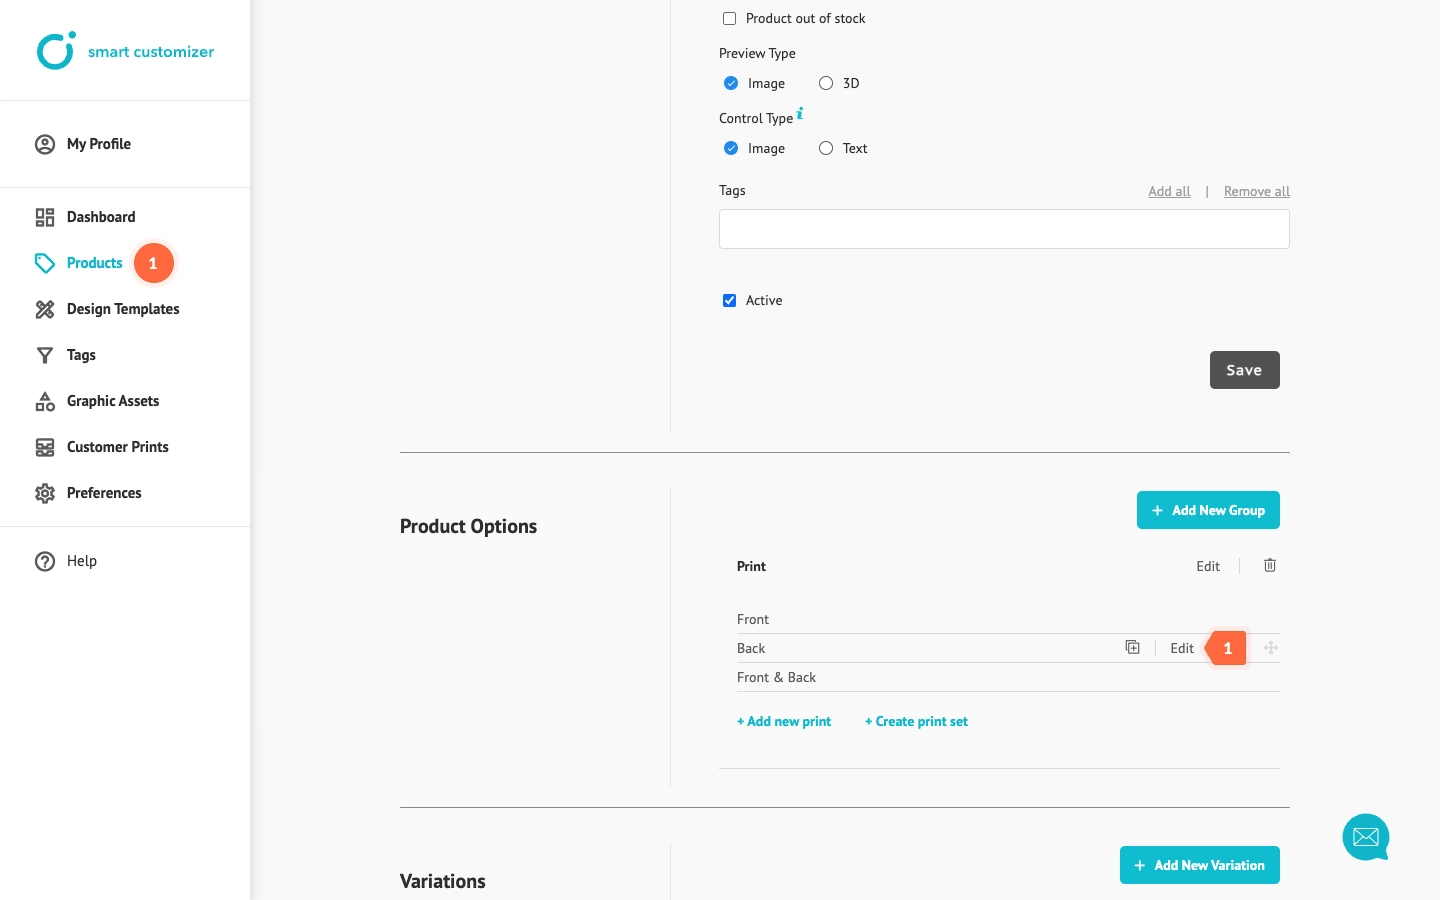
- Open your Product template, and in the Product Options section, click Edit on the print option where you want to add an imprint layer.
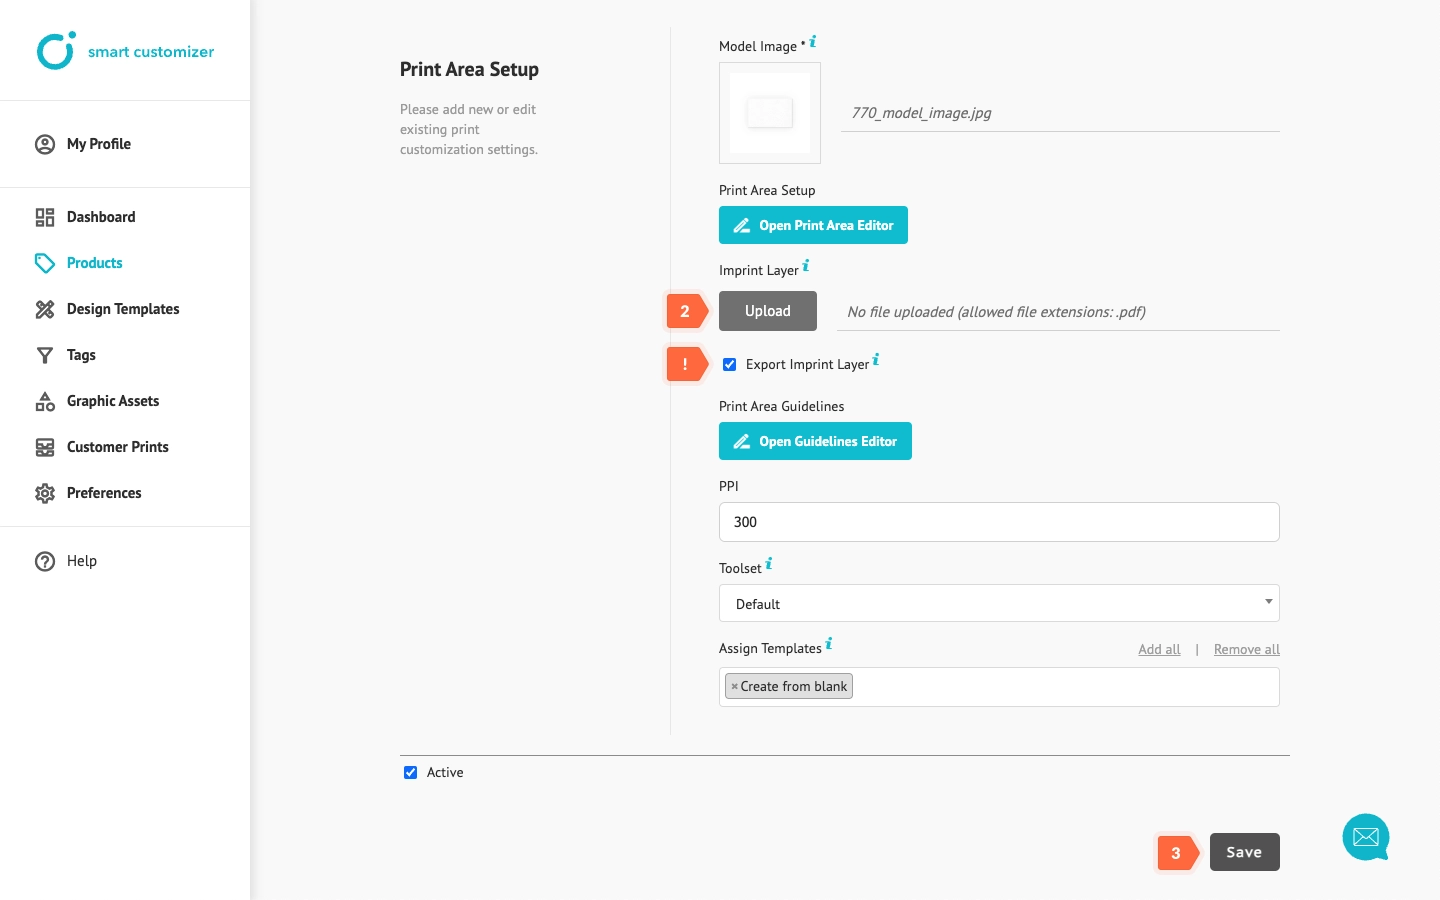
- In Print Area Setup > Imprint Layer field click the Upload button to add your file. To include the imprint layer in the print-ready file, check the Export Imprint Layer checkbox. If left unchecked, the imprint layer will only be visible in the editor and product preview, but not exported.
- Click Save.
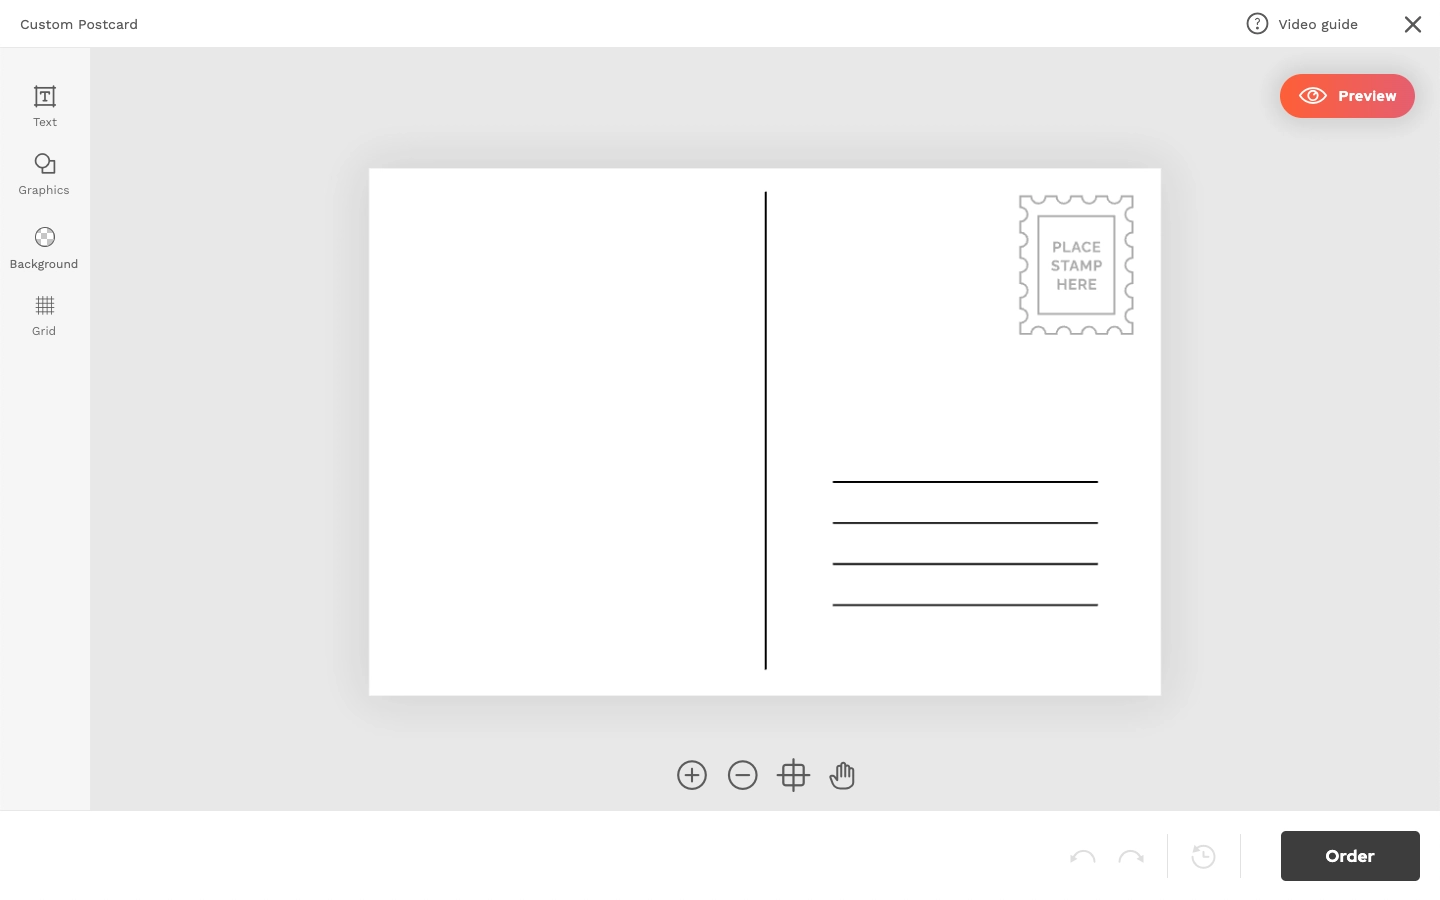
- Click View to preview and ensure the imprint looks correct.
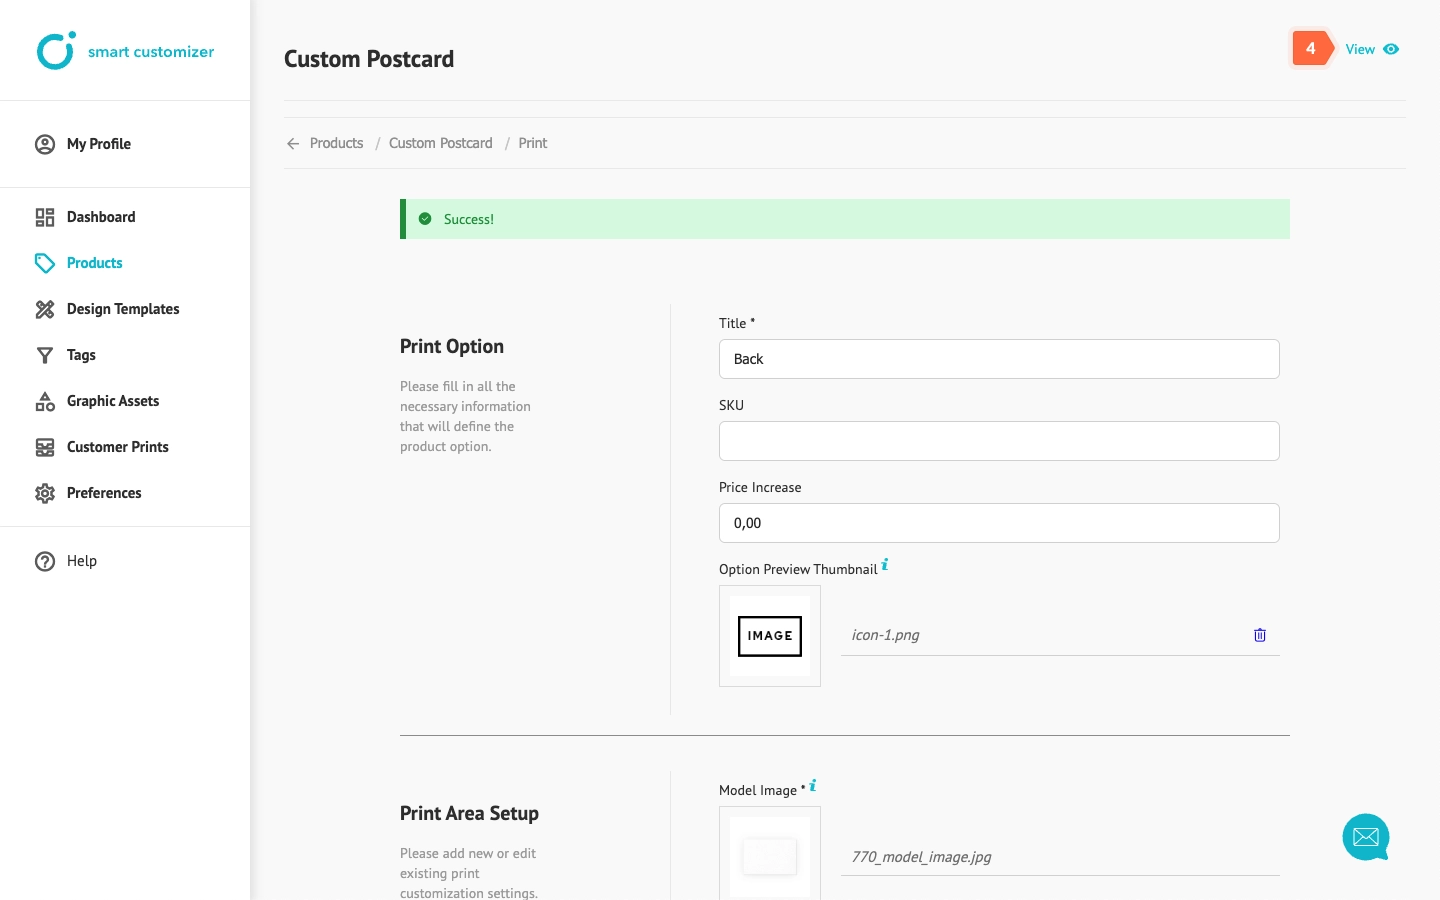
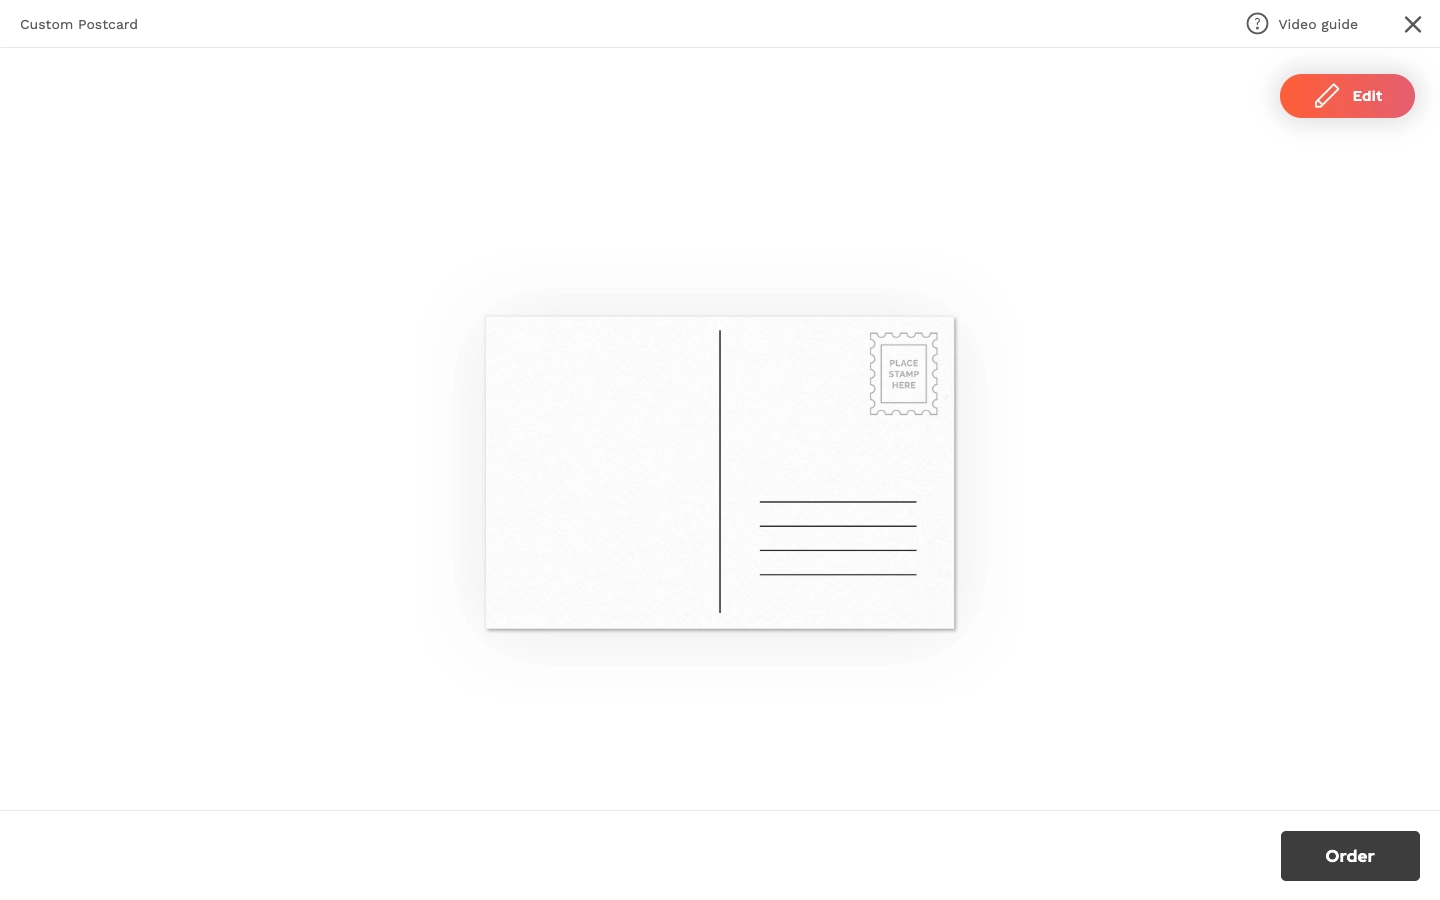
The preview:
