Importing an Imprint layer
This article refers to Smart Customizer Web to Print App Version 1 Explore the Version 2 (Stand Alone) article here
What is an imprint layer
Imprint layer or simply imprint is a technical layer and is mostly used for non-editable information like company's logos, slogans, barcodes, and similar details. The usage of the imprint layer is completely optional.
- Imprint layer dimensions have to match the print area artwork dimensions.
- It is not possible to edit imprint layer after upload so pay close attention to the artboard dimensions you are creating an imprint layer at. They are supposed to match the print area size which is set in the Smart Customizer app.
- Layer can be uploaded in .pdf file format only. Please note that PDFs exported from Canva are not supported.
- Imprint layer is visible in the design editor and product preview.
Importing imprint layer
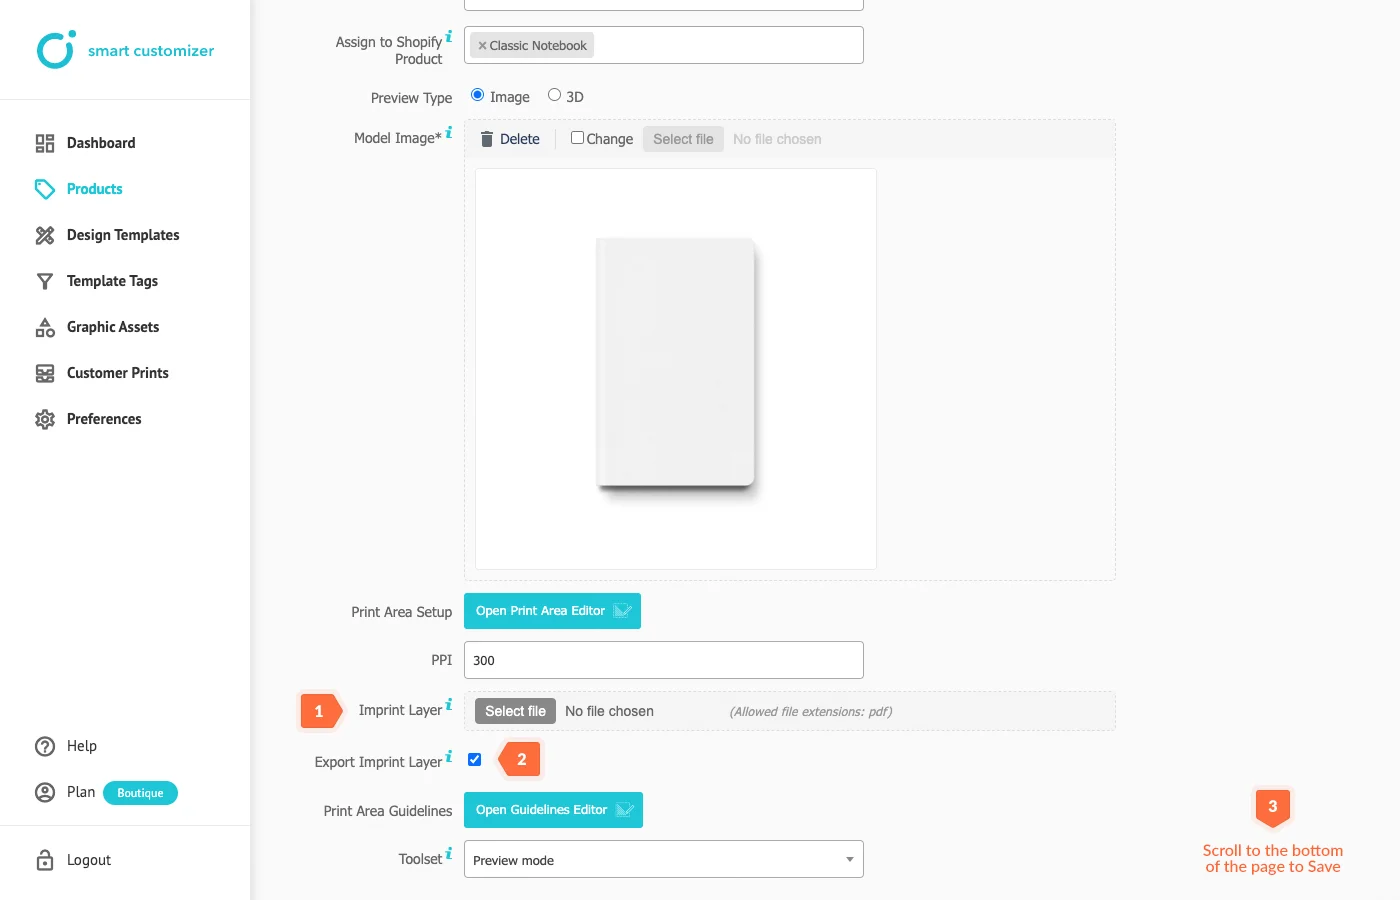
- Open product template. Click Select file in the Imprint layer field.
- Enable or disable Export Imprint Layer checkbox. Activated checkbox means that the imprint layer will be exported together with the print file. Either way, an Imprint layer is always visible for a customer.
- Once uploaded, scroll down to the bottom of the page and Save changes.

- Also, do not forget to test how it looks like in both design editor and product preview.
- Learn more about other product setup layers.

