Graphic Assets Tags
About tags
- Tags are used to organize graphic assets, making it easier to manage and find them in the graphic assets library.
- There are two types of tags:
- Simple Tags: Visible in the library for easier searching and filtering graphic assets.
- Collections: Not visible to customers; used for organizing assets in the admin.
- You can create tags based on factors like style, theme, size, topic, printing requirement and more.
- Specific tags and collections can be assigned to individual products.
- While not mandatory, tags are a valuable tool for organizing assets in a user-friendly and efficient way.
Adding new tags
- Go to Tags.
- Click Add New.

- Enter a tag Name and select Collection type. This tag will be used for internal organization and will not be visible to customers. Examples of collections include: Engraving, Mug-Only, Illustrations, Stickers and others.
- Click Save and return to save the changes.
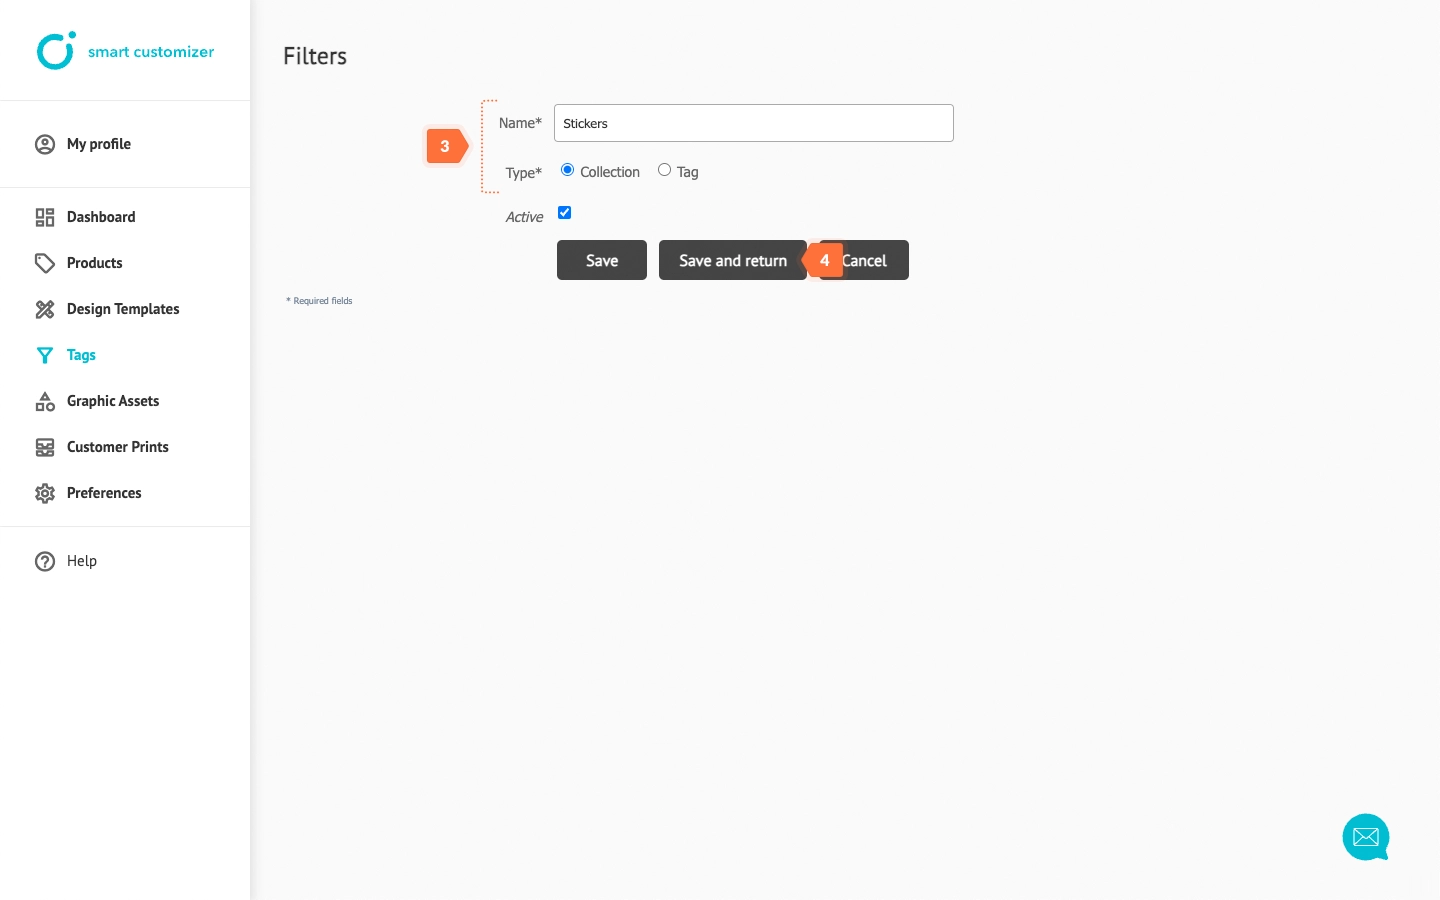
- Now, add another tag by clicking Add New again.
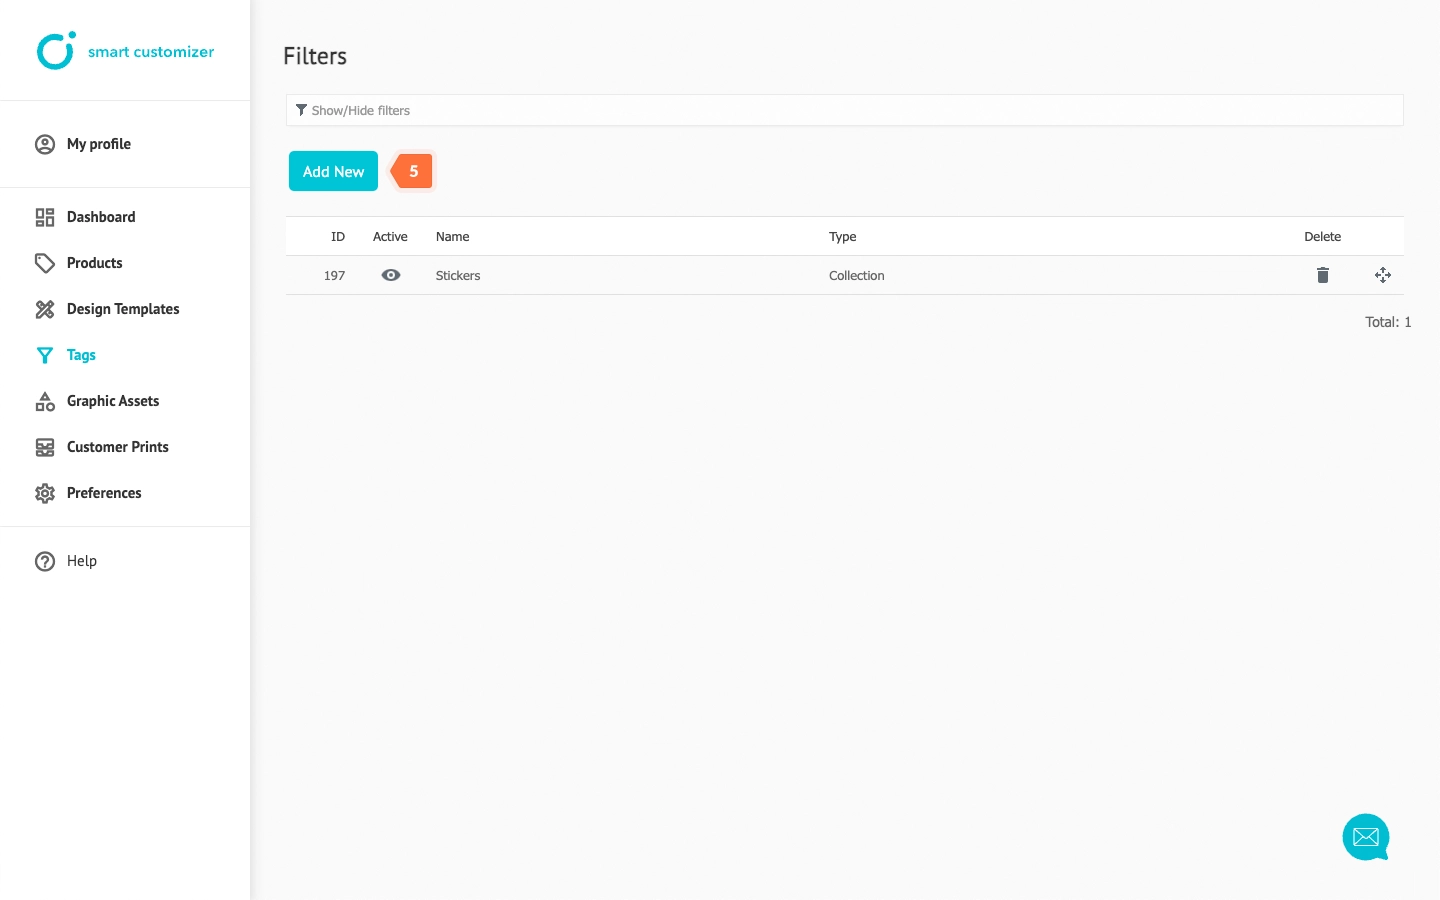
- Type the name and select Tag type. When assigned to graphic assets, this tag will be visible to customers in the Graphic Assets Library. It can indicate the style, type, theme, or other characteristics.
- Save your changes and repeat the process to add more tags.
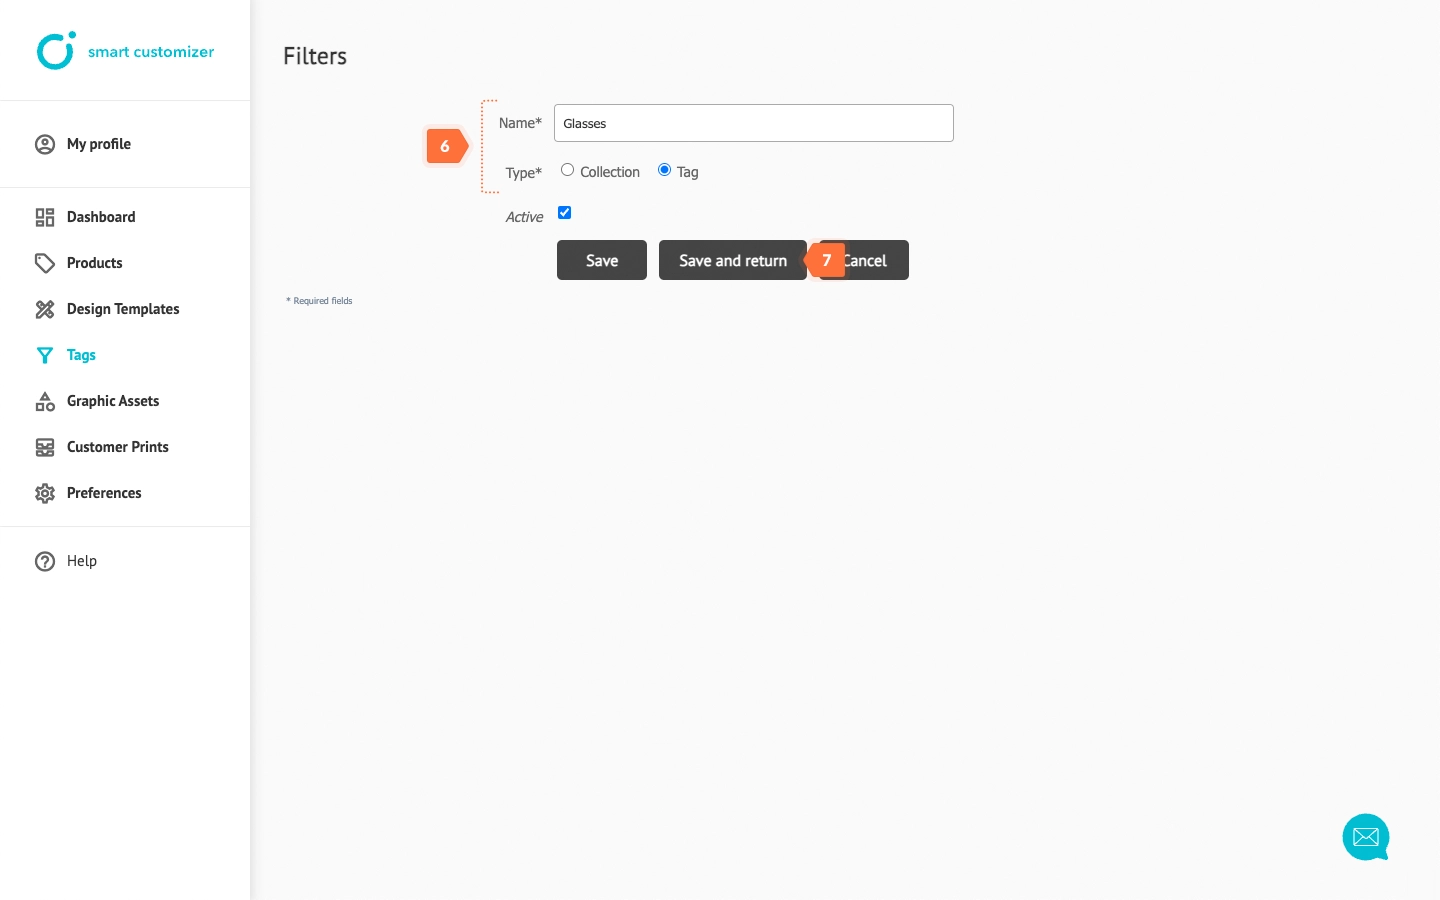
NOTE: The Collection tag is not mandatory, but it is useful for organizing and managing tags more easily.
Graphic assets tagging
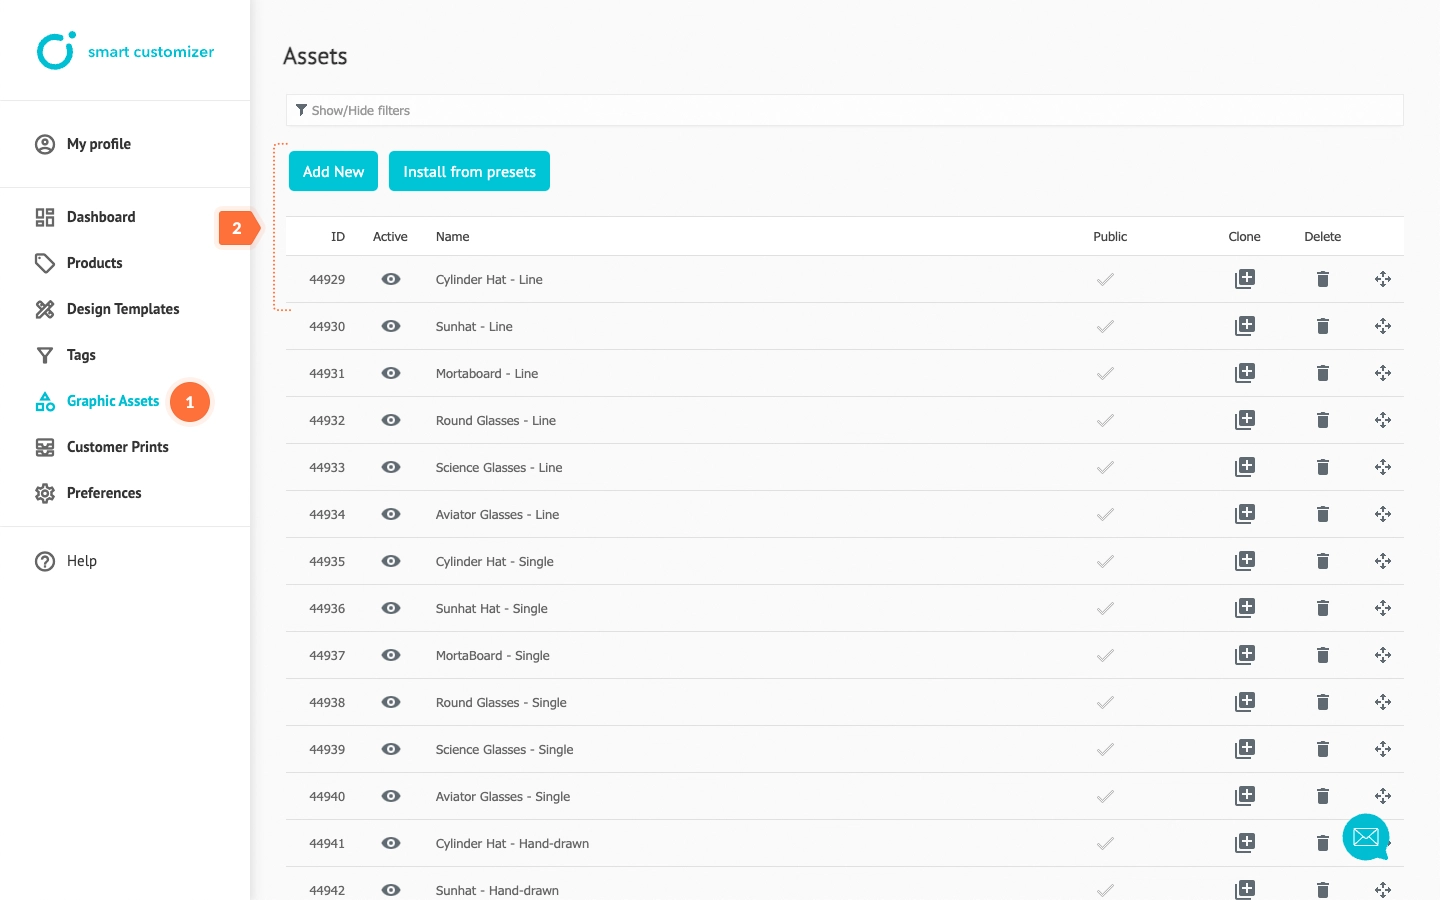
- Go to Graphic Assets.
- Add New asset or open an existing one.
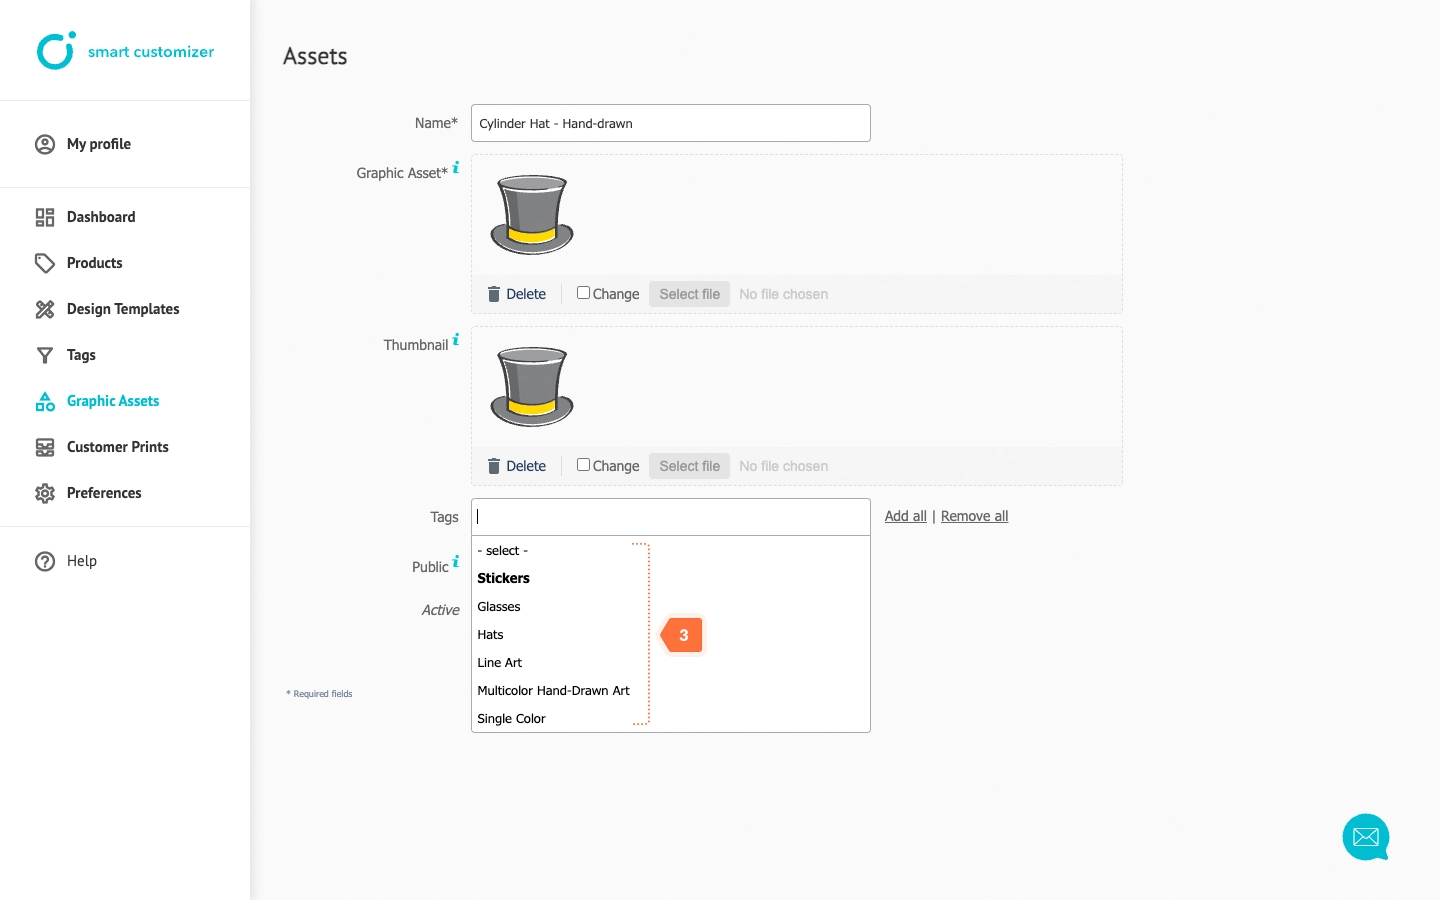
- Click on the Tags input field. You will see a list of tags: bolded titles are Collections used for internal organization, while the other titles are simple Tags that will be visible in the library. Select your preferred tags; a graphic asset can have multiple tags.
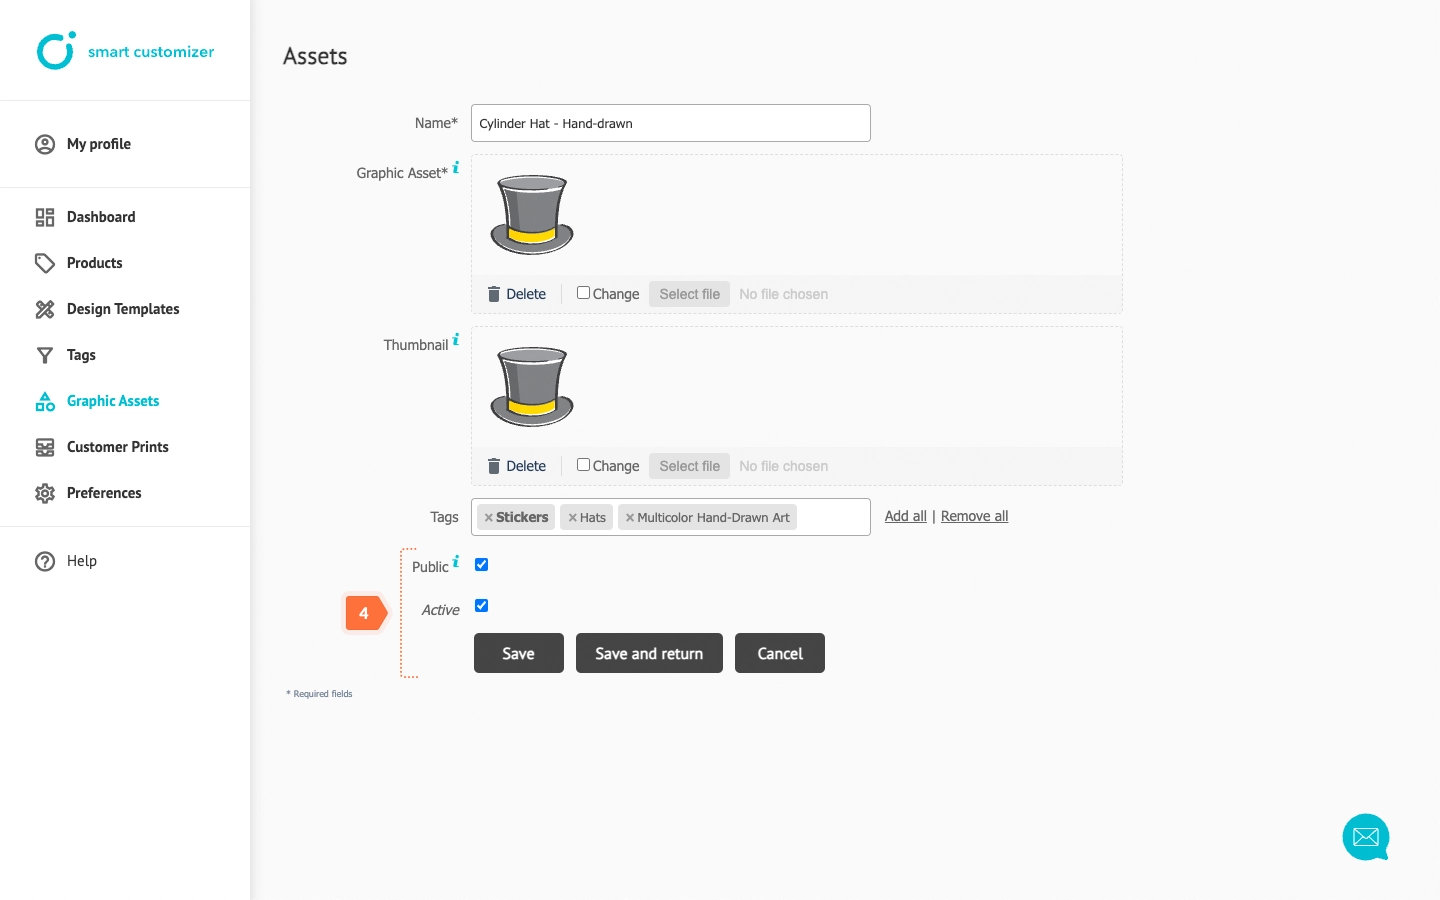
- Check that the asset is marked as Public and Active to ensure it will be visible to customers, then click Save. Repeat this process for all other assets.
Tags testing
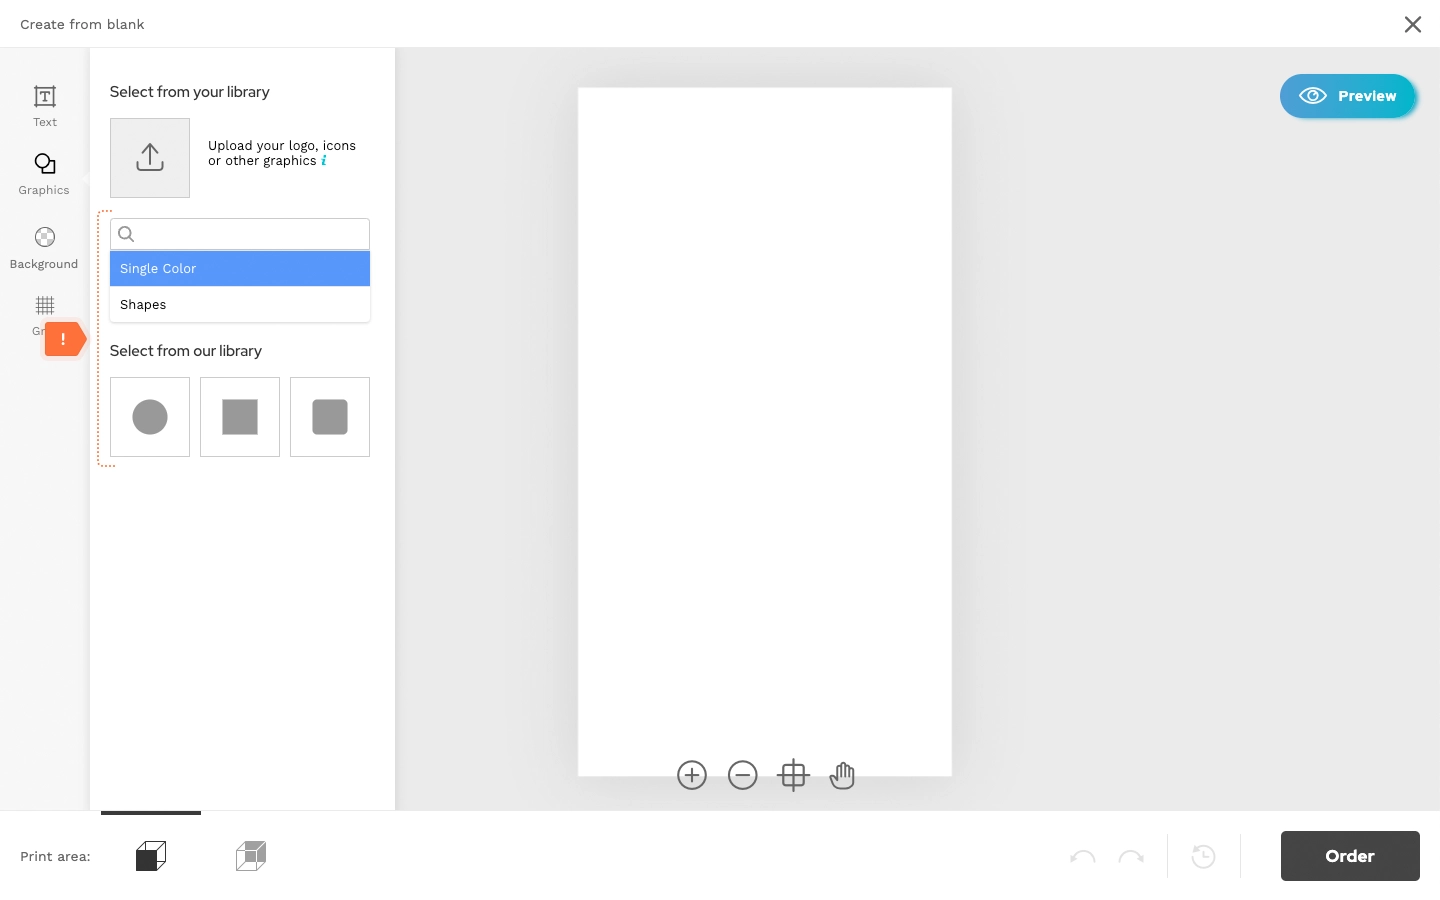
Open the editor to test. By default, clicking on Graphics will display all assets together in the library.
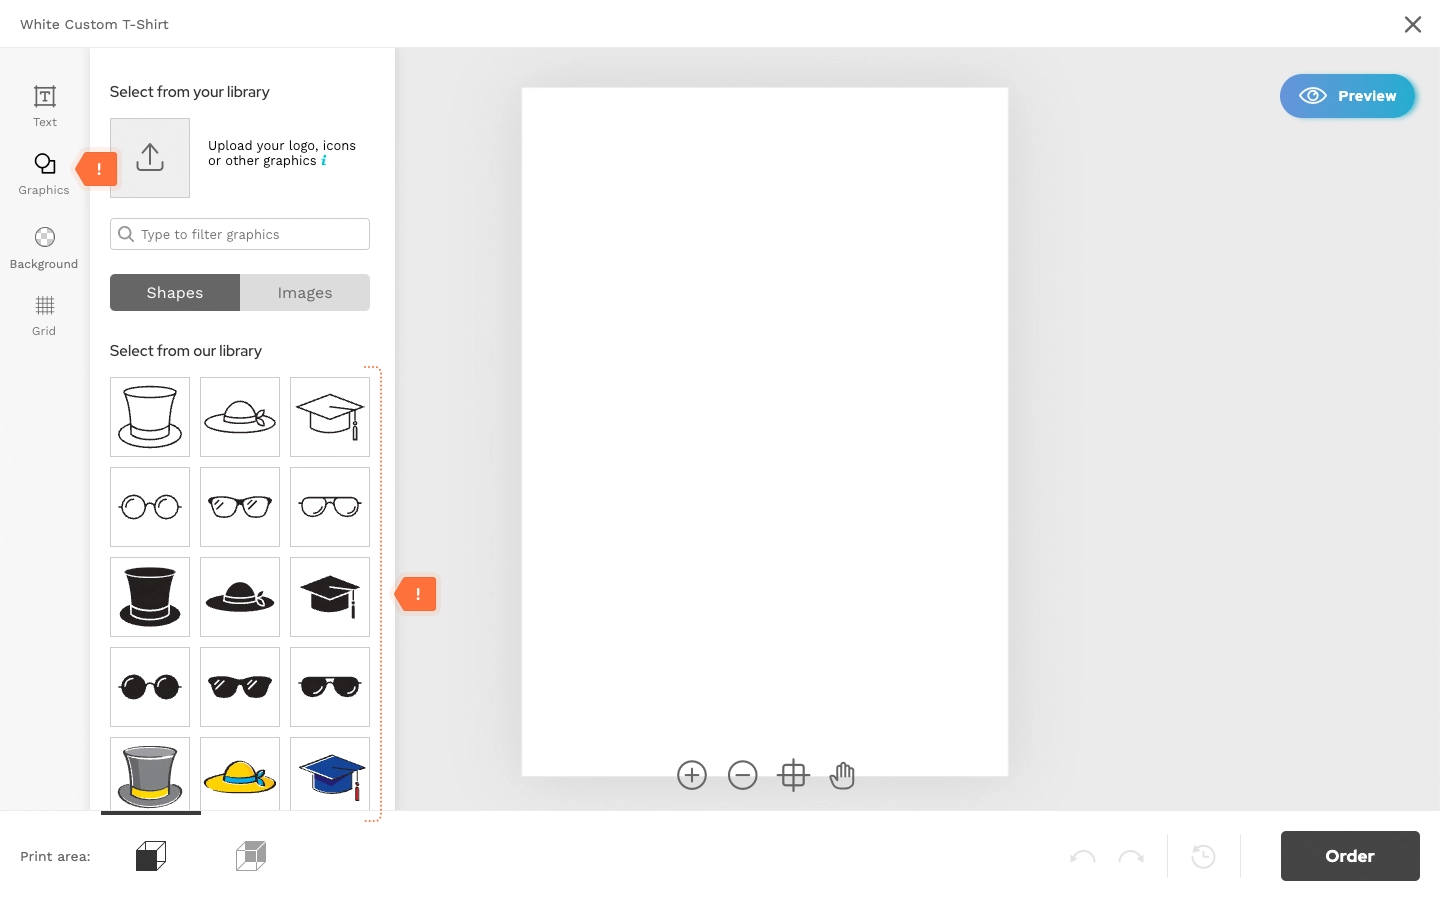 In this field, type a keyword or select a Tag to filter the assets:
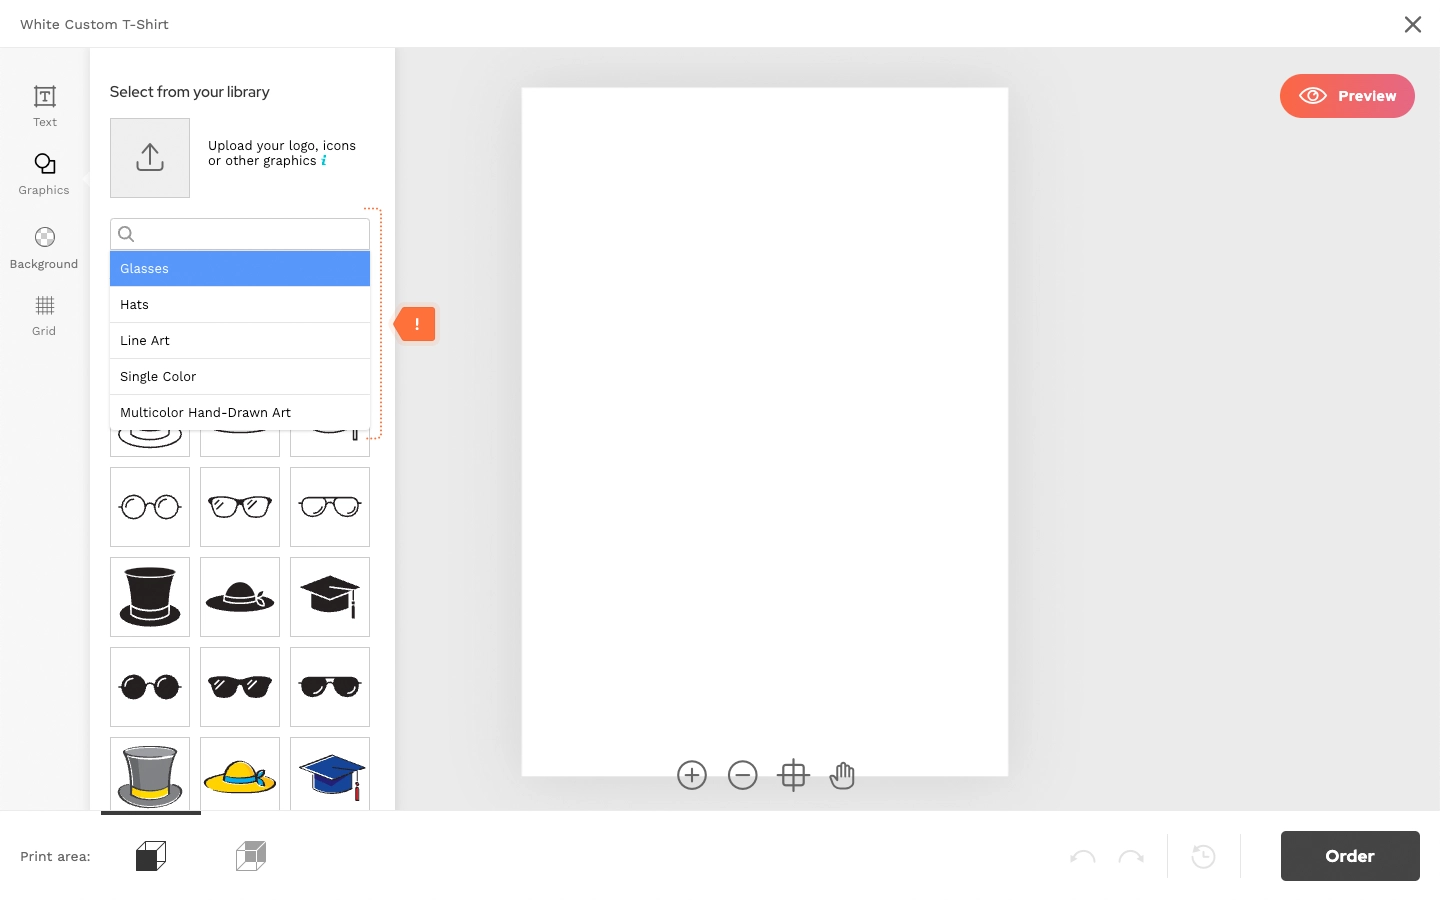 You can select one or Multiple Tags, delete it:
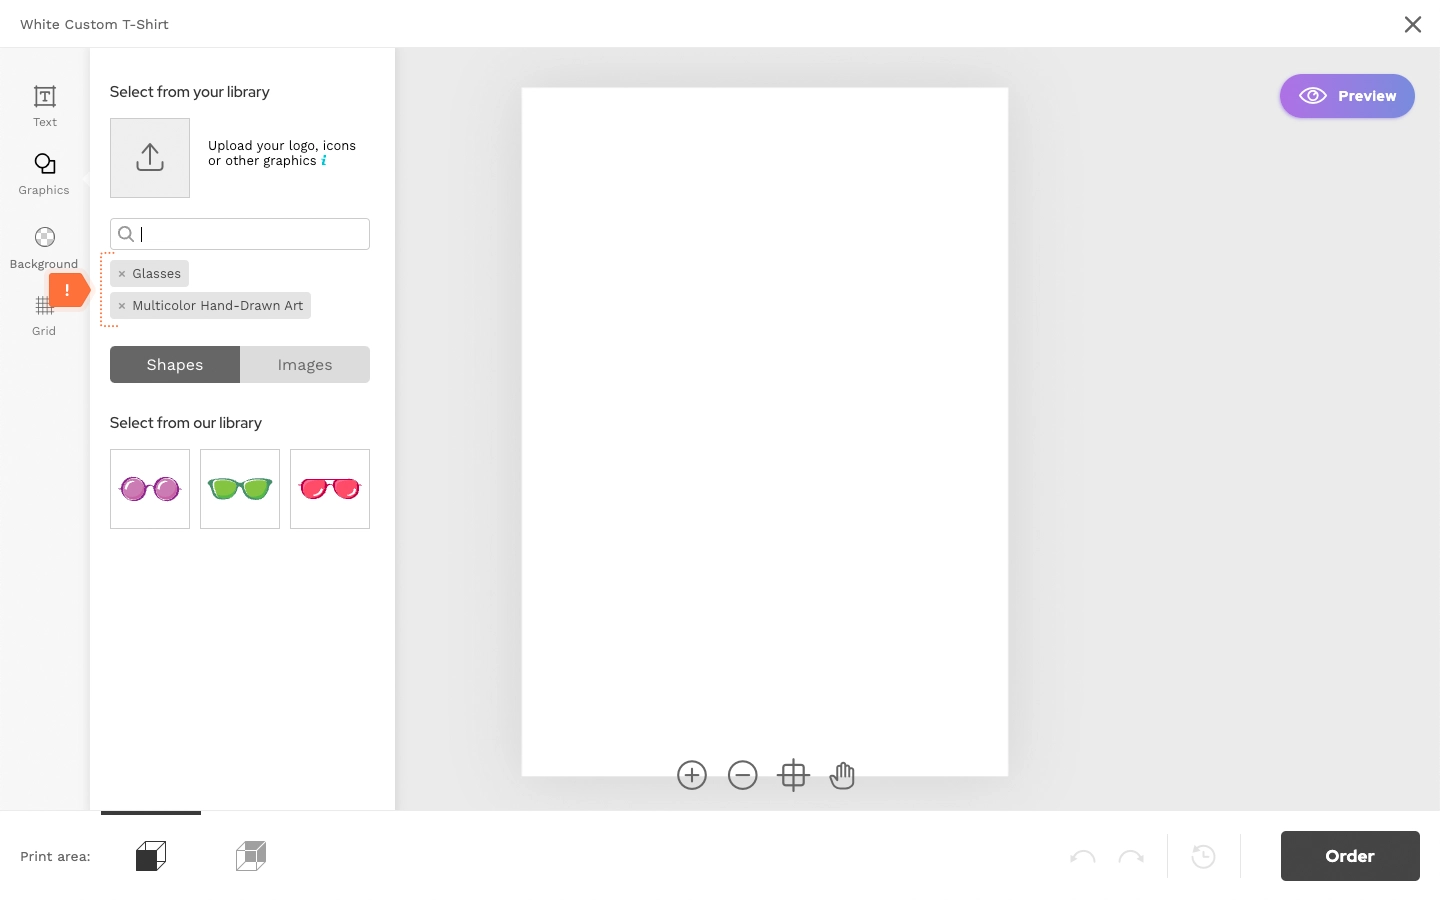
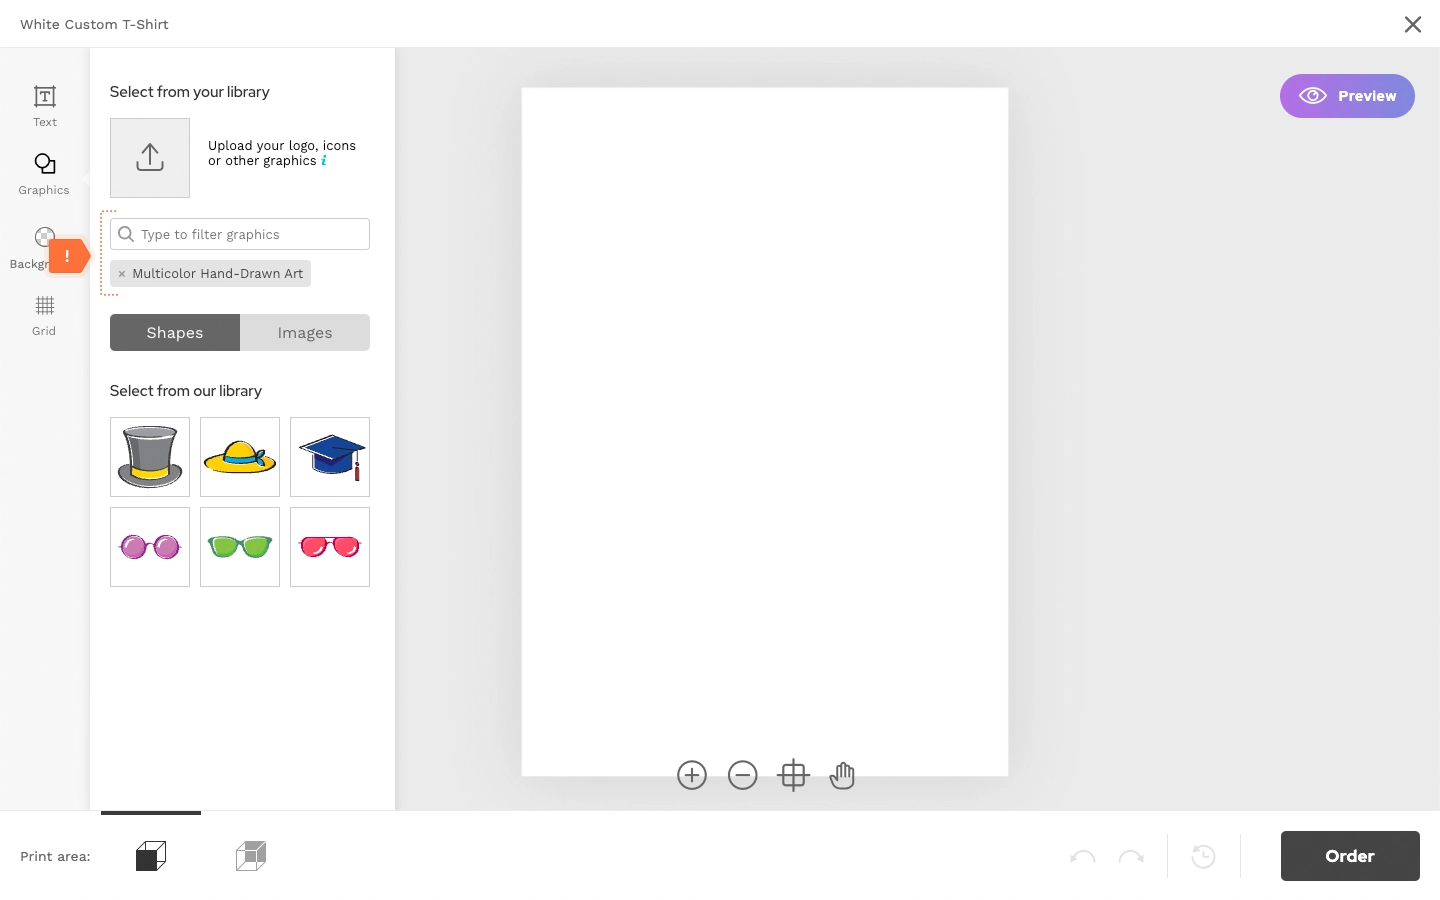 With Multiple Tags applied, only graphic assets that have all selected tags assigned will be displayed.
Assigning tags to products
If you want to assign specific graphic assets to certain products, follow these steps:
- Go to your Product.
- Scroll down to the bottom and select your preferred Collections or Tags. When a Collections is selected, the tags assigned with that collection together will be displayed in the library.
- Save your changes.
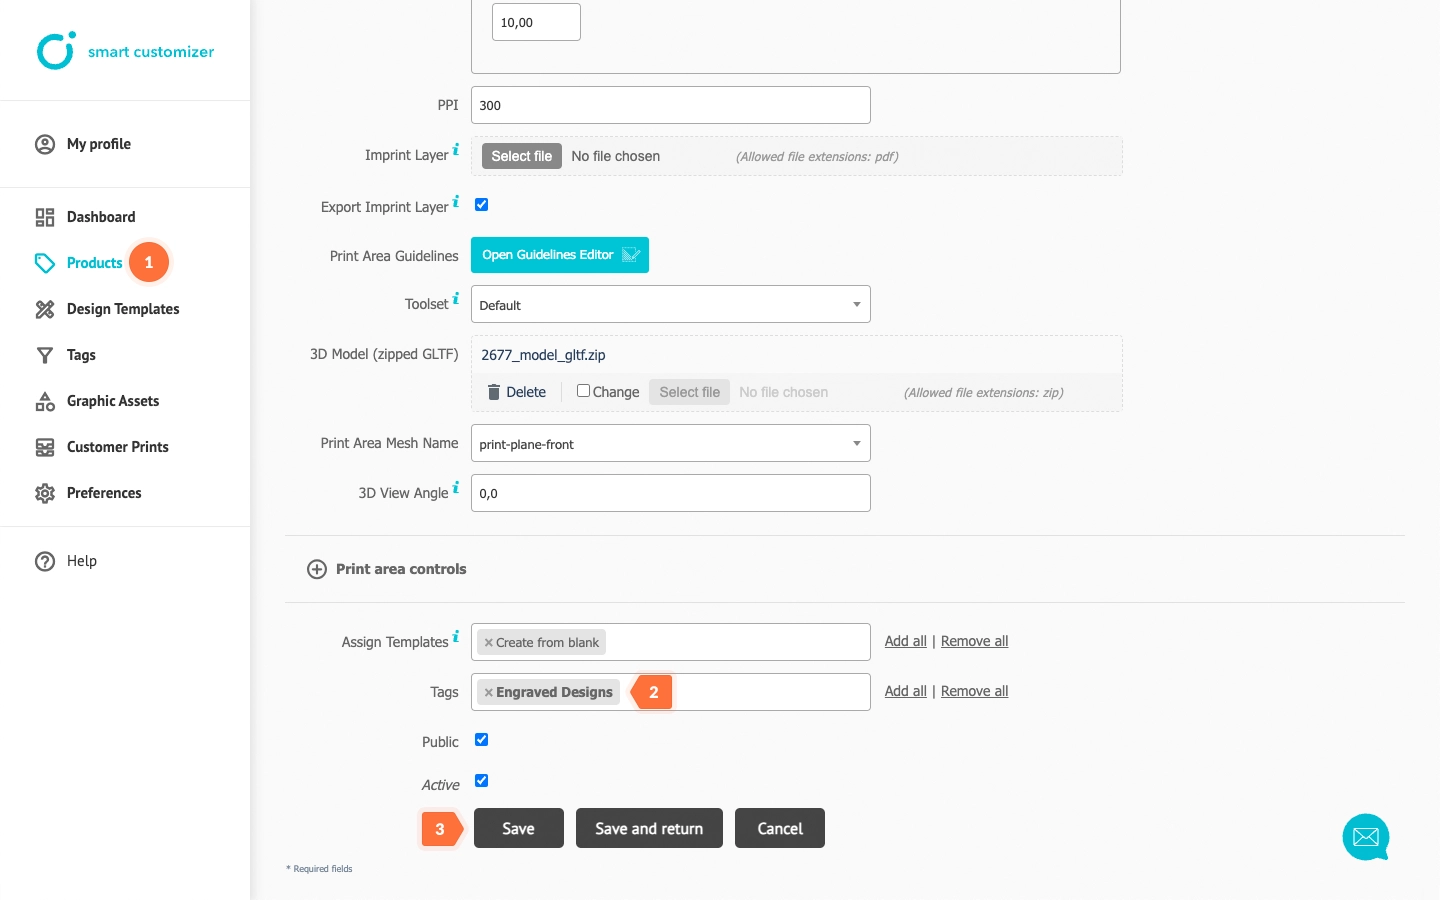
In the editor, you will see only the Tags that were assigned together with the "Engraved Designs" Collection, which include "Single Color" and "Shapes." All other assets will not be displayed.
Important: This knowledge base is created using the Standalone SC version, so some interface elements may differ from Shopify version.
