General preferences
This article refers to Smart Customizer Web to Print App Version 2.0Explore the Version 1.0 article here
About preferences
- There are some basic preferences that come along with Smart Customizer app instalation and all of them can be managed by shop owners individually as many times as needed.
- Differently from toolsets, preference settings are applied for all products in the app meaning that there can be only one set of preferences.
Units
- It is possible to work with metric or imperial unit system in our app.
- Metric system is set as a default.
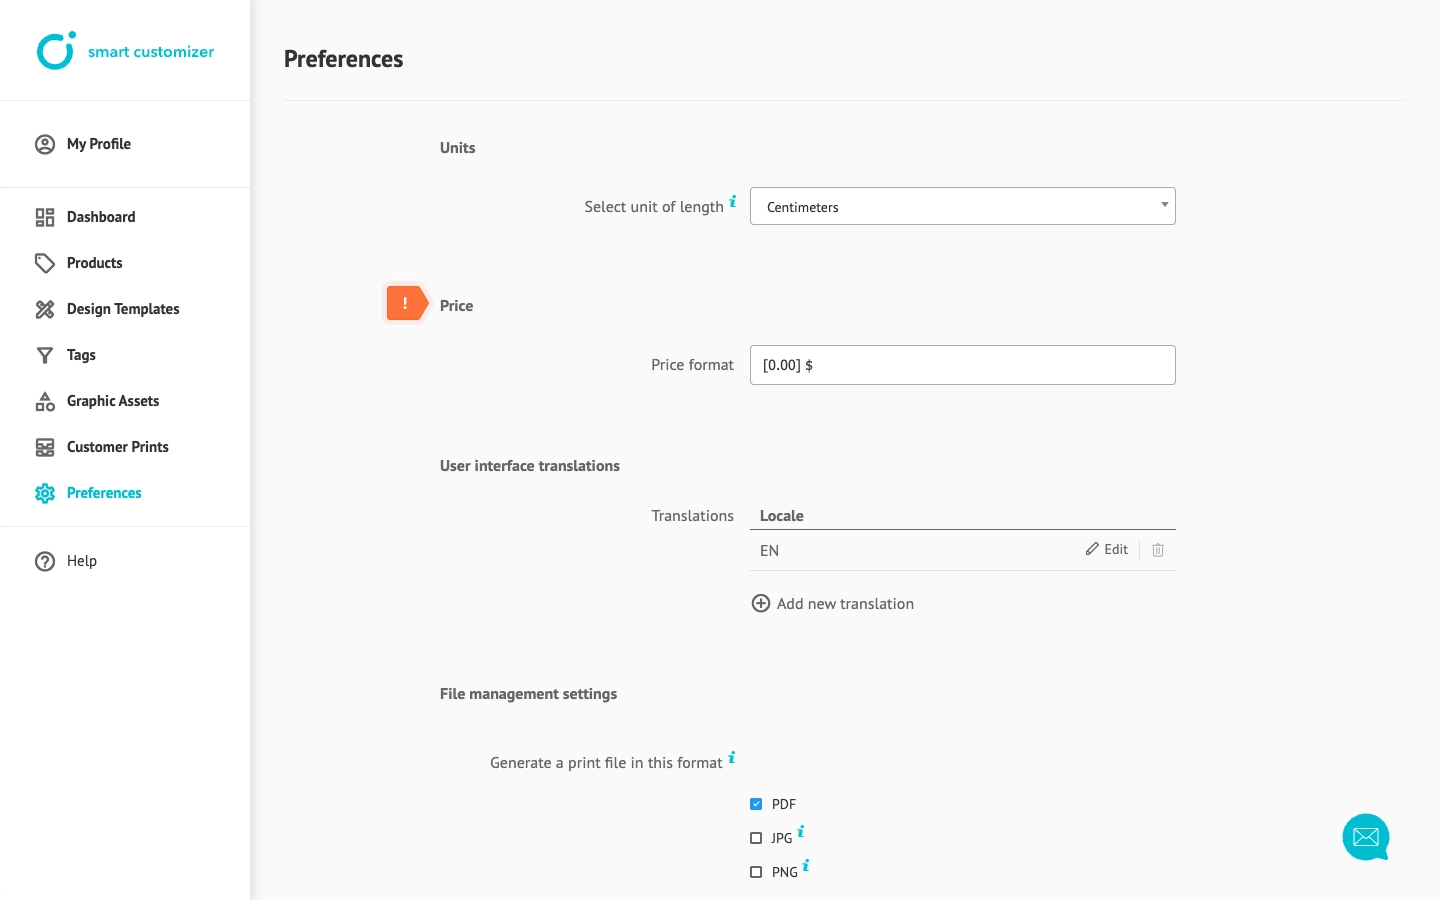
- If you already made a setup for your product with metric values (cm) and then changed the unit system to imperial with (inches) the values should be automatically recalculated. As an example 10 cm will be converted to 3.9 inch.
- To change cm to inches choose Units > Select unit length. Choose Centimeters or Inches.

- Do not forget to check if everything got converted correctly once the new unit length was saved.
Price format
- Standalone users can customize the price format by selecting the currency symbol, its placement, and the number of decimal places.
- To learn how to change the currency, refer to the Pricing settings knowledge base.
User interface translations
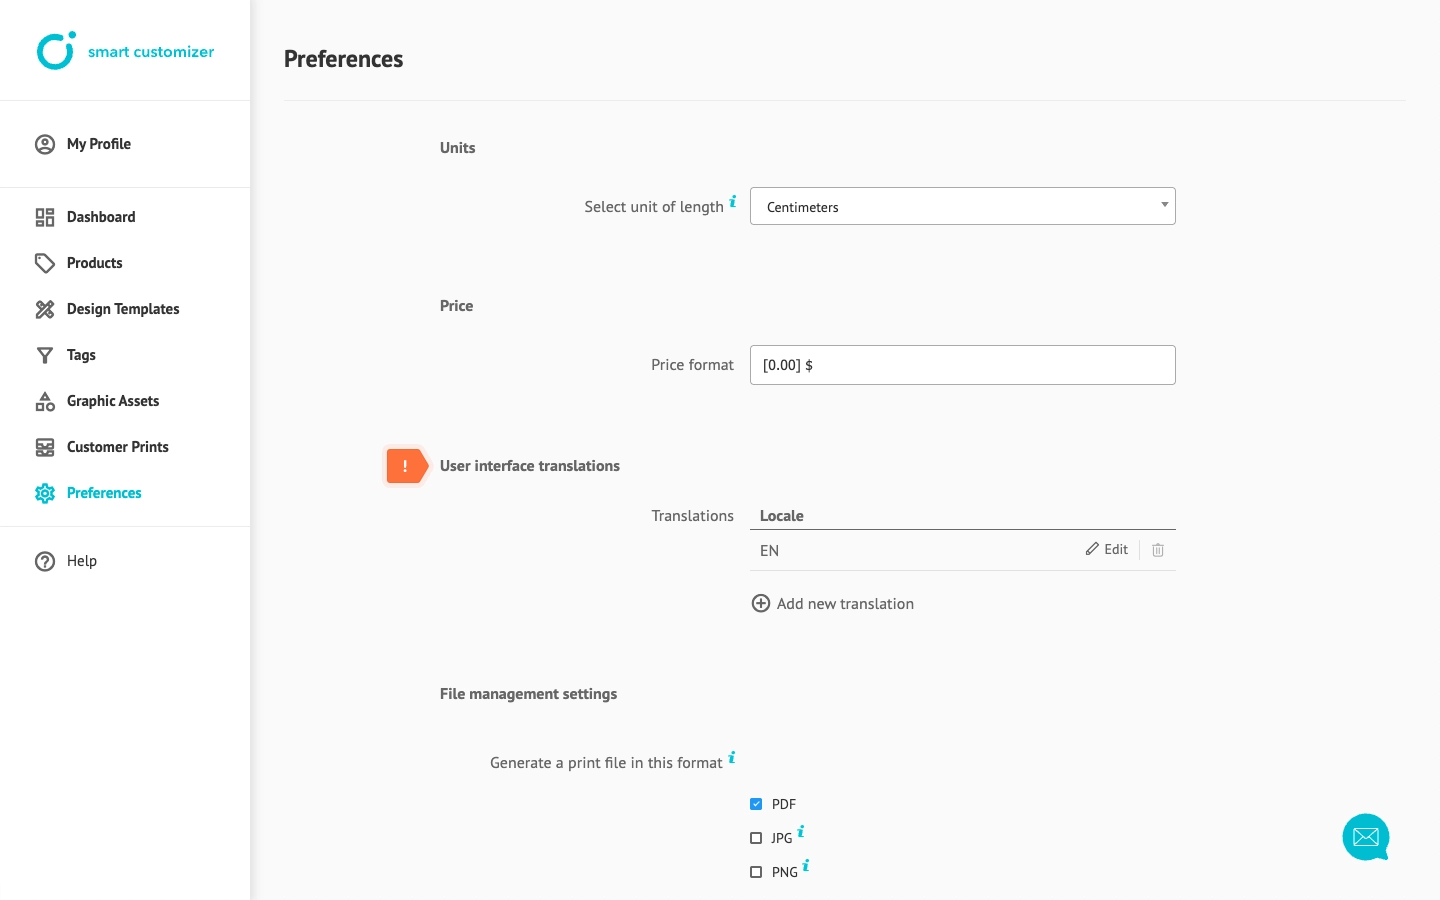
- If your online store is in a language other than English you can translate the Smart Customizer interface texts into your preferred language.
- You can add more than one language code (locale) as our app supports multiple languages.
- Translation can also be used to customize titles and other texts based on the shop's preferences.
- Follow our step-by-step guide for detailed instructions.
File management settings
- All shop owners in our app can choose a custom file format of print-ready files. It is possible to choose from PDF, JPG, PDF and SVG file formats.
- You can also activate a Preview image to be exported with the final print file. Preview image helps to understand how the design of your customer looked like on your product in a preview.
- Shopify users have the additional option to enable customers to download a print file after completing their payment. This feature integration requires development efforts from both parties. For more details, please contact us.

Video guide pop-up
- It is possible to use a video guide pop-up in order to help customers understand better how to use design editor tools during the product customization process.
- A default Smart Customizer pop-up appears in the design template's list as well as in the design editor for first-time visitors.
- A pop-up can be called out anytime manually by clicking on the video guide icon.
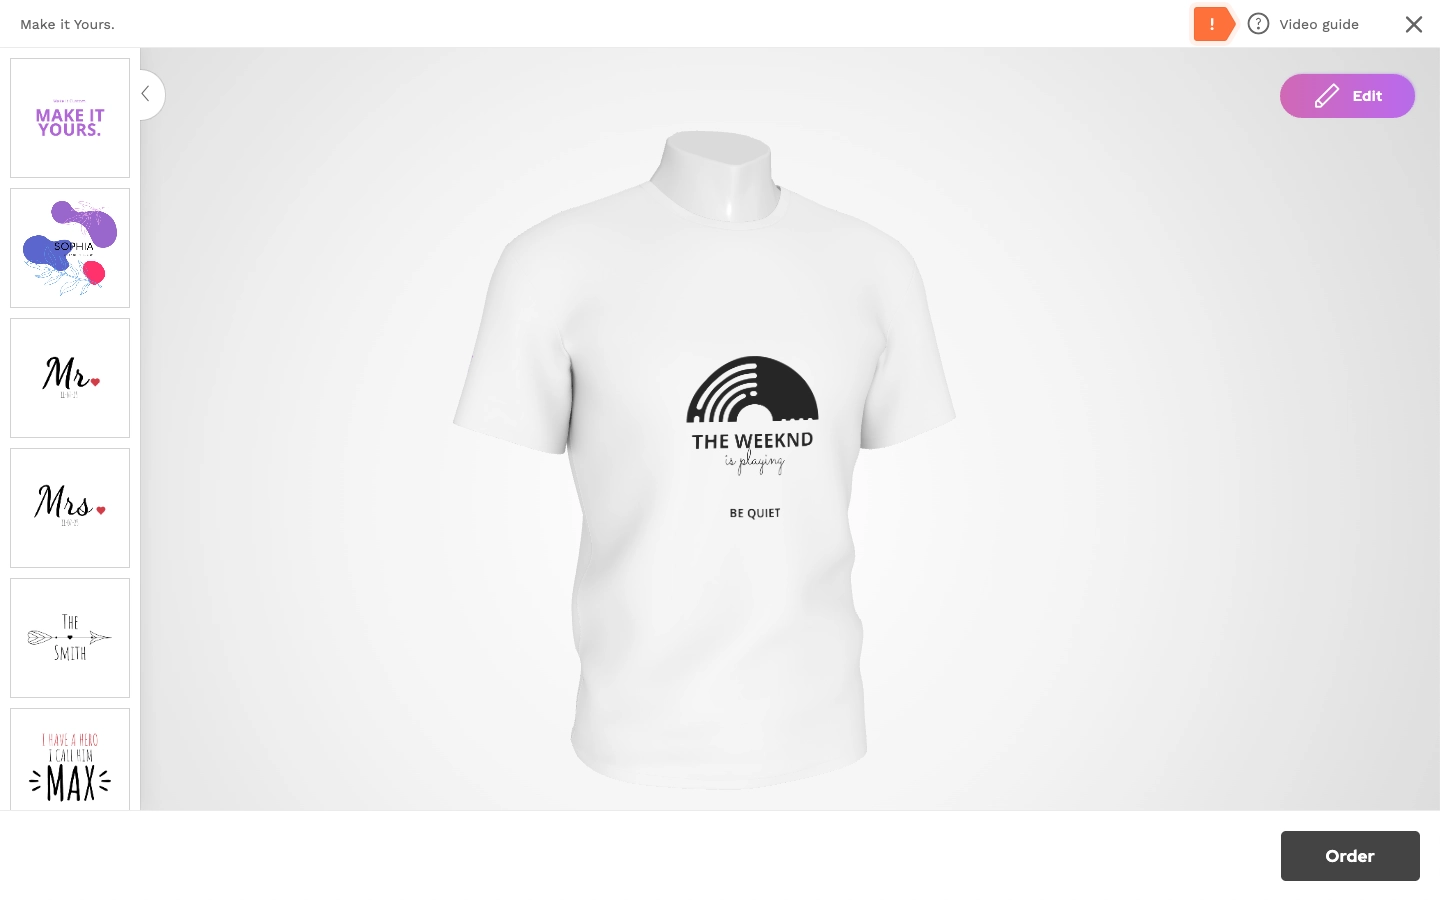
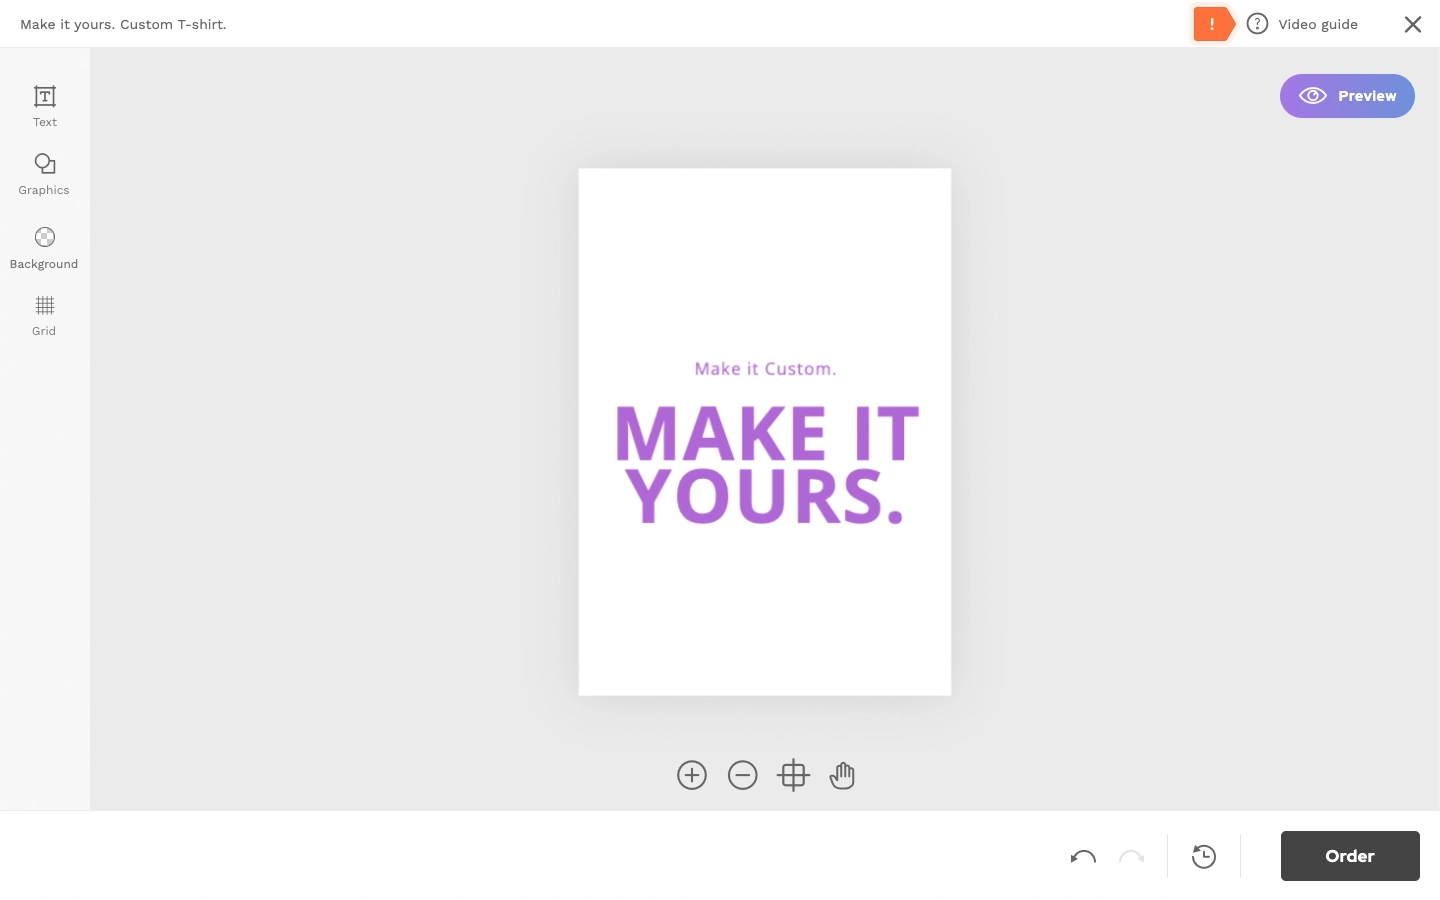

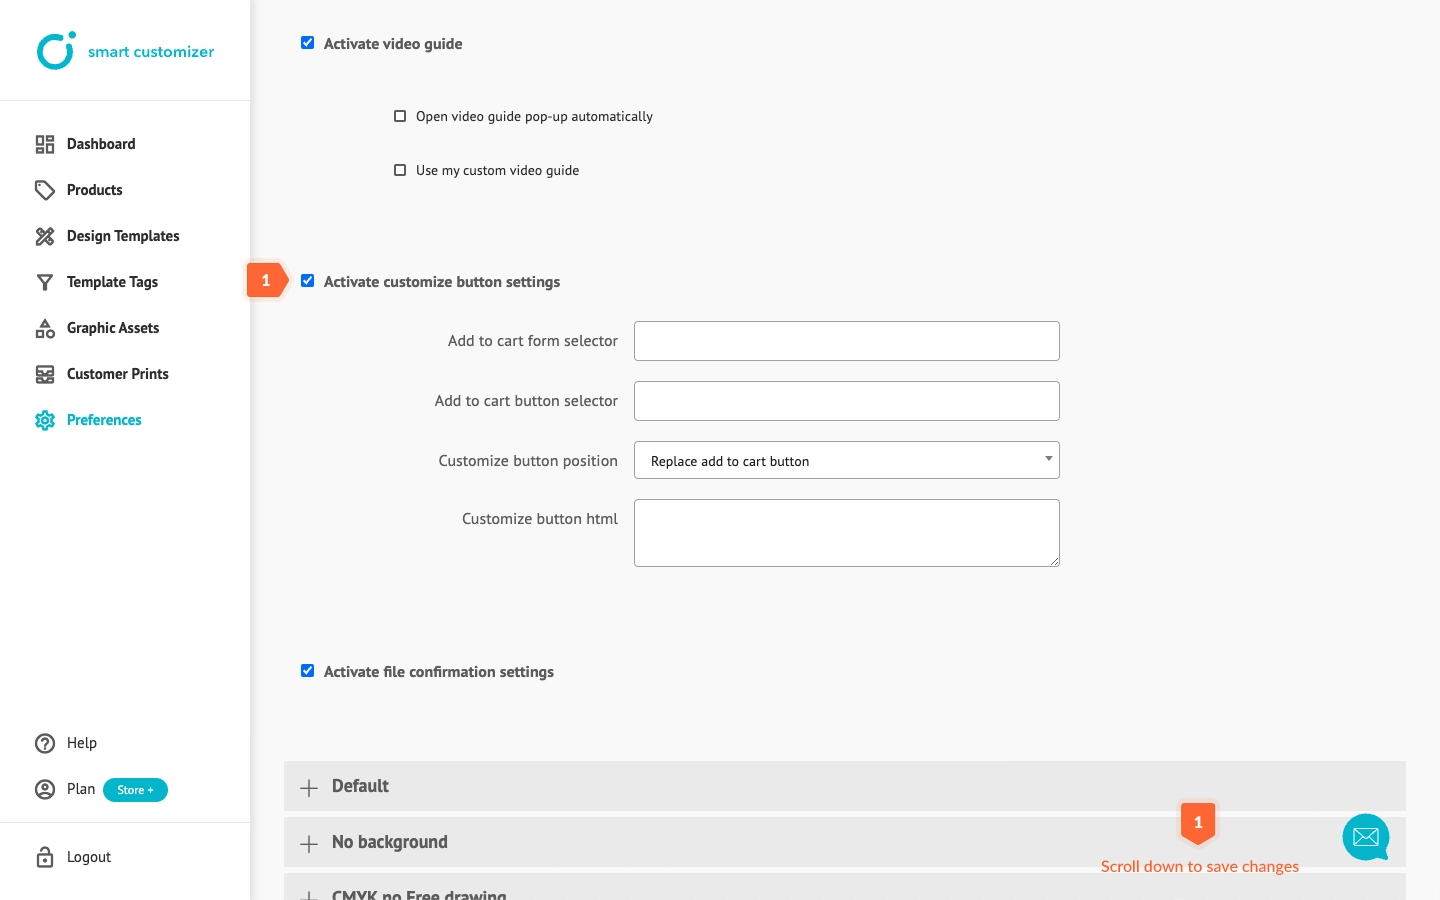
- If you want to enable an automatical pop-up visability make sure Open video guide pop-up automatically checkbox is enabled.
- Change the default pop-up with our own one simply by enabling Use my custom video guide checkbox and pasting in the video URL.

Customize button settings
The wording, style, position in the page, and more of the customize button can be changed through the customize button settings.
- If you want to change the position of the button click on the Customize button position dropdown and choose the correct option.
- Paste in HTLM code with custom style settings in the Customize button html input.

- If the customize button does not appear in the product page please check the customize button troubleshooting manual.
File confirmation pop-up
- Ensure that a print file is prepared according to your highest print standards and make the customers aware of their responsibility to check the design information prior to checkout.
- The pop-up appears once the customers click on Add to cart button.
- You can always disable file confirmation pop-up if it is not needed.

- To enable or disable Confirmation box click on Activate file confirmation settings and scroll down to Save the changes.
- To modify the default Confirmation box text, navigate to User interface translations and click Edit.

- Locate the "modal_file_confirmation_checkbox" and "modal_file_confirmation_description" parts and update the values with your desired text.
- Save the changes.

