Default Product View Interface Modes
This article refers to Smart Customizer Web to Print App Version 1 Explore the Version 2 (Stand Alone) article here
About Interface Modes
Clicking on the "Customize Product" button opens the default product view. You can choose from three interface options for displaying product and design templates:
- Edit Mode
- Preview Mode
- Quick Mode
You can set different modes for various products based on your specific needs.
Edit Mode
In Edit Mode, the interface behaves differently depending on the number of design templates assigned to a product:
-
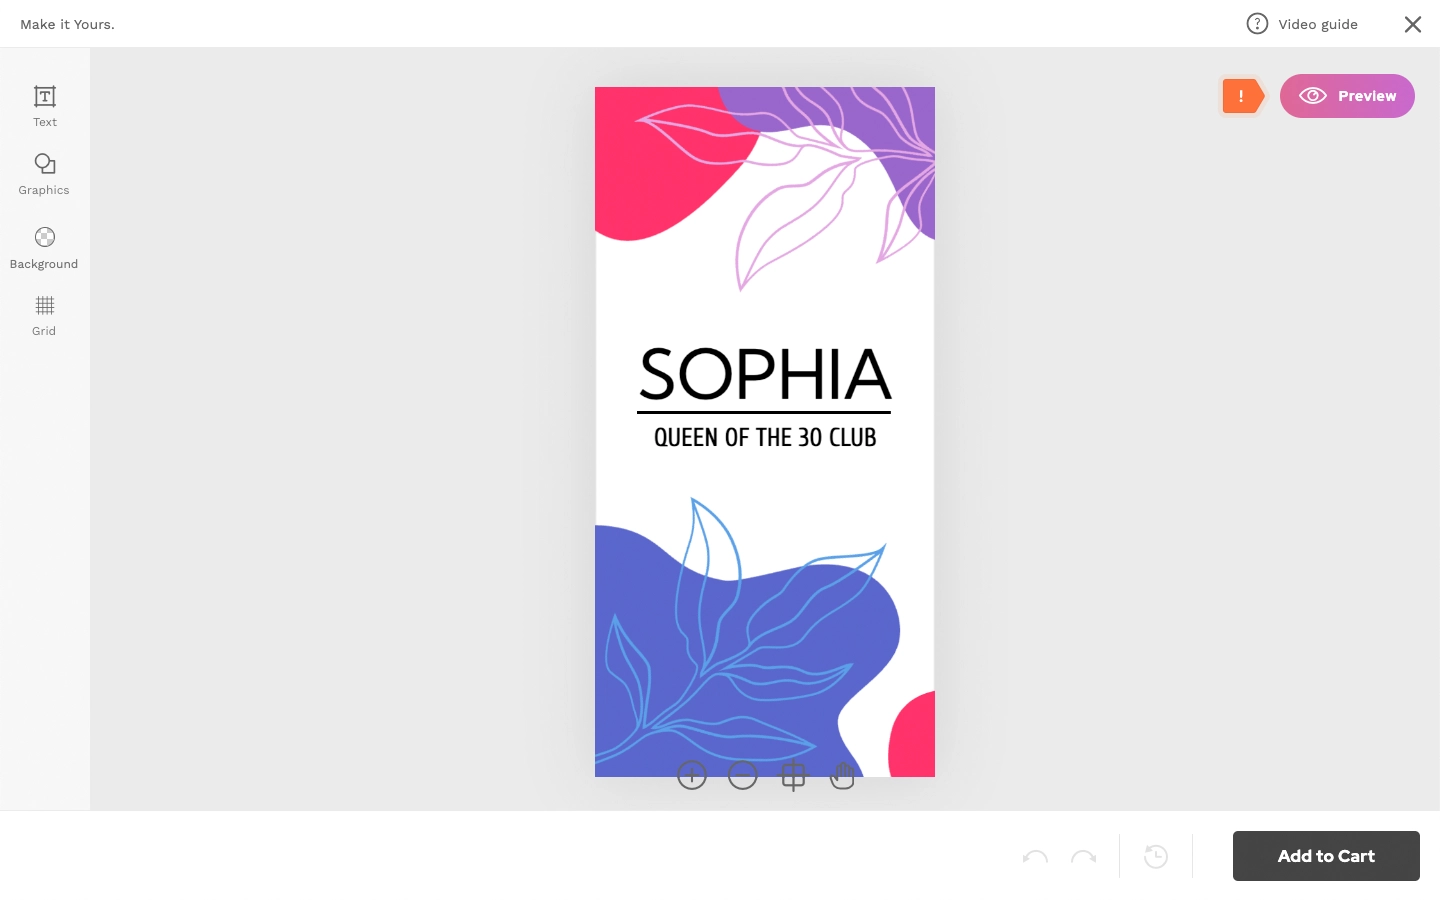
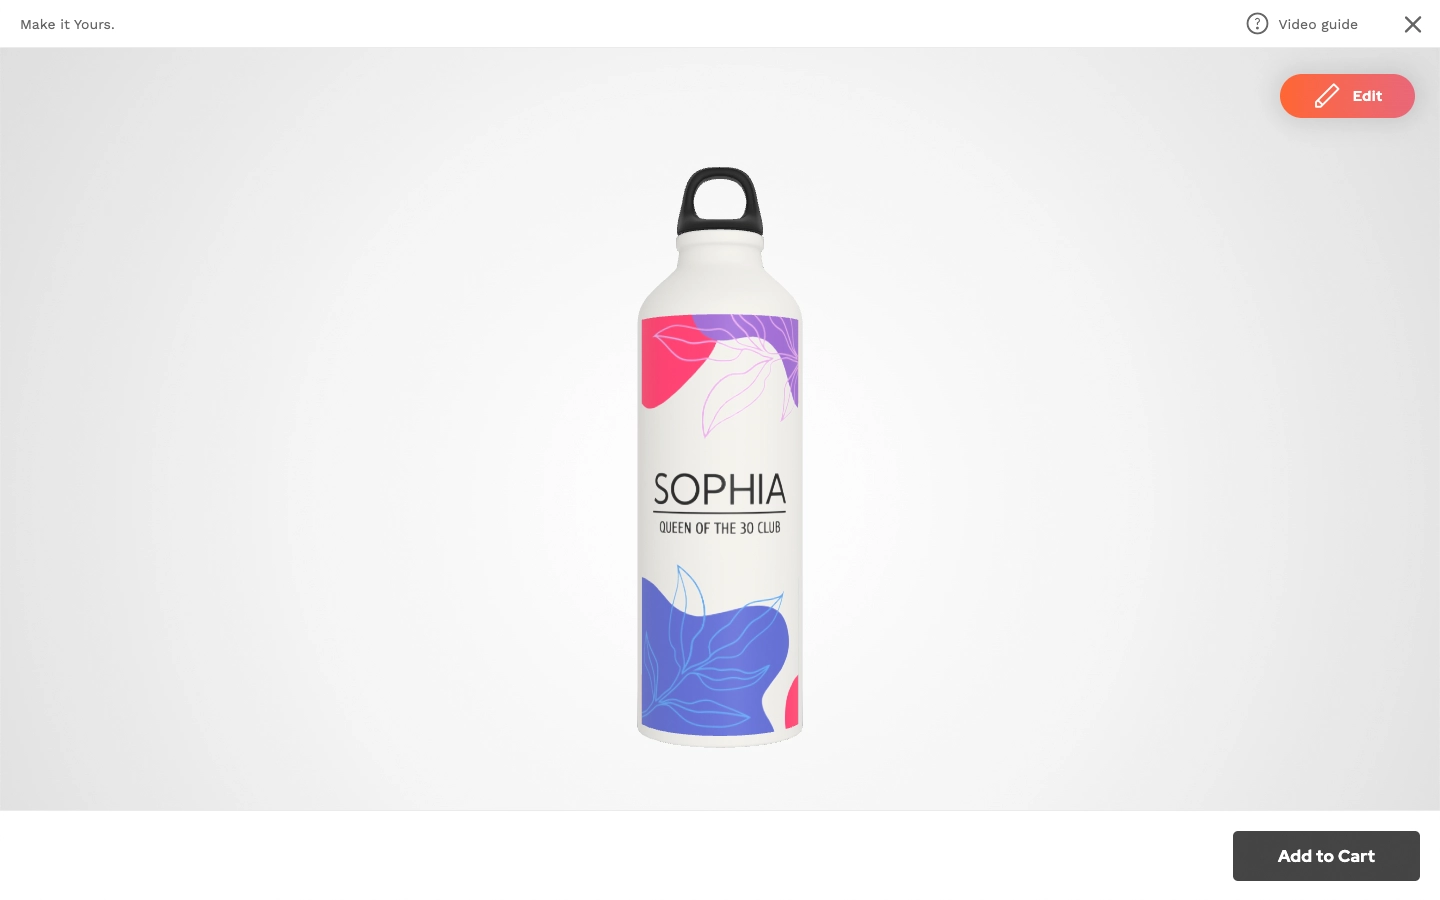
Single Design Template: If the product has only one assigned design template, opening the customizable product will immediately launch the Editor. After making any edits, clicking on Preview will display the product with the design in a new window.
-
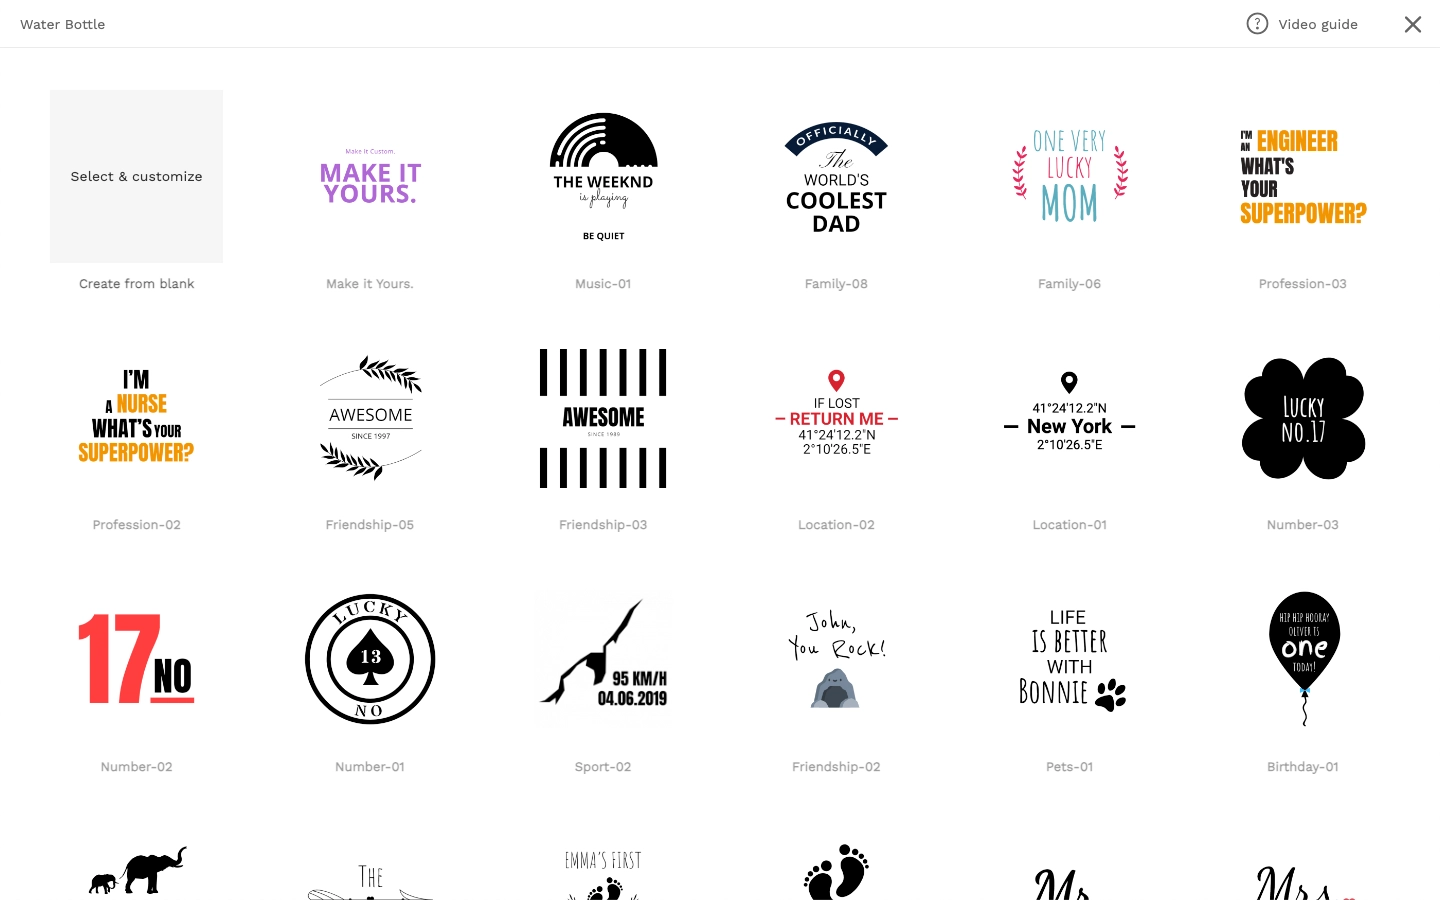
Several Design Templates: If the product has more than one design template, opening the product will present a list of available design options. Once a design is selected, the Editor will open in the same way it does with a single design template.
Preview Mode
In Preview Mode, the interface also adapts based on the number of design templates assigned to a product:
-
Single Design Template: When only one design template is selected, the product opens with the design already applied. You can make adjustments by clicking Edit, which will open the Editor in a separate window.

-
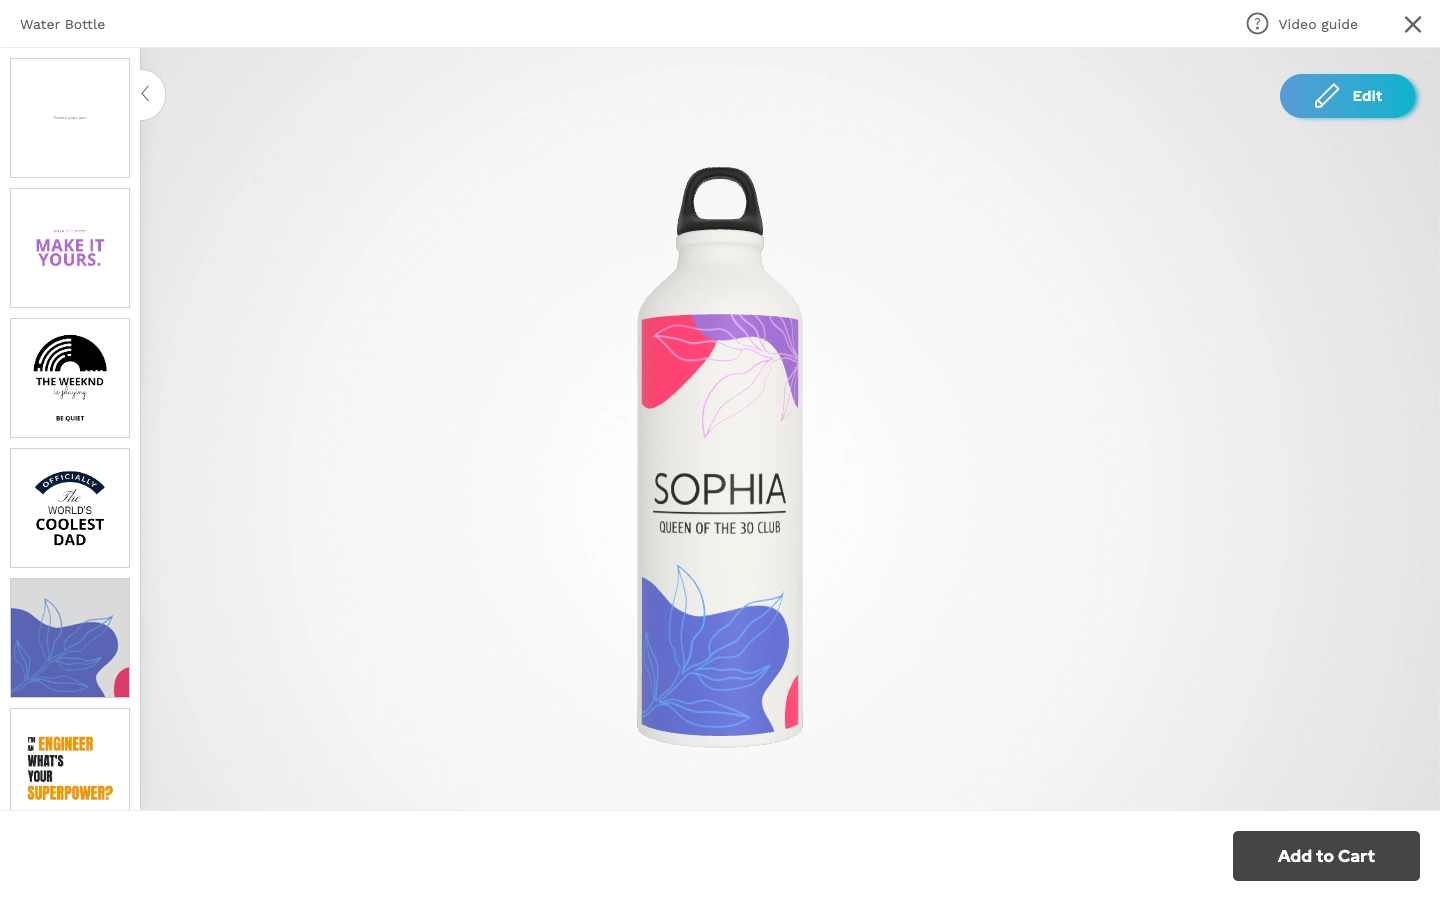
Several Design Templates: If the product has multiple design templates, design options are listed on the left side of the screen, while the product preview is displayed in the center. This allows the customer to instantly see how different design templates look on the product without navigating to other windows. If further adjustments are needed, clicking Edit will open the Editor in a separate window, similar to the single design template scenario.
Quick Mode
Quick Mode is designed specifically for products where uploading an image is the main customization option.
-
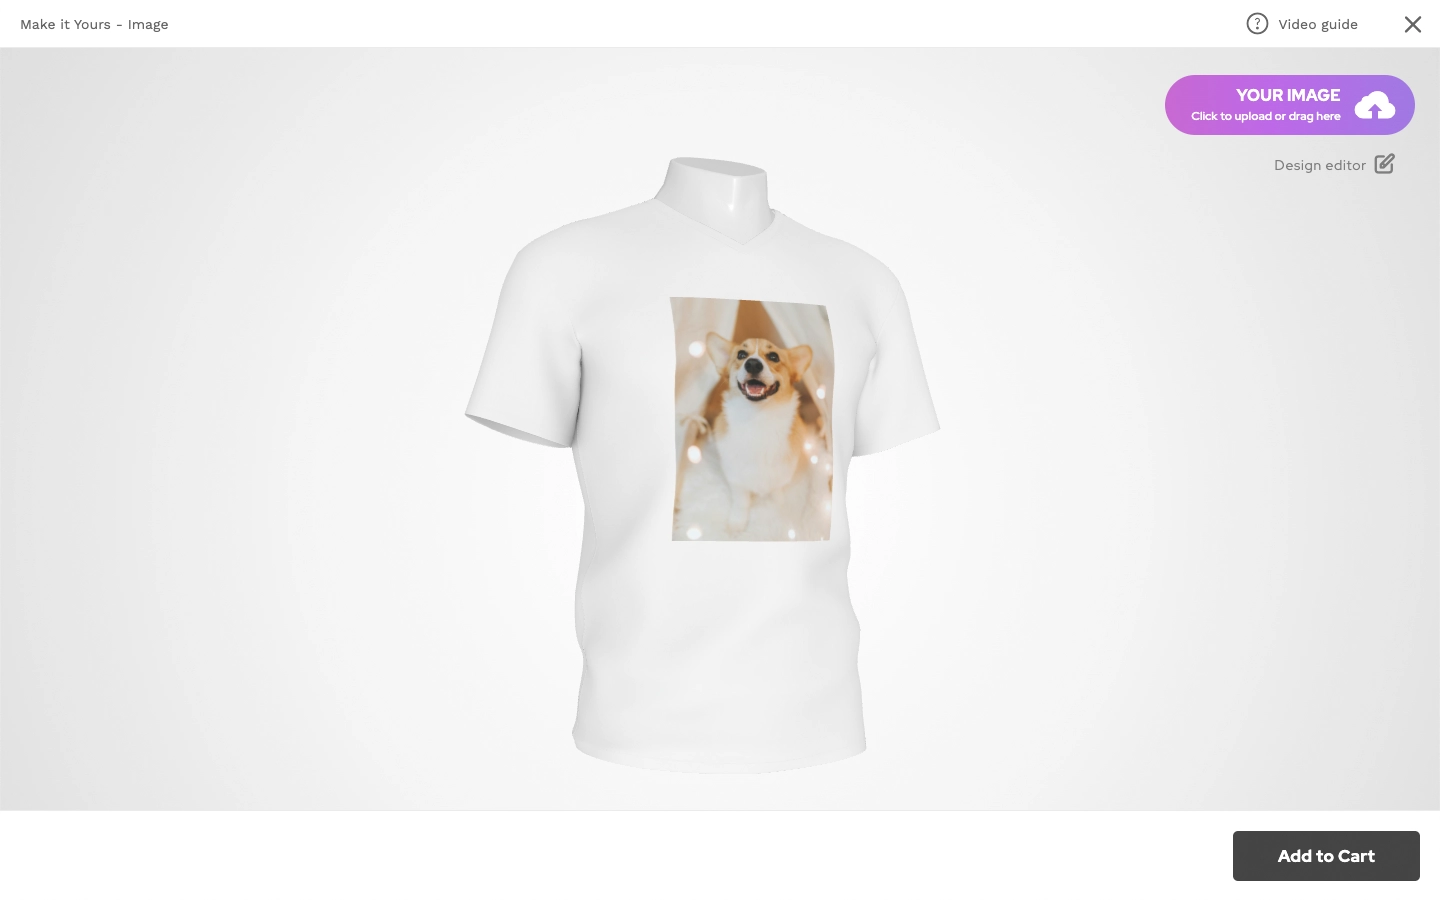
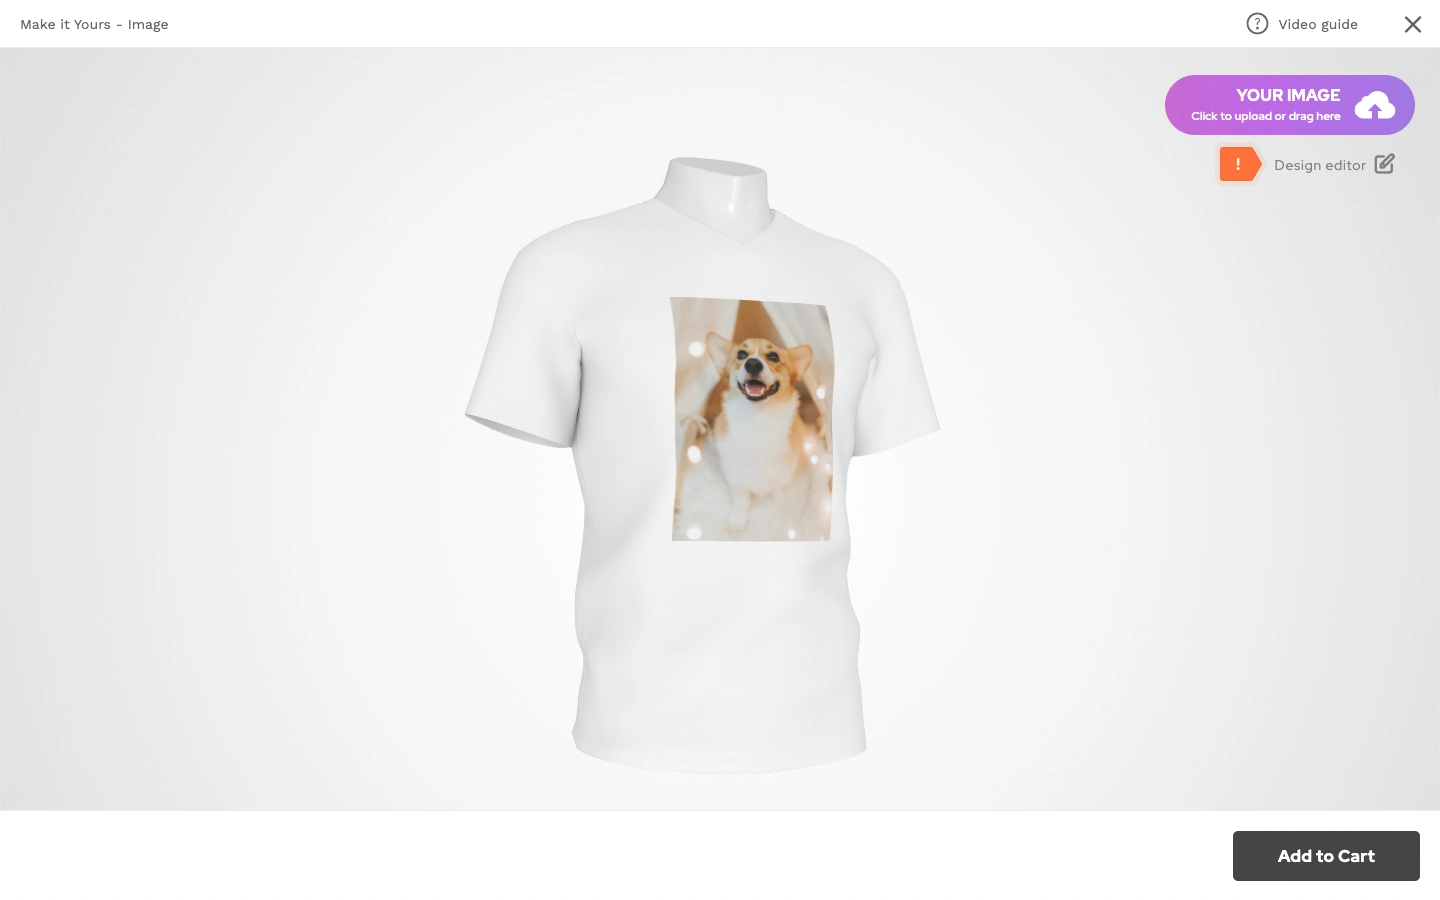
Single Design Template: The product can only have one assigned design template, which should be prepared for image replacement. The customer can click on Your Image to upload and preview their image directly on the product, without opening a separate window.
-
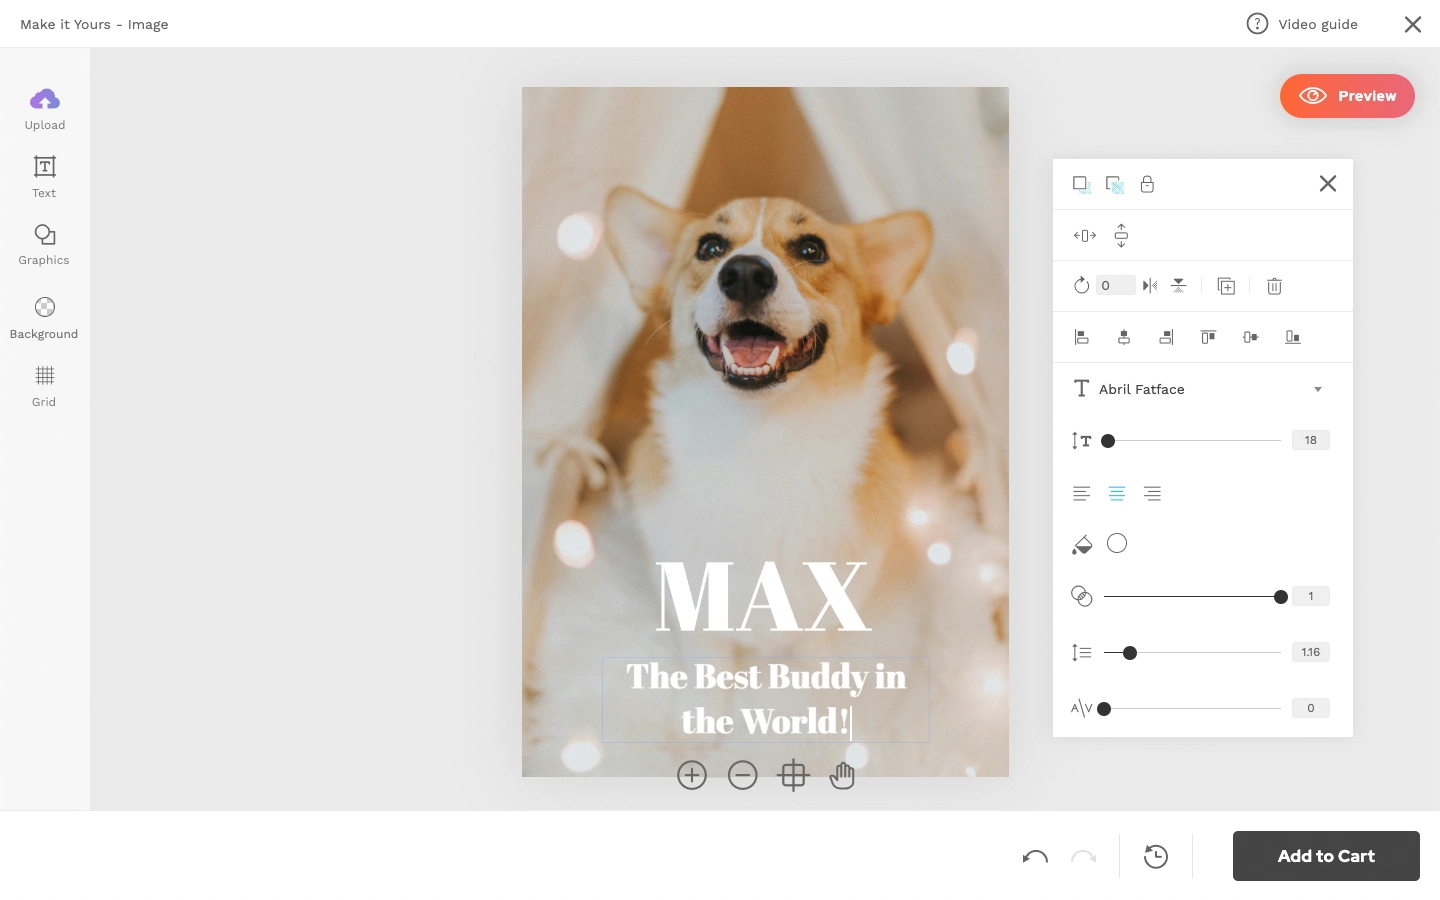
Additional Customization: If the customer wants to add other design elements or adjust the image, they can click on Design Editor, which will open the Editor in a new window. After making adjustments, clicking on Preview will display the product with the updated design again.
Note: For guidance on creating a Quick Mode design template, click here: How to prepare a design template for Quick Mode?
How to Create a Toolset for a Custom Interface Option?
To choose an interface mode, you need to either adjust the “Default” toolset or create a new one. To create a new toolset follow these steps:
- Go to Preferences.
- Click on Add New Toolset (or choose Default).
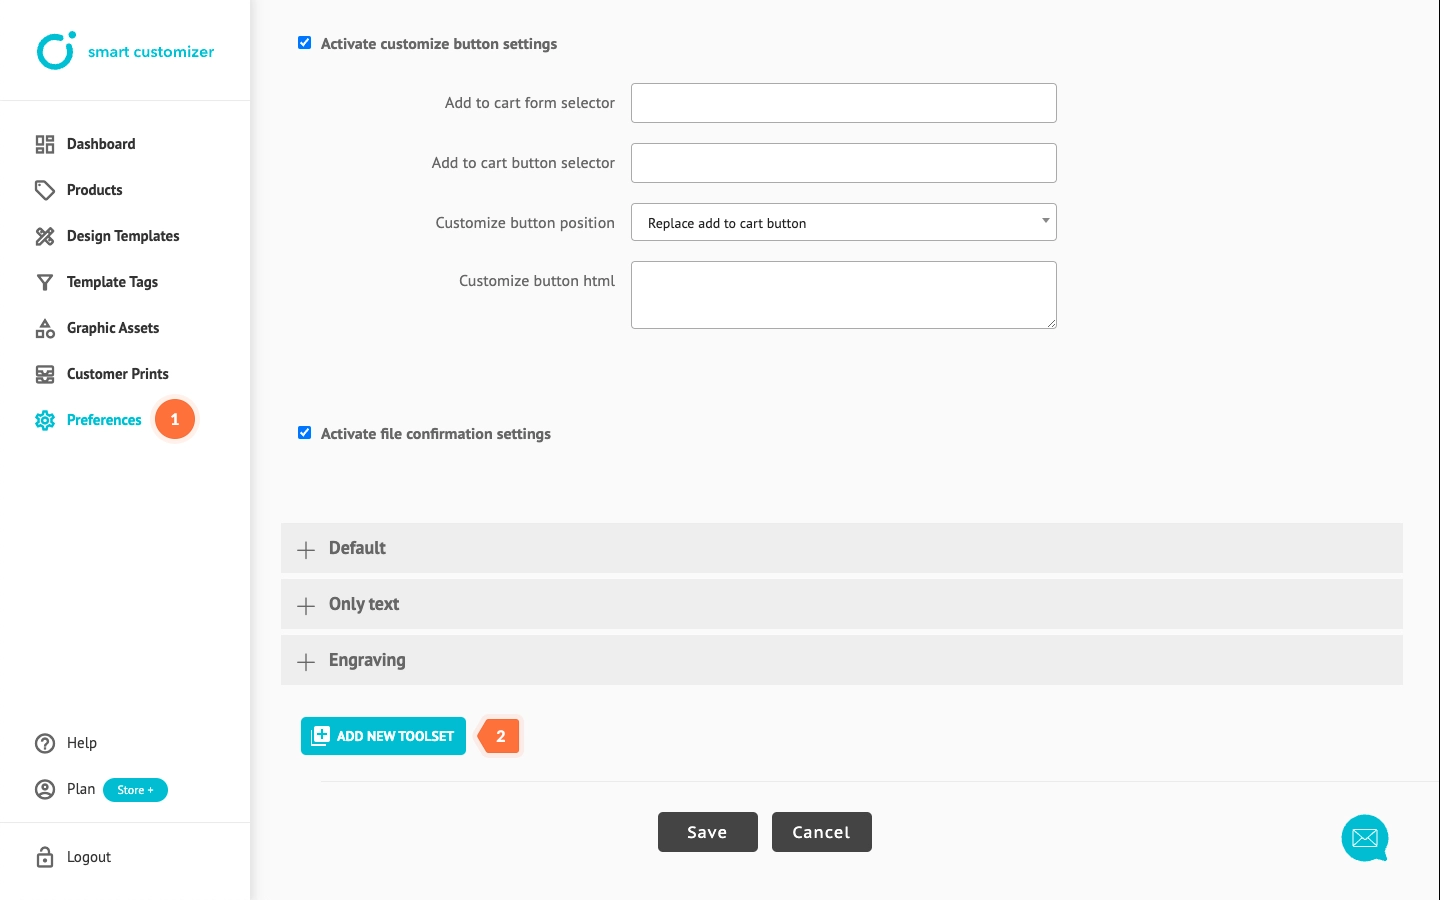
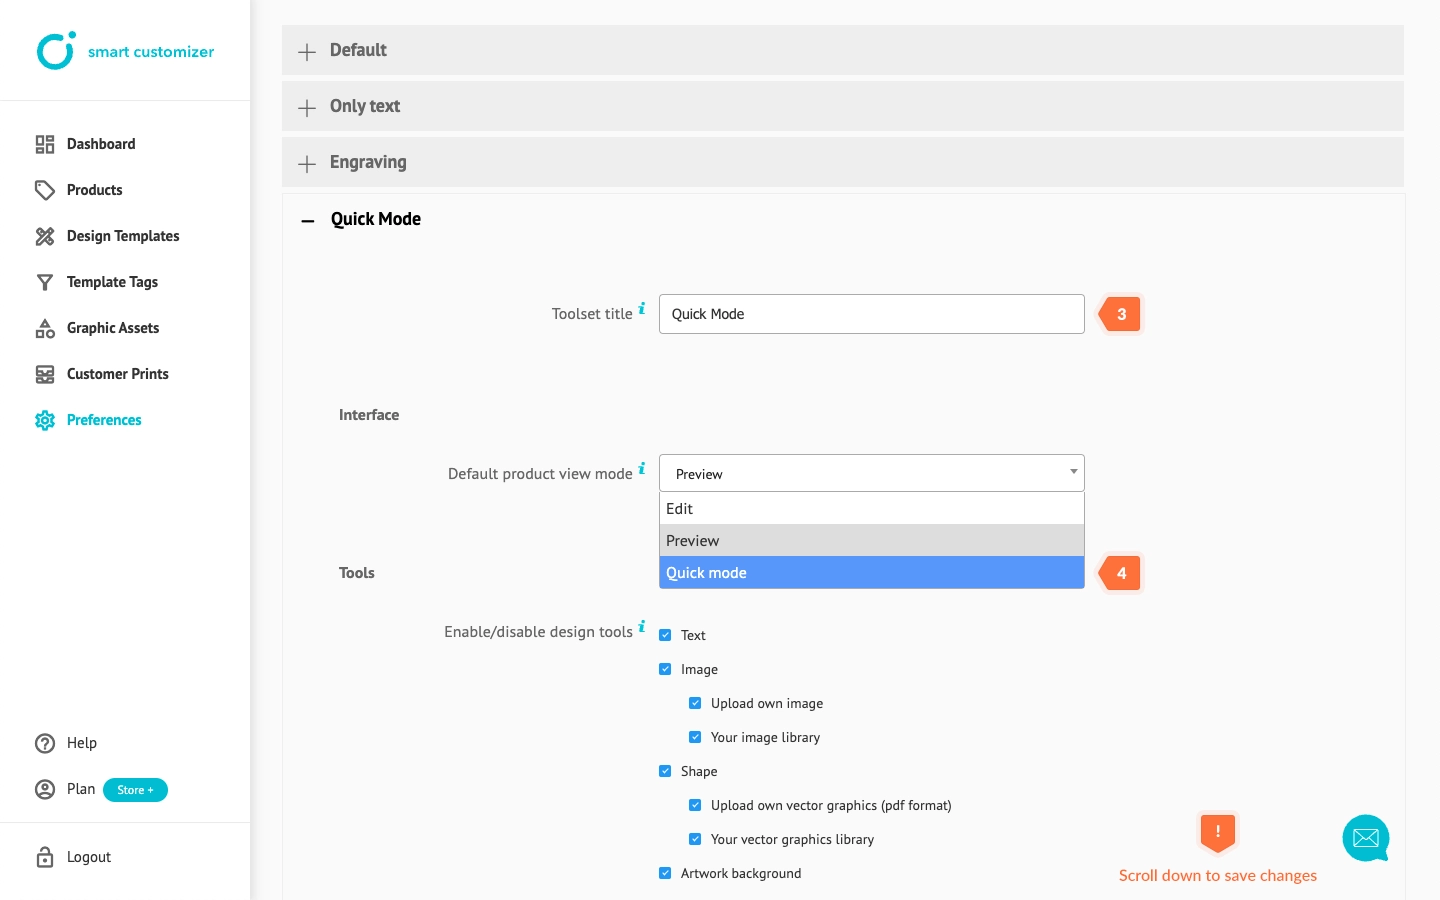
- Add a title.
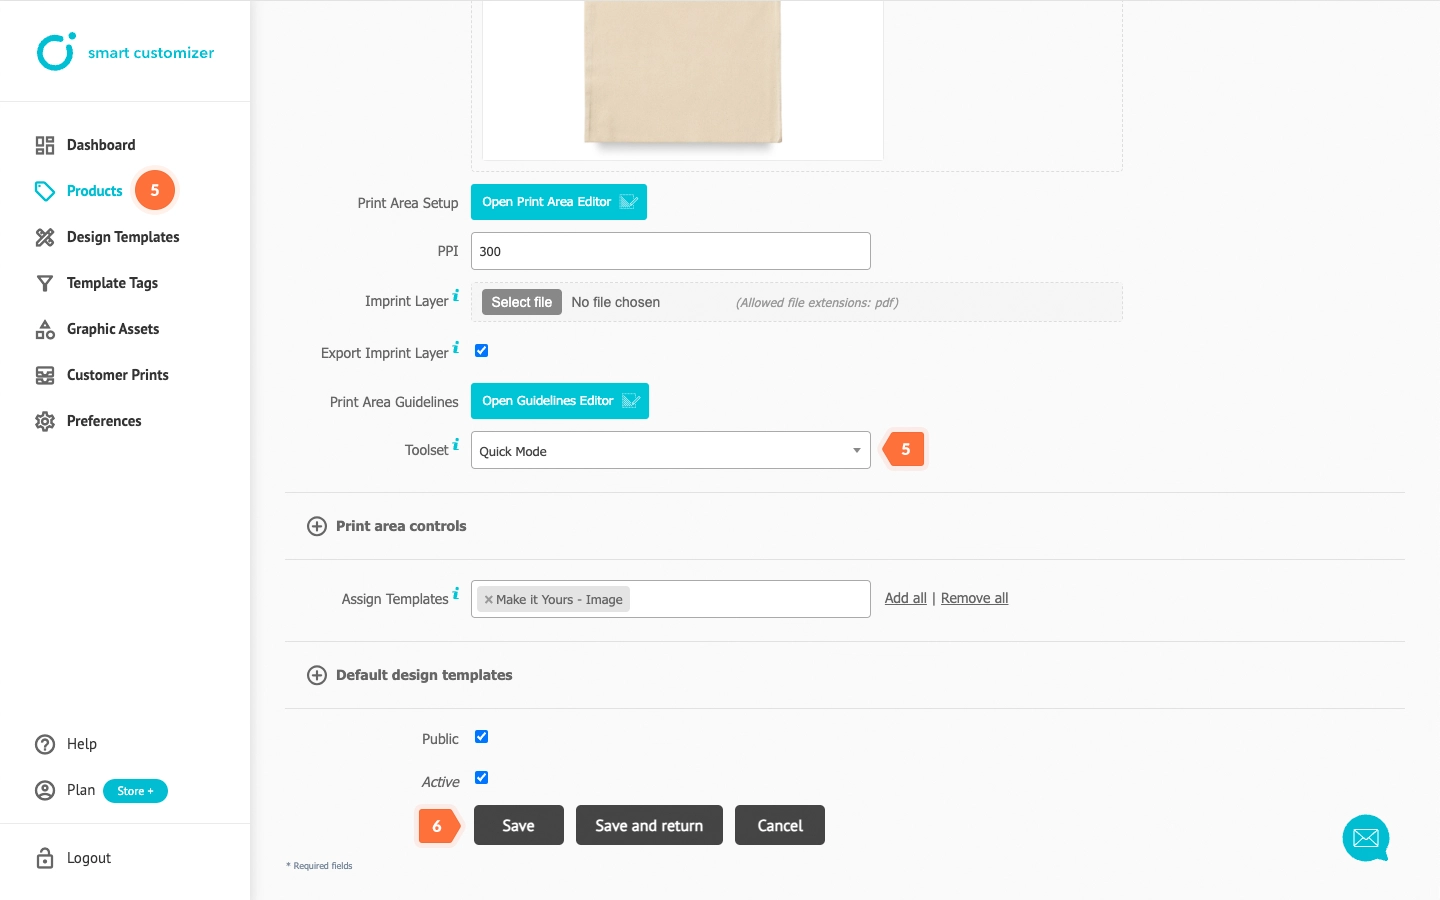
- Choose Quick Mode or other interface option from the dropdown menu and save the changes. The toolset has been created! Now, you need to assign it to your product. (If it is set as default, it is already assigned and no further steps are needed.)
- Go to your Product and assign the new toolset by selecting the new mode from the Toolset dropdown menu.
- Save the changes.
